Imagine leaving a permanent mark on metal, plastic, or even delicate electronic parts with just a beam of light—that’s the magic of a laser marking machine. Whether you’re adding brand logos, serial numbers, or unique designs to your products, a laser marker delivers precise, durable results in seconds. As industrial production and customization demand grow, this technology is transforming workshops and creative studios alike, making marking faster, cleaner, and more professional than ever.
What Is a Laser Marking Machine?
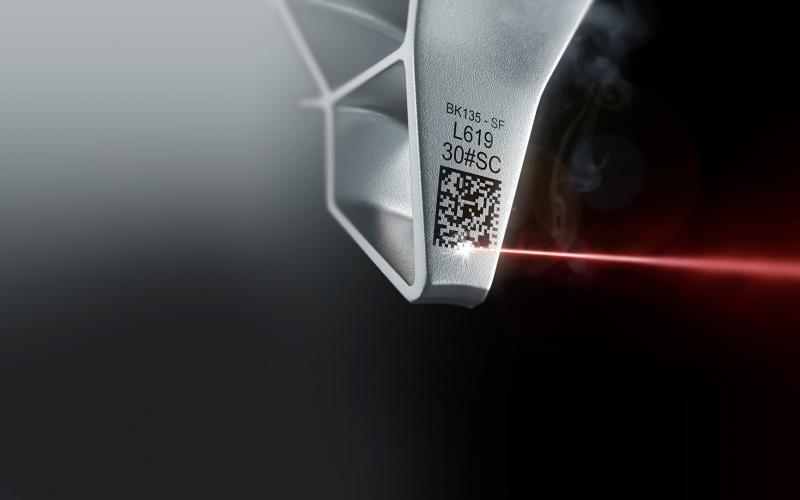
From my perspective, a laser marking machine is a high-tech tool for making permanent, exact marks on many materials. It uses a focused laser beam to etch or change surfaces. I’ve seen it work on metals, plastics, ceramics, and glass. The machine creates marks like serial numbers, barcodes, and logos. I believe this information is vital for tracking products, building a brand, and identification.
Key Applications and Industries
Based on my experience, laser marking machines are essential in several major industries:
– Automotive: Manufacturers use them to mark engine blocks, bearings, and levers. This ensures you can identify the part and that it will last.
– Electronics: Technicians apply them on circuit boards and chips for very precise tracking.
– Aerospace: This industry uses them for permanent part tracking to meet strict safety rules.
– Medical devices: I know these are essential for adding identification codes that meet government requirements.
– General manufacturing, packaging, jewelry, and personalized goods also gain a lot from these versatile marking tools.
Materials and Laser Types
Here’s what I’ve observed about materials and lasers:
– Metals are the most common material for laser marking. I like that the marks are strong and last a long time.
– Plastics are the second most common. I recommend them for their quick marking ability, as they have lower heat conductivity.
– Fiber lasers are often used for metals because they offer a better beam quality.
– CO₂ lasers are a good choice for non-metals like plastics, paper, and wood.
– Green lasers and Nd:YAG lasers handle specific jobs, which can increase speed and flexibility.
Industry Trends and Market Data
I find the market data quite interesting:
– The global market for laser marking machines hit USD 3.35–3.65 billion (2023–2024). I project it will expand to USD 7.33 billion by 2033. The expected growth rate (CAGR) is between 7.8% and 9.2%.
– The Asia-Pacific region holds more than 42.8% of the global market. I attribute this to its fast-growing manufacturing and electronics industries.
– In 2022, the machine tool segment made up 24.4% of the revenue. This shows how important permanent marking is in manufacturing.
– I forecast that Aerospace applications will see fast growth, with a CAGR of 10.5%.
Automation, Safety, and Challenges
Here are my thoughts on some other aspects:
– Manufacturers are now adopting automation in laser marking. I suggest this helps to improve speed, lower error rates, and support smart factory systems.
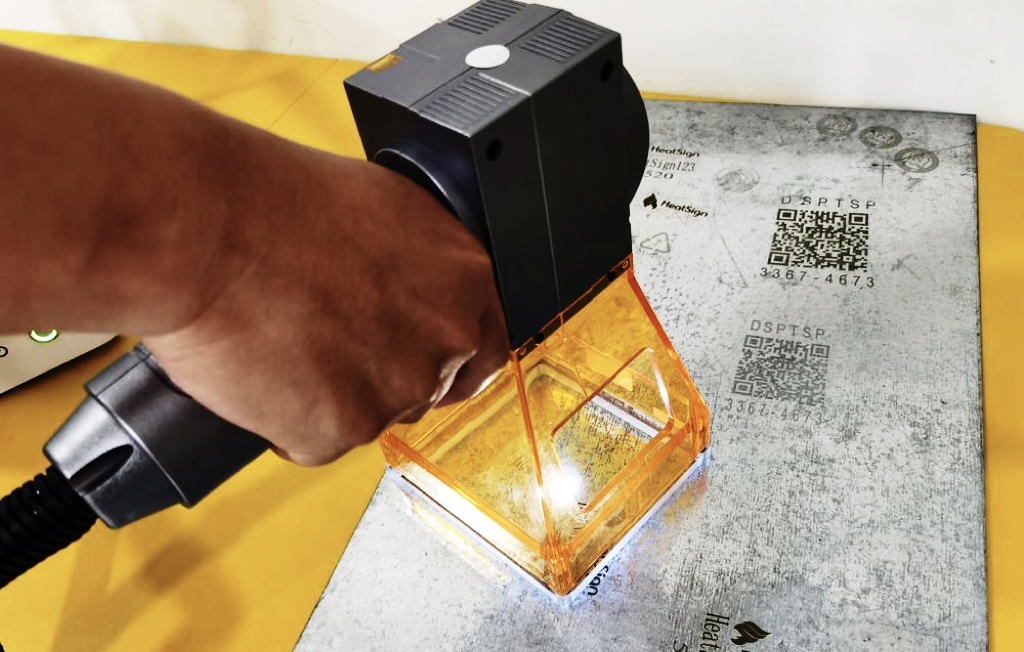
– Portable laser marking machines are gaining popularity. Their flexibility is a clear advantage in different work areas.
– You must closely follow safety and government standards because of the intense light beams. This is especially true in sensitive fields like medical devices and aerospace.
– In my opinion, one big challenge is the high initial cost. The price of equipment, setup, training, and upkeep can be a barrier for smaller businesses and startups.
Real-World Examples
I’ve seen many practical uses:
– Companies mark automotive parts with unique serial numbers. This practice ensures you can track the parts through their entire service life.
– Electronics makers etch clear 2D barcodes onto circuit boards. They do this for quality checks and tracking.
– Medical device companies use these laser machines to mark products. The identification codes are necessary to meet regulatory rules.
How Does a Laser Marking Machine Work? A Step-by-Step Guide
From my experience, the process for a laser marker is exact, digital, and easy to repeat. Let me break down each stage for you in a clear, practical way.
1. Creating the Design in Software
I start by creating or importing the design using software like EZCAD2 or LightBurn, which supports vector files (DXF, PLT), images (BMP, JPG), and text. Then, I adjust settings like size, power, marking speed, and laser pulse frequency based on the material. For example, automotive engineers often load part numbers into the software for fast, accurate batch marking on metal parts.
2. Generating the Laser Beam
The laser source—fiber, CO₂, or UV—produces a focused, strong beam. I prefer fiber laser marking machines for metals due to their efficiency and long life, while CO₂ laser marking machines are ideal for plastics, wood, and organic materials. Power output, typically 20–100W, affects both marking speed and depth.
3. Steering the Beam with Mirrors
Inside the galvanometer scanning head, two mirrors guide the laser with high precision, tracing the design at speeds up to 7,000 mm/s with ±0.01 mm accuracy. This precision is crucial for electronics and medical devices where tiny, exact marks are needed.
4. Focusing the Beam with a Lens
An F-Theta lens keeps the beam sharply focused across the marking area, usually 100×100 mm to 300×300 mm. I like this lens because it ensures consistent, clear marks from center to edges. For large batches of circuit boards, a 254 mm lens produces sharp, readable tracking codes.
5. How the Laser Interacts with the Material
The focused beam of a laser marking machine either heats or chemically changes the material to create a permanent mark. Depending on settings and material, it can anneal metals (stainless steel tools), ablate plastics or coated metals for high contrast, engrave deeper grooves, or foam/carbonize plastics like cable insulation. Simple serial numbers take under a second, while logos or longer text take 1–5 seconds.
6. Positioning, Safety, and Doing it Again
I secure workpieces with alignment bars or jigs and always use protective covers and exhaust fans to ensure safety. For high-volume jobs, automated positioning and batch imports make repeating jobs easy. For example, laser marking machines can mark 100 silver pendants per hour with unique QR codes, each taking under 2 seconds.
This straightforward process allows for fast, detailed marking on metals, plastics, ceramics, glass, and more. This is why I believe laser marking machines are so important for modern manufacturing, electronics, jewelry, and regulated products.
The Main Parts of a Laser Marking Machine
From my experience, a laser engraving machine is a collection of very precise parts. Each part has an important job. Together, they control the machine’s speed, accuracy, and how dependably it runs.
Laser Source: The Heart of the Machine
I think of the laser source as the laser marking machine’s heart because it creates the laser beam. The most common types I see are fiber, CO₂, UV, and YAG lasers. You choose one based on the material you need to mark.
– I recommend fiber lasers for metals and hard plastics. Good brands like IPG, Raycus, Max, and JPT can run for up to 100,000 hours. Their power ranges from under 10W to over 100W.
– CO₂ lasers work best on non-metals. Think of materials like glass, wood, and some plastics.
The source you choose has a big impact on marking depth, speed, and how long the machine lasts. If you have a lot of marking to do, I suggest investing in a high-quality source that can handle the workload.
Scanner Head (Galvo Scanning System)
The galvanometer scanner head is what directs the laser beam. It uses fast-moving mirrors to aim the beam along the X and Y paths.
– Inside, you’ll find motors, mirrors, a controller, a detection sensor, and a scanning lens.
– This system is fast. It can move at several thousand millimeters per second. It is also extremely accurate, down to the micron level.
– This fast, exact movement is why I believe it’s perfect for jobs that need fine details. It also helps you get a lot of work done quickly.
F-Theta Lens: For a Clear Focus
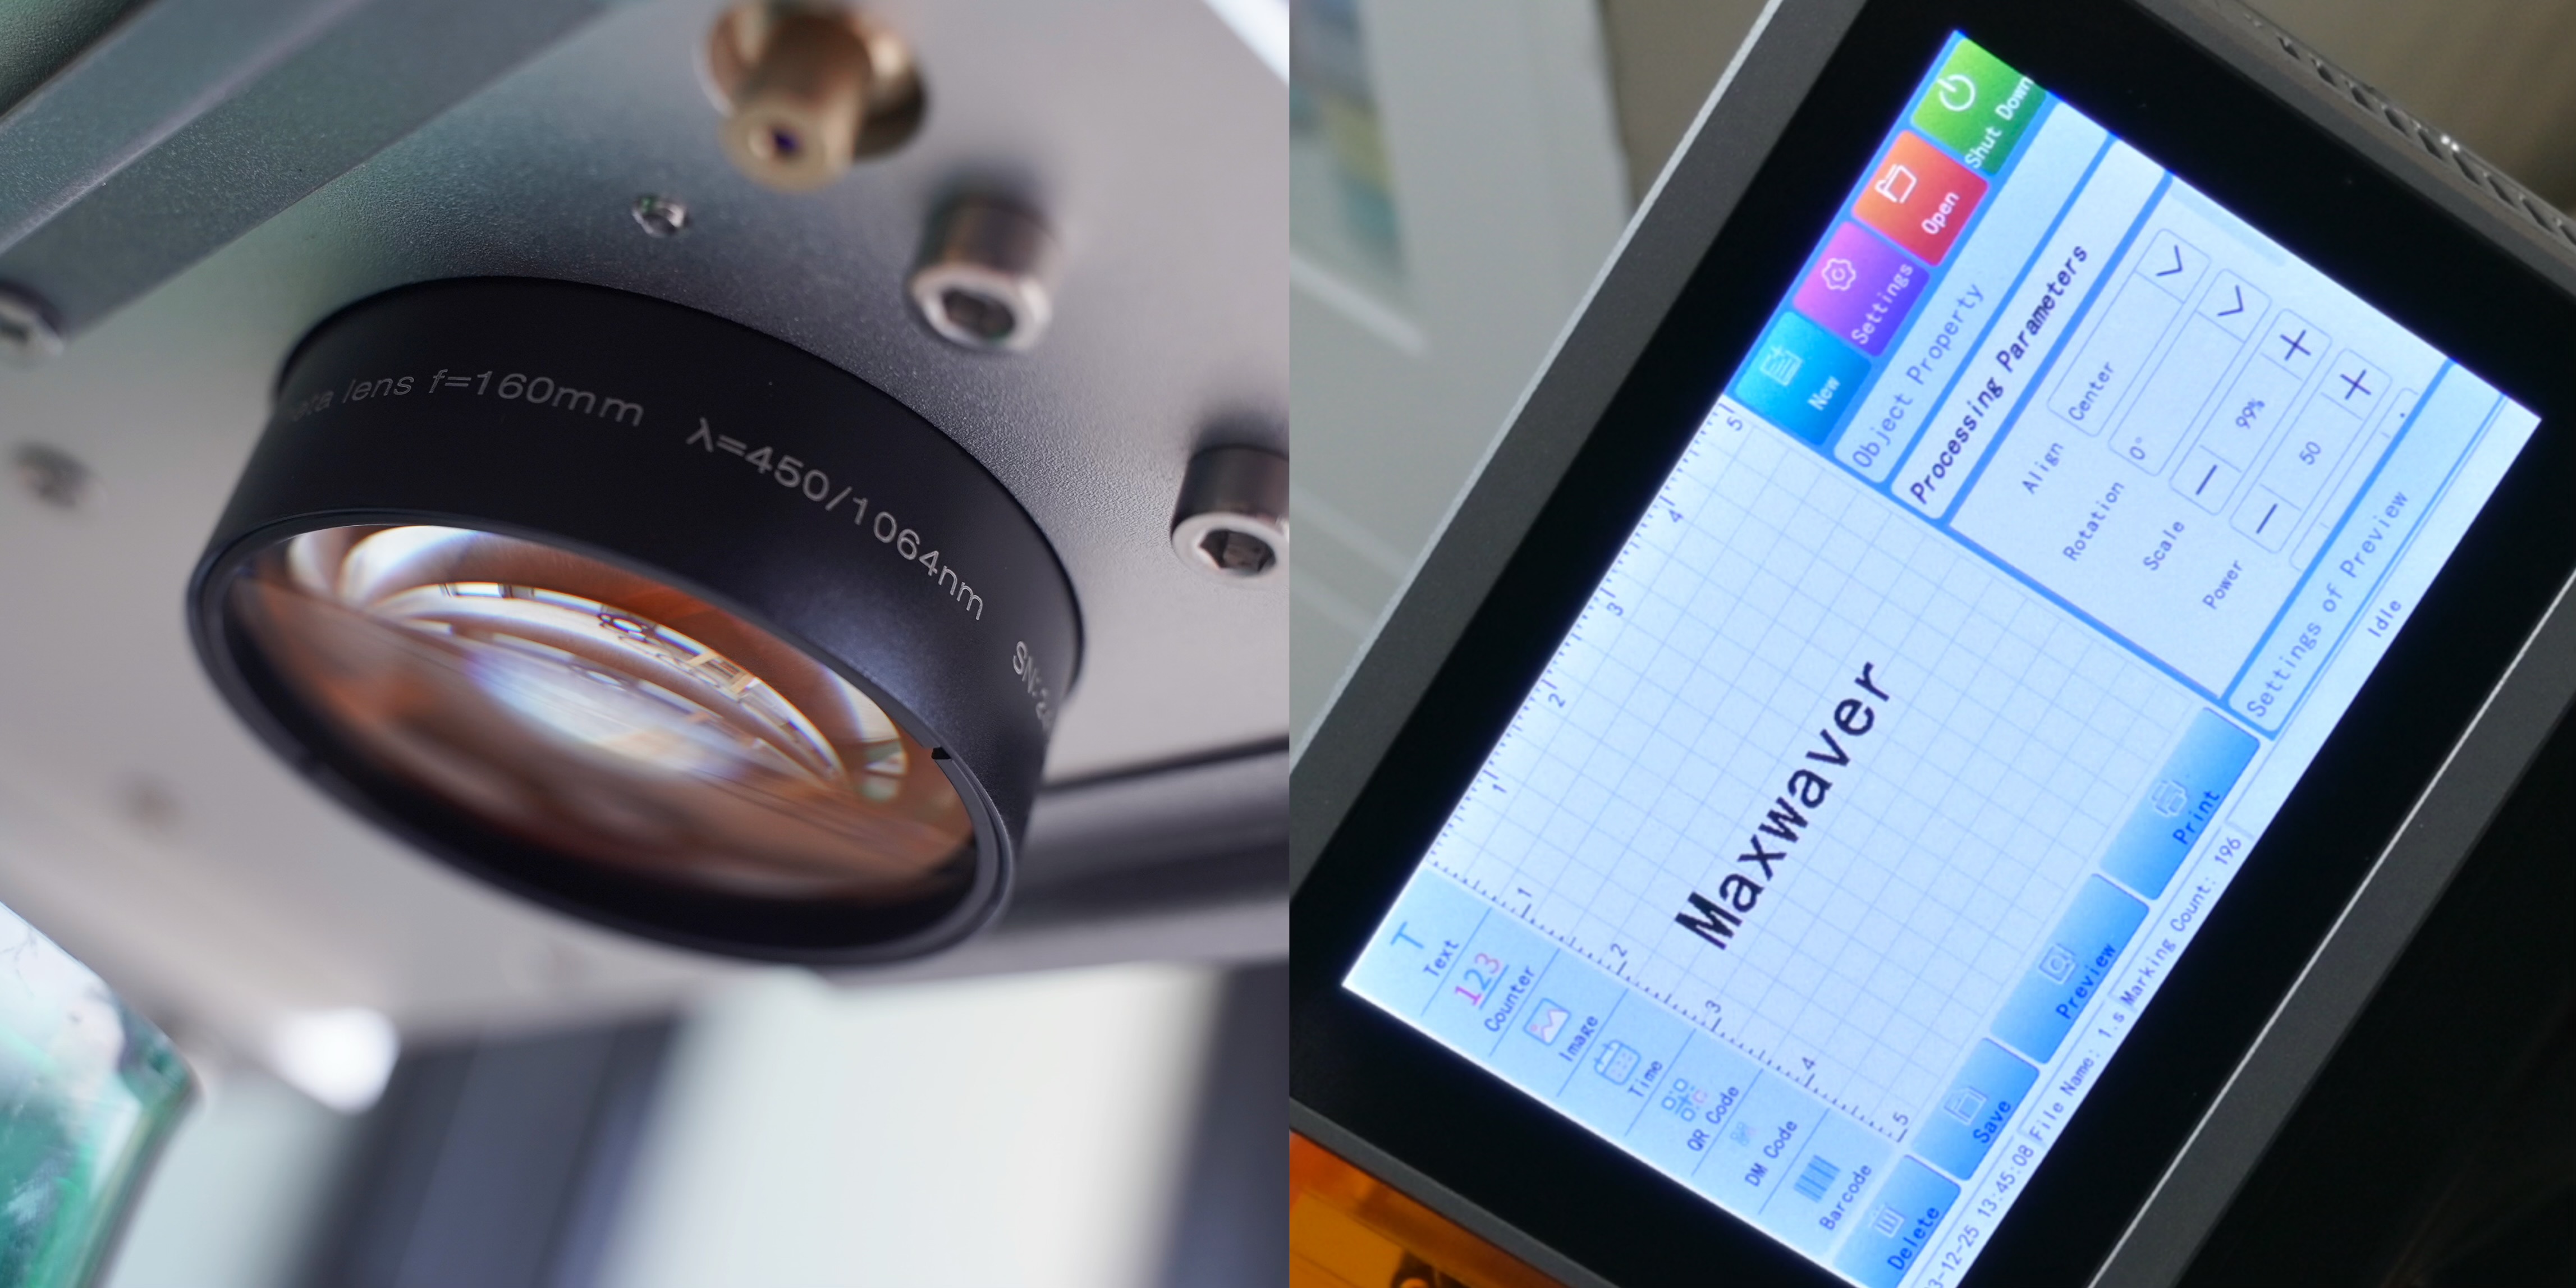
The F-theta lens makes sure the laser beam stays in focus across the whole work area.
– It creates a flat field. This means your marks will be just as sharp at the edges as they are in the center.
– In my work, I often see lenses with a 160mm focal length. These cover a marking area of Φ110mm (110×110mm).
– If you need high resolution for detailed work, I suggest a shorter focal length. For larger parts, a longer focal length is better.
Control System and Marking Software
I see the machine’s control system as its brain. It runs on software, and a popular choice I’ve used is EzCAD. This laser marking machine lets you:
– Easily import and create designs with text, barcodes, serial numbers, QR codes, and logos.
– Control settings like laser power, pulse frequency, and marking speed.
– Run real-time health checks on the machine and set up automatic jobs using USB or Ethernet.
– Work with common file types like AI, DXF, and BMP. It also lets you monitor the machine from another location.
Other Important Parts
Here are a few more parts that I know are essential:
– Laser Power Supply: This gives the laser source a steady stream of power so it can work correctly.
– Protective Cabinet: All the parts live inside a sturdy cabinet (a common size is 600×800×1600mm). This keeps them safe and free from dust.
– Red Light Pointer: This is a great feature. It shines a visible light to help you line up your parts correctly before you start the real laser.
– Beam Expander: This part gets the beam ready for the scanner. It widens and straightens the beam before it hits the mirrors, which helps with accuracy.
Example: A Common Fiber Laser Marking Machine Setup
Based on what I see in the field, here is a very common setup:
– 20W IPG fiber laser source
– Galvo scanner with ±0.01mm repeatability
– F-theta lens (f=160mm, 110×100mm marking area)
– Industrial control PC running EzCAD
– 110/220V power supply
– All of these parts are put together in a compact cabinet (600×800×1600mm). By comparison, MaxWave’s MW-F25CA dual-pulse laser marking machine weighs only 3.9kg, with dimensions of 300×200×330mm, making it an ideal choice for first-time buyers, offering exceptional value at just $1,200.
Every one of these parts works together. They give the laser engraver its speed and accuracy. They also allow it to handle many different jobs. I’ve seen these machines engrave serial numbers on car parts, barcodes on electronics, and important info on medical tools.
Summary
Whether you’re a small business, a startup studio, or a DIY enthusiast, a laser marking machine can take your work to the next level. Machines like the MaxWave MW-F25CA dual-pulse laser marker are lightweight, easy to operate, and capable of leaving sharp, permanent marks on metals and plastics—all for just $1,200, offering exceptional value. Getting one now isn’t just buying a machine; it’s unlocking new possibilities for your creativity and business. Ready to learn more? Contact us now for expert advice on laser marking machine.


