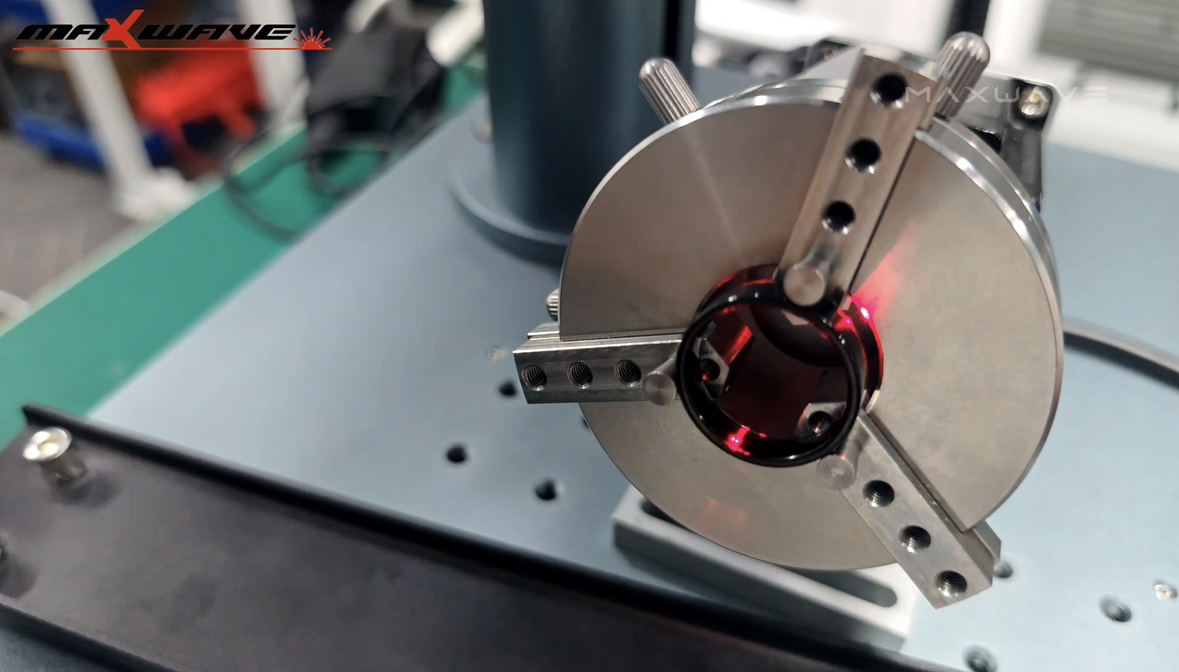
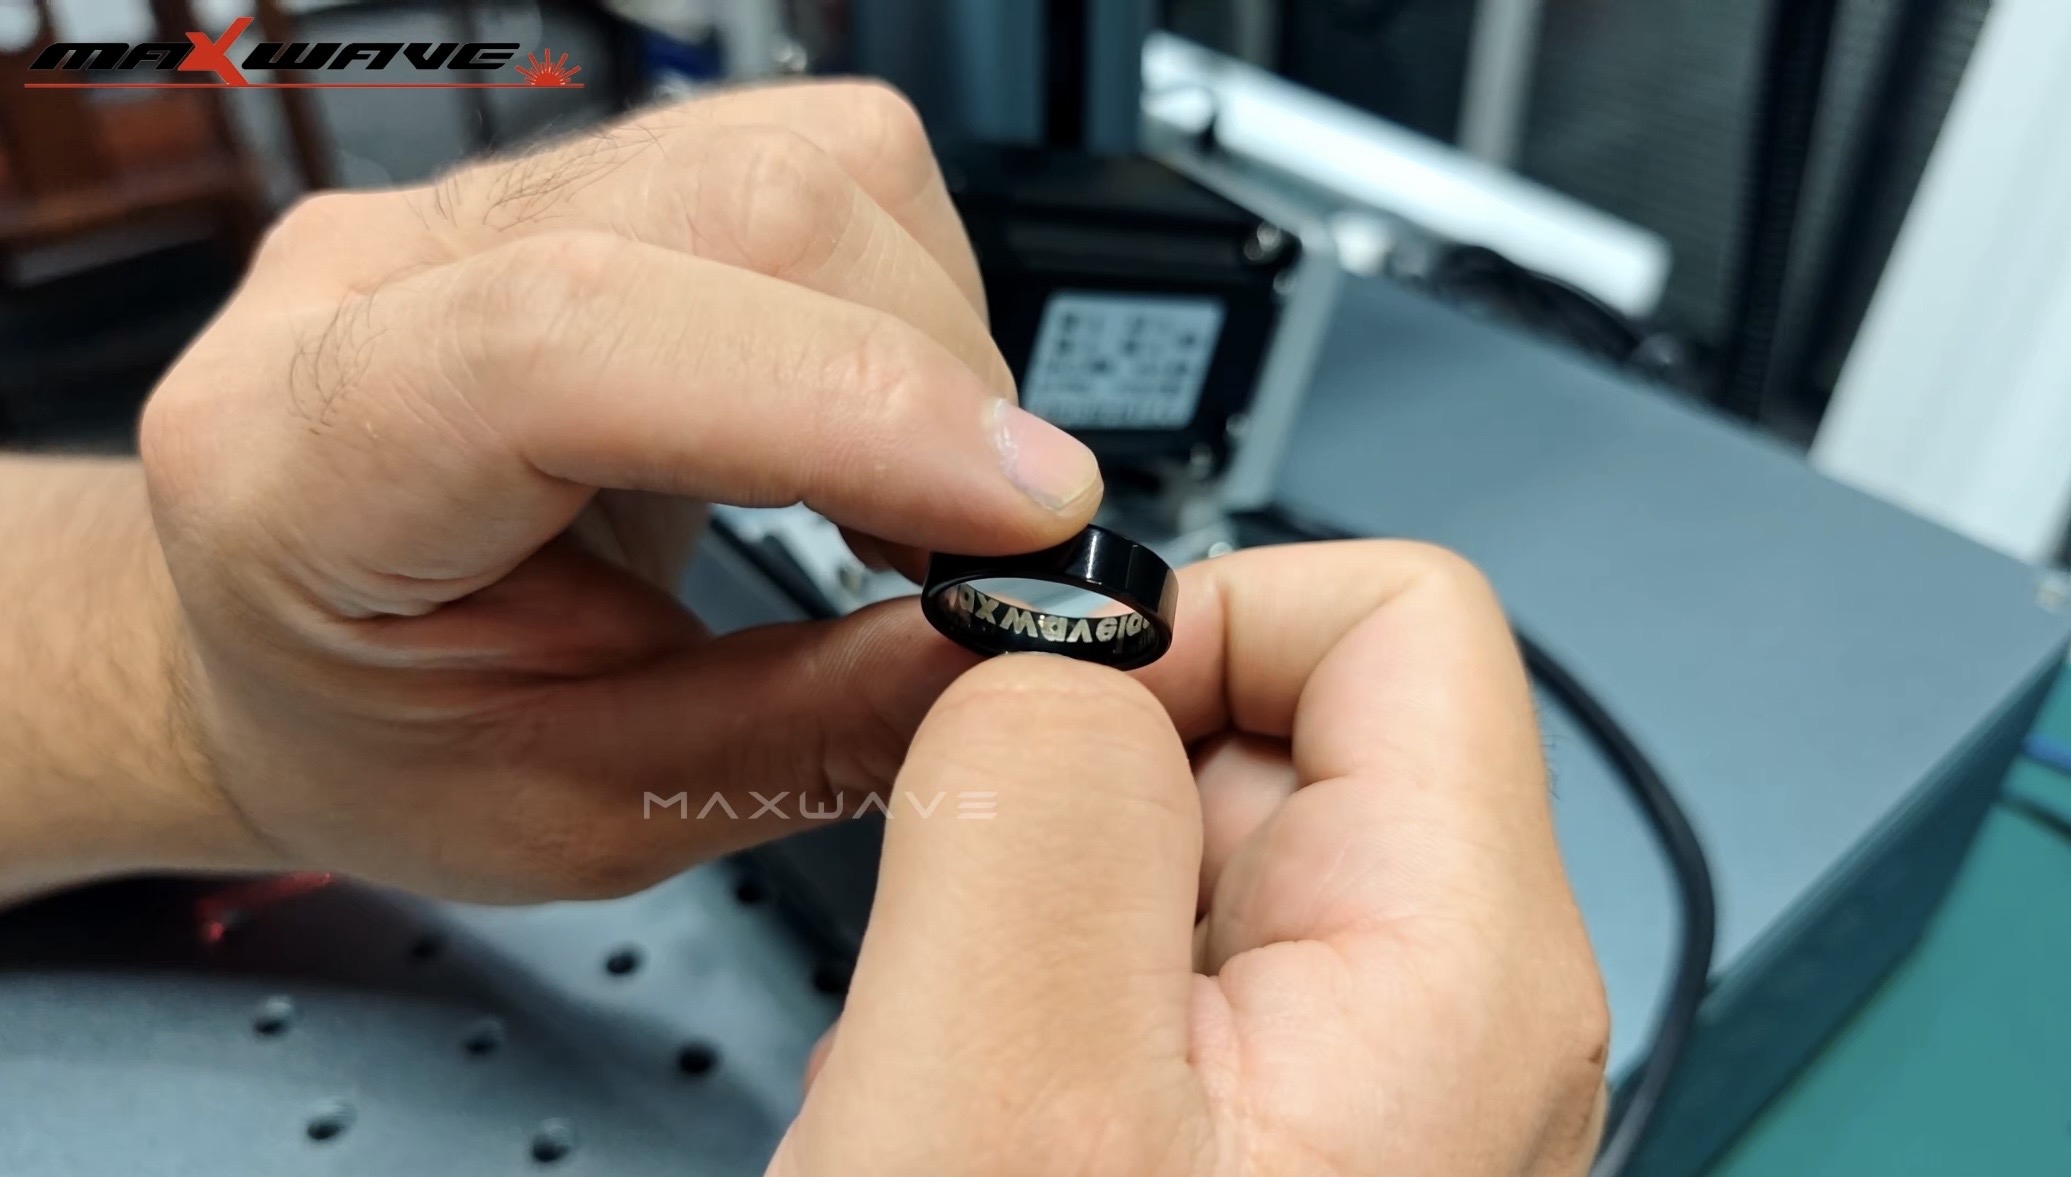
Stepping into the world of laser engraving machine can feel intimidating at first, but it doesn’t have to be. Whether you’re customizing products, labeling industrial parts, or creating detailed designs, a laser engraving machine gives you precision, speed, and professional results that are hard to achieve any other way. In this guide, I’ll walk you through everything a beginner needs to know—from setup to finishing touches—so you can start marking like a pro in no time.
Step 1: Prepare Your Workspace
Before you use your laser engraving machine, I suggest setting up a safe and efficient workspace. Follow these steps for the best results and safety:
Choosing the Right Location and Table
Set up your laser on a large, stable table that can fully support its weight along with any accessories. Ensure there is enough space around the laser engraving machine so you can move freely during operation. A stable surface reduces vibrations, which helps maintain precise, high-quality markings and prolongs the machine’s lifespan.
Safety and Protective Gear
Keep a fire extinguisher nearby and maintain a clear, uncluttered workspace. Make sure there is a safe, easily accessible exit in case of emergencies. Always wear laser safety goggles and any other recommended protective gear when operating a laser engraving machine to protect your eyes and skin from accidental exposure.
Ventilation and Electrical Power
Provide adequate ventilation to remove heat, fumes, and dust, especially when marking materials with a laser engraving machine that produce strong odors or potentially harmful gases. Check that your workspace has sufficient electrical power to operate the laser engraving machine and any accessories, such as air compressors or control computers, to avoid interruptions during work.
Securing the Machine and Workpiece
Mount the laser engraving machine and all its components on a vibration-free surface to ensure stability and precision. Use clamps, magnets, or custom jigs to secure your materials, including oddly shaped objects, so they remain stationary during engraving or marking, which improves accuracy and safety.
Step 2: Select and Set Up Materials
To get a great laser mark, I believe you need to pick the right material and set it up properly. Based on my experience, this makes all the difference. Here’s a simple guide I put together for beginners:
Identify Material Type
Materials fall into organic (wood, glass, paper, plastic) and non-organic (met als like aluminum and steel). Fiber lasers suit metals such as aluminum, brass, copper, stainless steel, and titanium. CO₂ lasers work best on organic materials, while UV lasers are ideal for delicate surfaces like sensitive plastics, glass, ceramics, or silk, providing clean marks without heat damage.
Material Properties and Set-Up Tips
A material’s ability to absorb light and handle heat affects mark quality and laser choice. For plastic sheets, I recommend a thickness of 1–20mm and a clean, flaw-free surface. Using a protective film on plastics before engraving with a laser engraving machine helps prevent scratches and ensures smooth, precise results.
Material Compatibility by Example
Metals like stainless steel, aluminum, brass, and titanium work best with fiber lasers for permanent marks. Delicate plastics need UV lasers, while standard plastics and two-color boards suit CO₂ or hybrid lasers. Acrylic should be high-purity and flaw-free for crisp results. Wood and cardboard engrave well with CO₂ lasers, perfect for logos and text. Glass and ceramics require low-power CO₂ or UV lasers to avoid cracks, with green lasers ideal for crystal. Rubber varies: natural rubber benefits from hybrid lasers, synthetic rubber tolerates more heat.
Note: Picking the right laser engraving machine and material mix will impact your speed, cost, and the look of the final mark. From my own work, I can tell you that for industrial metal marking, fiber laser engraving machines are up to 10x faster than CO₂ models for the same depth. In my opinion, acrylic is one of the best plastics if you want great visibility and a clean finish.
Step 3: Power On and Start the Laser Engraving Machine
Now that your workspace is ready, let’s get the laser engraver started. From my experience, doing this correctly is vital for both safety and getting a good result. I suggest you follow each step I’ve laid out below to prevent common startup problems.
Pre-Startup Safety and Cable Checks
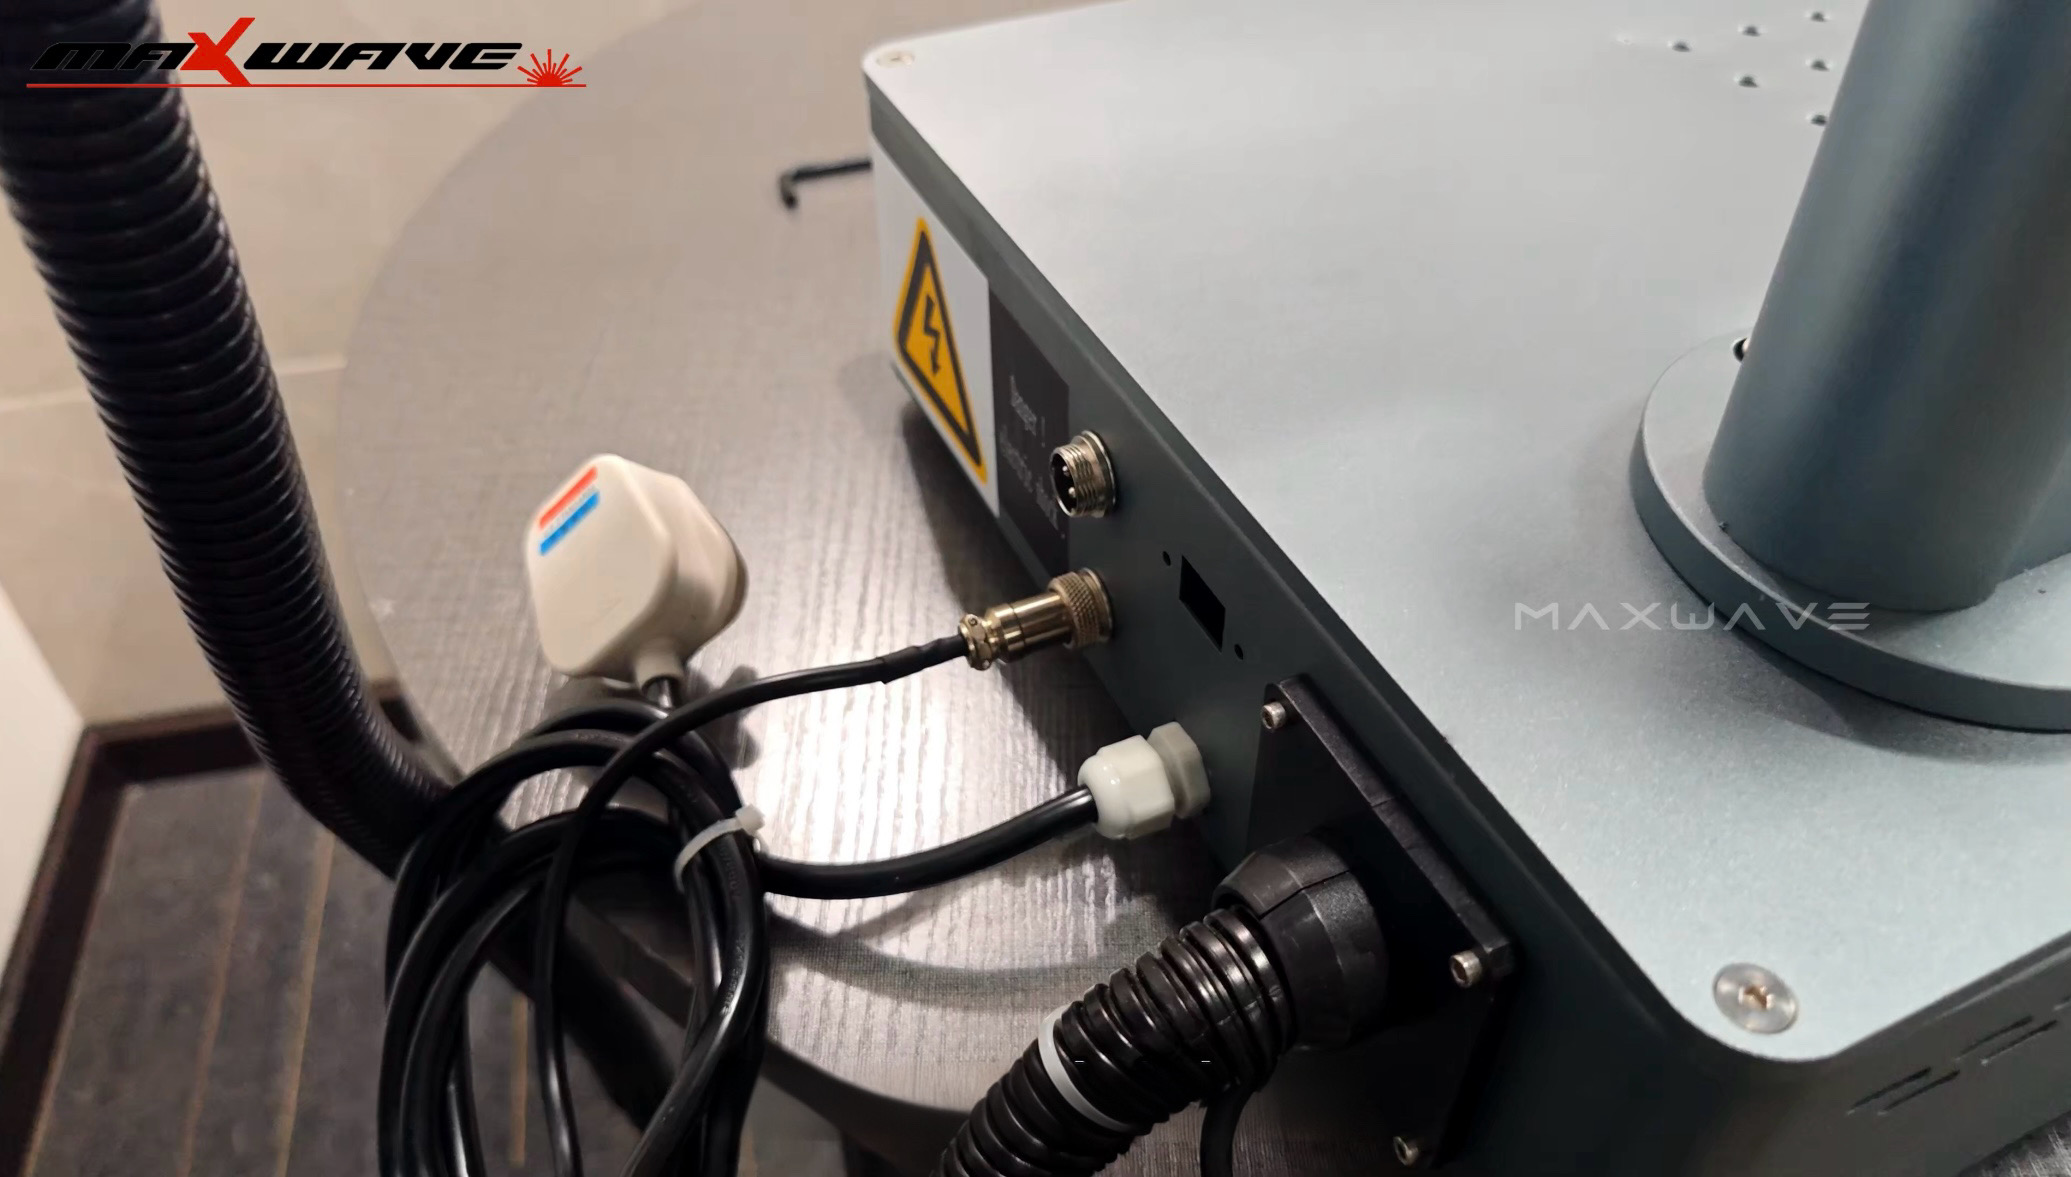
Check all power cables and connections on your laser engraving machine, including the main cord, exhaust, cooling system, and computer interface. Ensure the workspace is clear, optics are clean, and protective covers or filters are in place. Verify correct voltage and phase balance, as poor power connections cause many startup issues.
Starting and Powering On
Turn the key switch on and release the emergency stop of the laser engraving machine. Start all support systems like the chiller, exhaust, and air compressors, then power on the computer and launch the marking software. Press RESET if needed to send power to the laser engraving machine or recover from outages.
Machine Homing, Startup, and Readiness
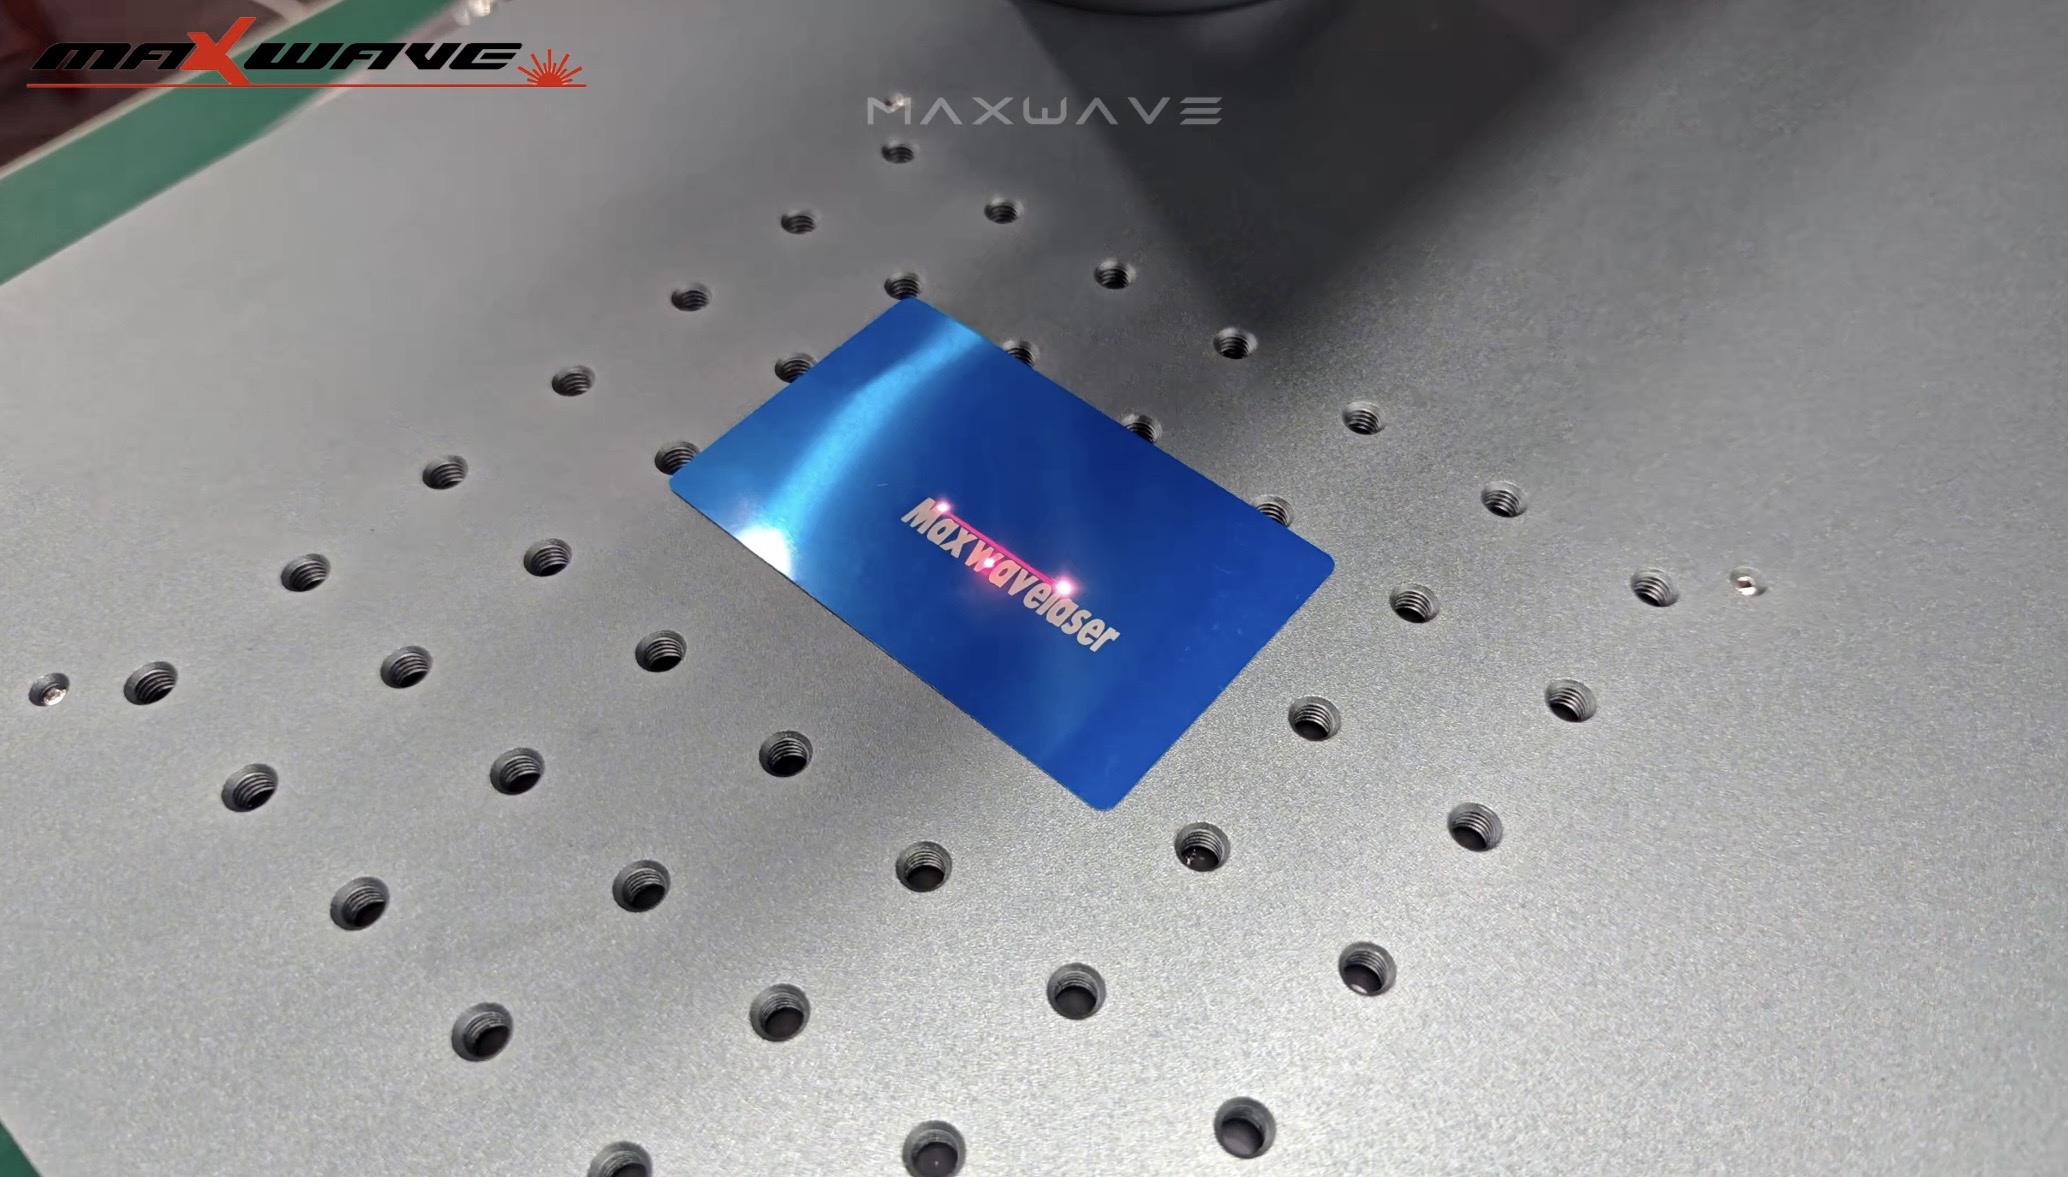
After startup, the laser engraving machine moves to its home/reference point, and a beep or LED indicates readiness. Remove the lens cover and ensure the optics path and scan head are clear before marking.
My Tip: In my experience, the whole power-on process for most desktop fiber or CO₂ laser engraving machines takes just 1 to 2 minutes. Following each step gives you a safe and smooth start before you begin importing files and making test marks.
Step 4: Configure Design and Software Settings
To get your laser ready for precise work, you need to set up the software. Here is the simple, step-by-step process I use.
Install the Laser Marking Software and Drivers
Begin by installing the control software, along with the correct drivers from the USB provided with your laser marking machine. Connect the laser firmly to your computer and ensure the drivers match your Windows system (32-bit or 64-bit) to prevent crashes and connection issues.
Import and Prepare Your Design
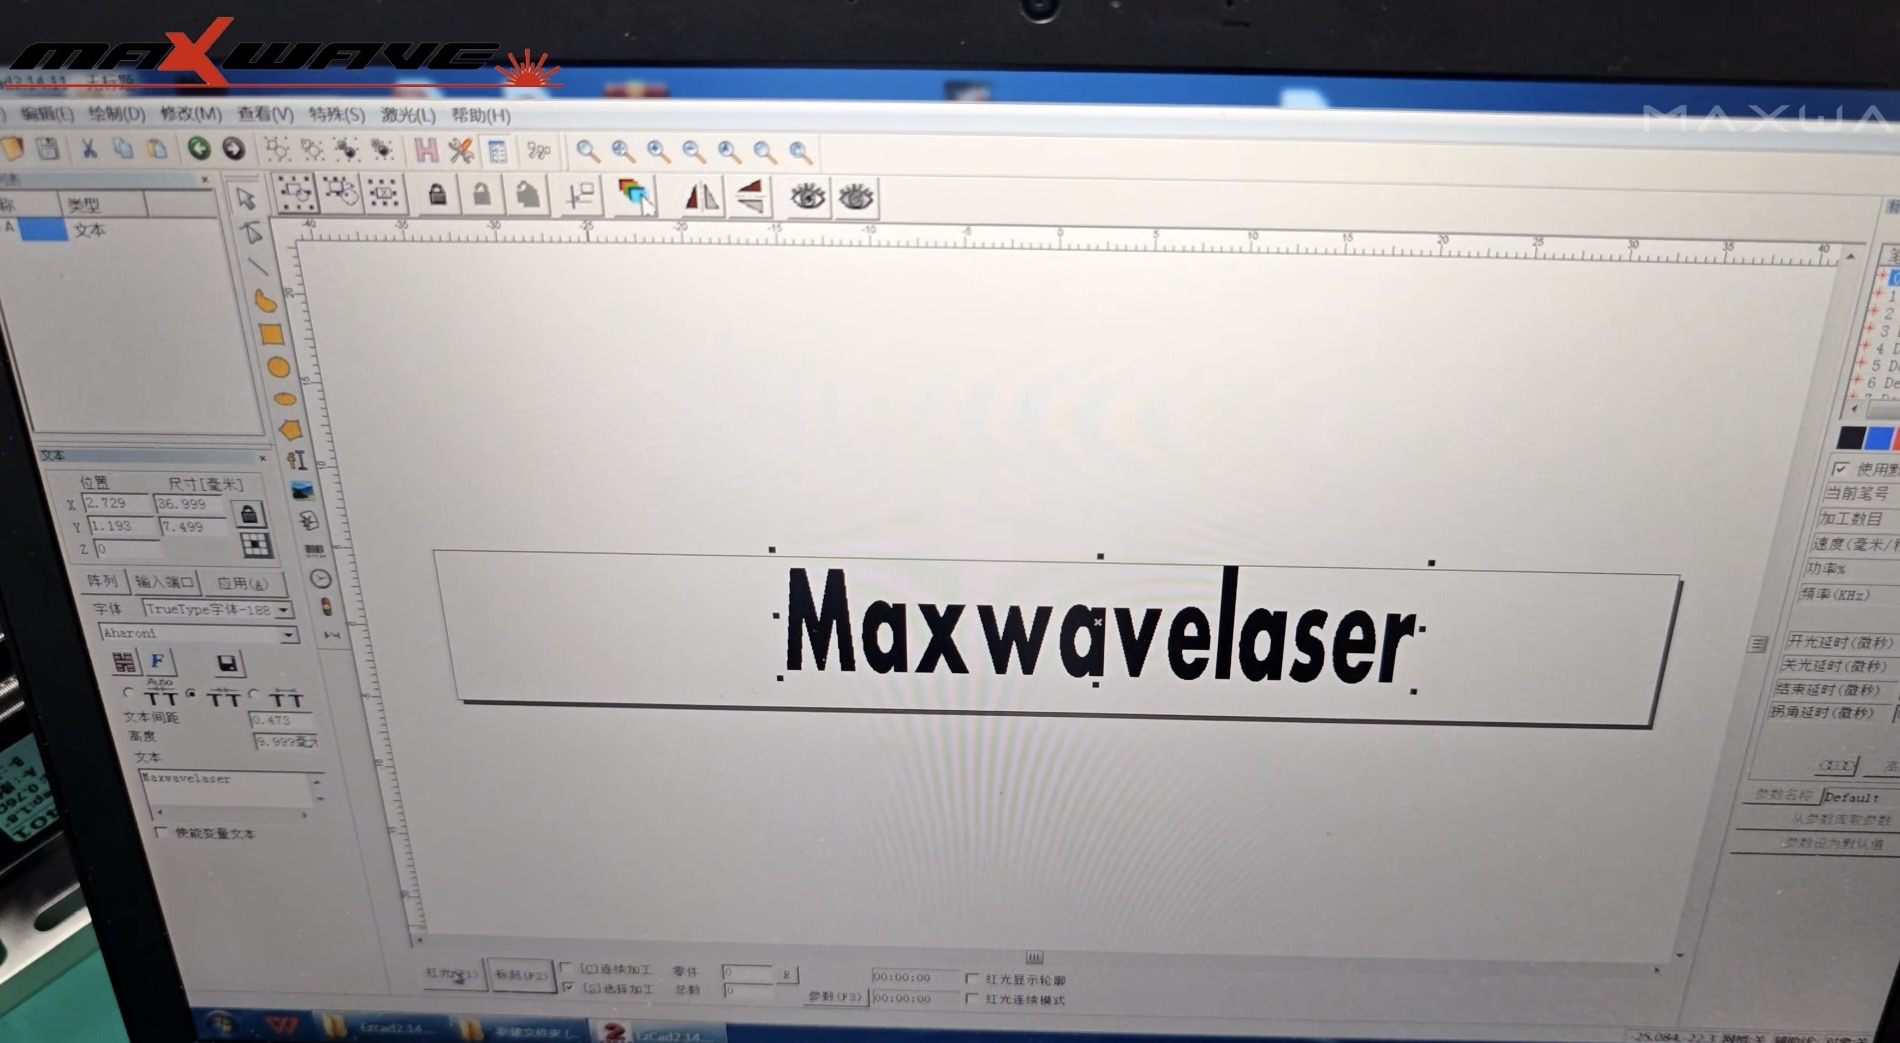
You can create new designs or import existing files, typically vector (.DXF, .AI) or image formats. Make sure your text, logos, barcodes, or serial numbers fit the material size and marking area of your laser engraving machine. Use the software’s sizing and alignment tools to position and center your design accurately.
Set Core Marking Parameters
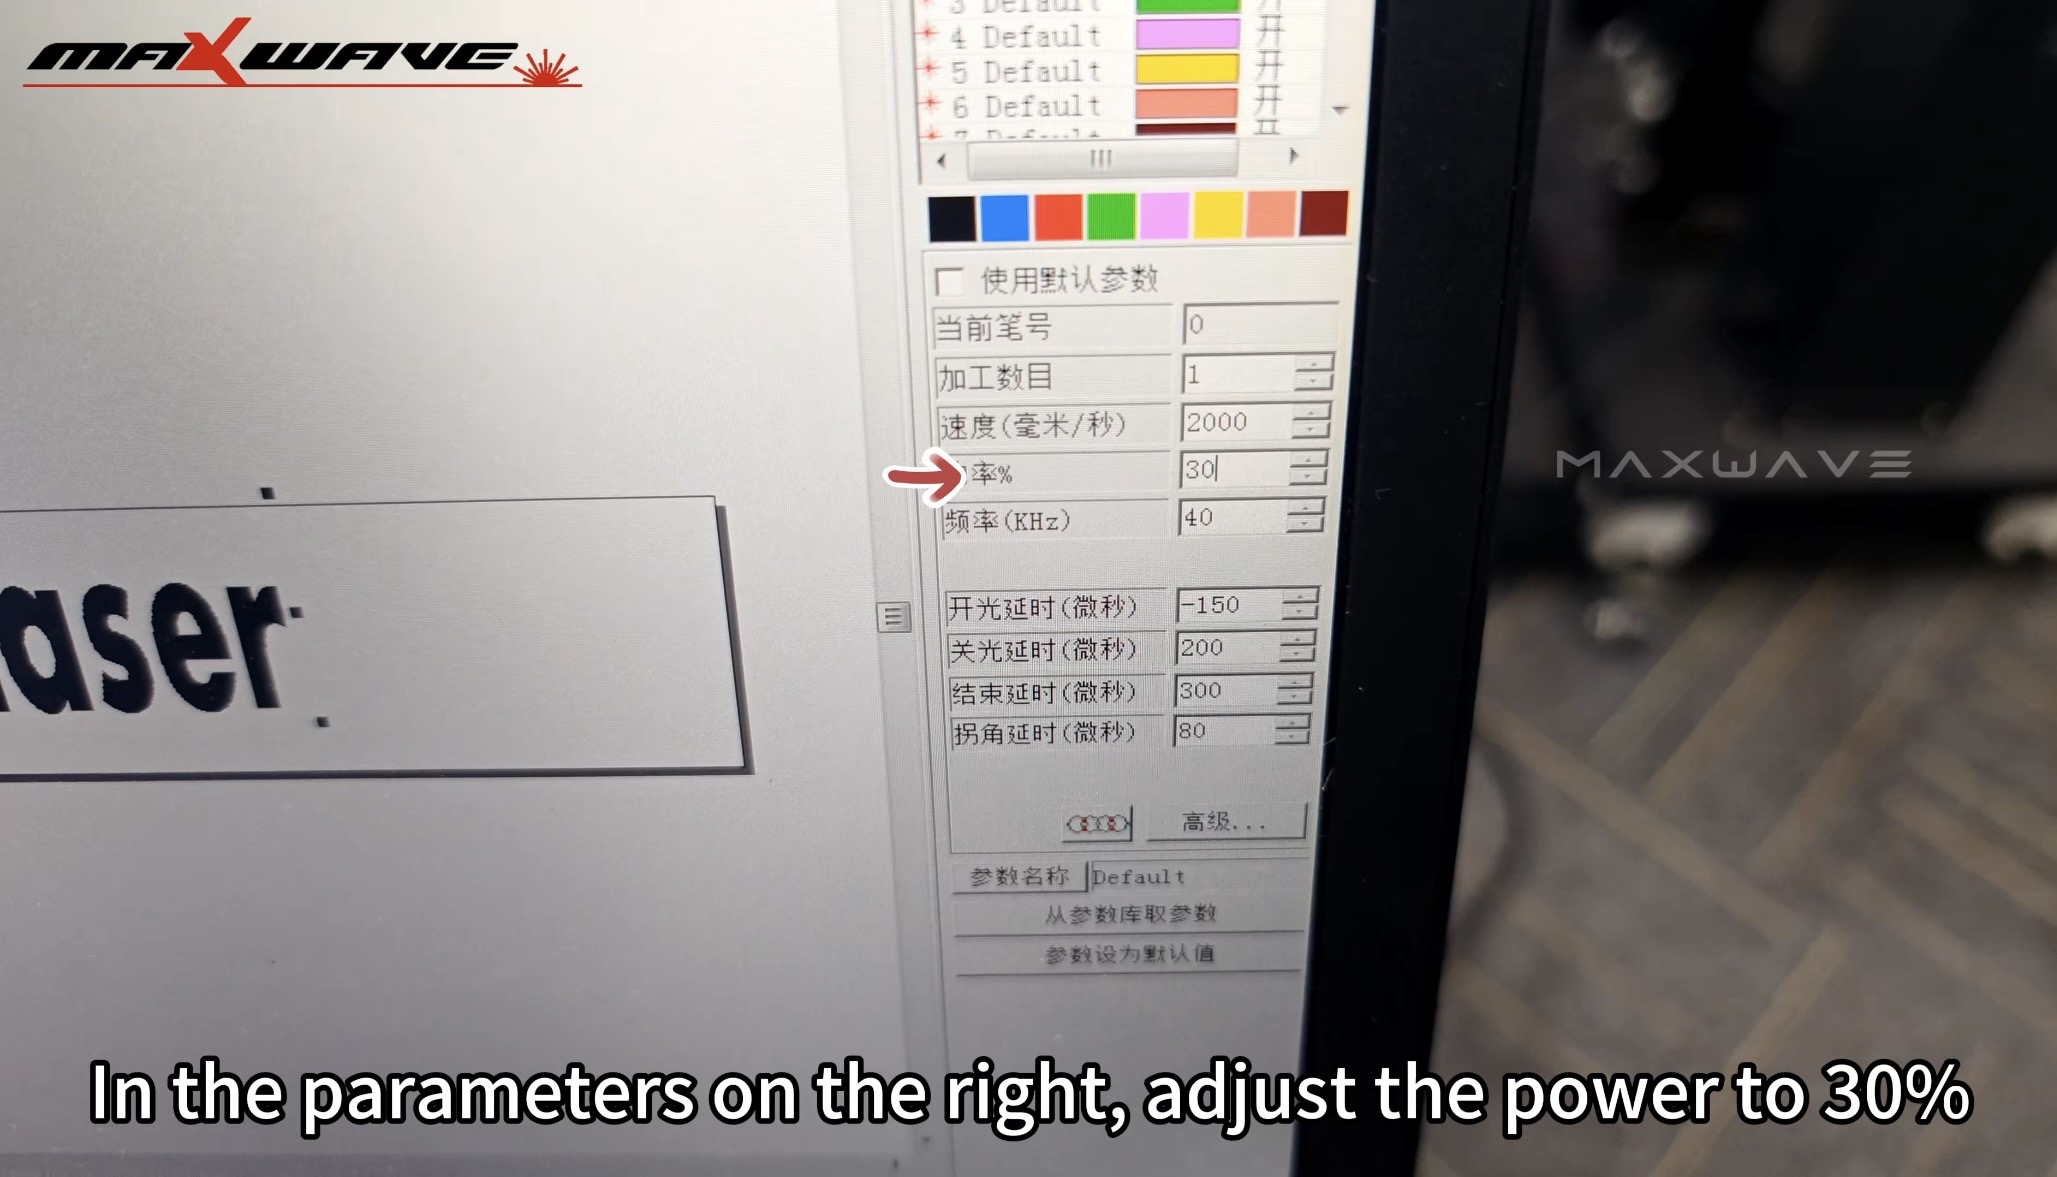
Before marking, adjust essential settings: marking speed (200–2000 mm/s for metals), laser power (typically 10–90% of rated wattage), pulse/frequency for contrast, fill density and hatch style for filled areas, and dot spacing for dot-peen functions. These settings ensure clear, high-quality marks on your material.
Perform Calibration and Alignment
Use the software’s X/Y calibration tools for precision under 0.1 mm. Switch on the red guide light to preview the design on your material, preventing mistakes and material waste.
My Tip: From my experience, a careful setup of your laser engraving machine parameters is key. The speed, power, fill style, and calibration all improve image quality and protect your materials and machine. I always test new settings on a sample piece first.
Step 5: Adjust Laser Parameters for the Best Marks
Getting your laser engraving system settings right is very important. You need to do this to get sharp, clean marks that look just how you want them. This is key when you work with metals like stainless steel and aluminum. Here’s how I suggest you handle this step for great results.
Key Laser Parameter Adjustments
- Power Settings: For deep engraving, I typically set power to 100% with speeds of 1500–2000 mm/s, while for color effects like red on stainless steel, I reduce power to around 45%. Higher power produces deeper or darker marks, but too much can damage delicate materials.
- Speed Adjustments: Slower speeds concentrate more laser energy on a spot, creating deeper or brighter marks. I typically use 1500–2000 mm/s for deep cuts and slow down to 1000 mm/s for detailed color work like reds or blues.
- Frequency/Modulation: I typically set the frequency to 60–80 kHz for even black marks on stainless steel and increase it to 300–400 kHz for bright colors. Very high frequencies (up to 50,000–100,000 Hz) produce denser, smoother marks during fast engraving.
- Pulse Width (MOPA Fiber Lasers): I adjust the pulse width on MOPA lasers to control colors—using 6 ns for blue and 60 ns for red—which allows consistent, bright results every time.
- Hatch Style & Line Spacing: I set the line spacing (hatch) between 0.003–0.02 mm—tighter spacing produces finer, smoother marks.
My Go-To Parameter Examples
Deep Engraving (fiber laser): Power: 100%, Speed: 1500 mm/s, Angle: 90/180/315°, Frequency: 35, Hatch: 1, Loop: 25, Line Space: *0.02 mm.
Red Color on Stainless Steel (MOPA): Power: 45%, Speed: 1000 mm/s, Angle: 0°, Pulse: *60 ns, Frequency: 400, Hatch: 1, Line Space: 0.003 mm.
Blackening Stainless Steel: For this, I use a lower speed and a higher current. I set the frequency to 60–80 kHz and mark with the laser just a little out of focus.
My Step-by-Step Guide for Adjusting Parameters
- Input Your Starting Values: I recommend choosing starting settings based on your material and the look you want. You can check the charts from your machine’s maker for tested values.
- Run Some Test Marks: I always use a piece of scrap material for the first few runs. I test in a line-filled or dot-filled mode to see what the effect will look like.
- Tune One Setting at a Time: I adjust just one thing at a time, like power, speed, or spacing. Then I look closely at the laser mark for its depth, sharpness, and color.
- Reduce Spacing for a Smoother Look: If you want a cleaner mark or deeper color, try decreasing the line spacing and test it again.
- Check Your X-Axis Offset: I adjust the X-axis offset to line things up in the workspace. For example, I might set it to -1 mm for a big shift or -0.5 mm for a small correction.
- Balance Speed and Quality: For materials that can handle it, I use high-frequency settings. I also let the laser take longer to pass over the area. This way, going fast doesn’t hurt the quality of the mark.
By adjusting these parameters on your laser engraving machine one by one and checking your results on real material, you will find the perfect mix of speed, contrast, and a long-lasting mark for any project.
Step 6: Execute the Final Engraving Process for Laser Marking Machines
Now that you’ve set your laser settings and completed a successful test mark, you can begin the final laser engraving process. This is the stage where your preparation pays off, turning your settings into a finished, traceable mark on your product.
Ensure Proper Loading and Positioning
Load your part carefully into the laser engraving solution, making sure it is stable and correctly positioned. I recommend using alignment fixtures or locating pins to ensure the mark lands exactly where you need it, which helps achieve the most accurate and consistent results.
Use Vision-Assisted and Closed-Loop Workflows
If your system includes a vision-assisted, closed-loop workflow, I suggest using it. This setup provides automatic code checks, built-in alignment, and real-time inspection before and after marking, reducing the need to touch or move the part. From my experience, it minimizes operator errors and ensures consistent high-quality results.
Execute the Marking and Inspection Cycle
Marking cycles are fast, sometimes taking as little as 12.5 seconds per part. Depending on your material and design, you can choose black-annealed marking for strong black marks, white etching for bright high-contrast results, deep engraving for recessed serial numbers, or laser annealing, etching, and ablation for color, texture, or coating effects.
I believe using this efficient, controlled approach with a laser engraving machine for your final marking can create up to 75% time savings compared to older, manual systems. In my experience, this is the most important step for getting fast, consistent, and traceable results in any production environment.
Step 7: Post-Processing and Cleaning After Laser Engraving
After you finish laser engraving, the next steps are cleaning and post-processing. I find these steps are crucial. They protect the mark’s quality and make it last. Here, I’ll walk you through each step and share tips from my industrial experience.
Essential Cleaning Steps for Laser Marked Parts
After marking with a laser engraving machine, remove any leftover paste or debris—especially with CO₂ lasers on metals, as residue can blur or hide marks. Use a soft brush, lint-free cloth, IPA, deionized water, or neutral pH cleaners depending on the material, and always test on plastics first. Finally, ensure parts are completely dry before handling, stacking, or packaging to avoid stains or surface issues.
Inspection and Quality Control After Cleaning
After cleaning, inspect the mark closely to ensure it is clear, sharp, and correctly positioned, with no residue, blurs, double images, scratches, or discoloration. For metals processed with a laser engraving machine, use a solvent or ultrasonic cleaner to remove tiny particles or residues, and for plastics, gently wipe away any film or stickiness—avoiding harsh solvents that could damage the surface.
My Pro Tips for Post-Processing
- I suggest you use soft, non-abrasive tools for cleaning. This protects both the mark and the material itself.
- You should inspect every batch, not just some of them. In my experience, small mistakes can pile up fast during a production run.
- I recommend tracking your process times. This helps you find any holdups in your workflow so you can make things more efficient.
Based on my experience, putting time into good post-processing is essential. It’s the best way I know to get professional, long-lasting laser marks. This is true if you’re making one part or running large batches in a factory—it saves you money and helps your laser engraving machine last longer.
Summary
By following these steps, you’ll see how easy and rewarding laser marking can be. From crisp, lasting marks on metals and plastics to custom designs that stand out, the possibilities are endless. If you’re ready to elevate your projects, improve productivity, and achieve professional-quality results, investing in a reliable laser marking machine is the next smart move for your workshop or business. Ready to learn more? Contact us now for expert advice on laser engraving machines.

