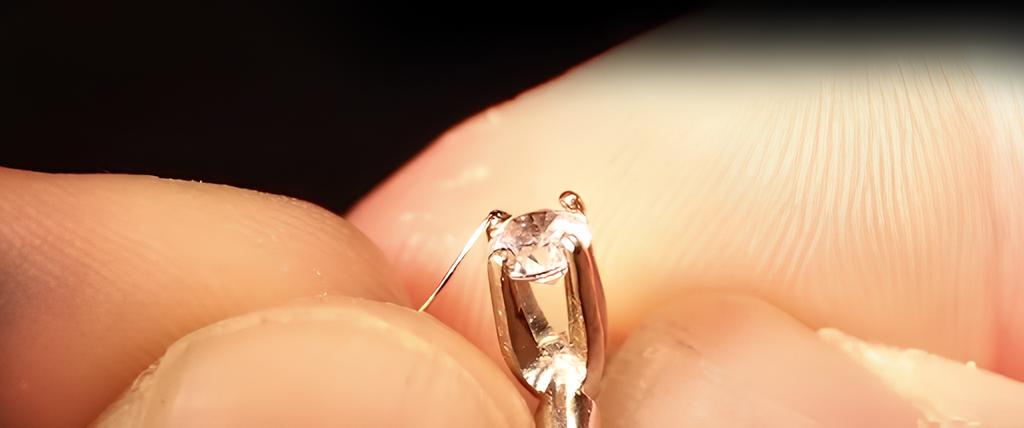
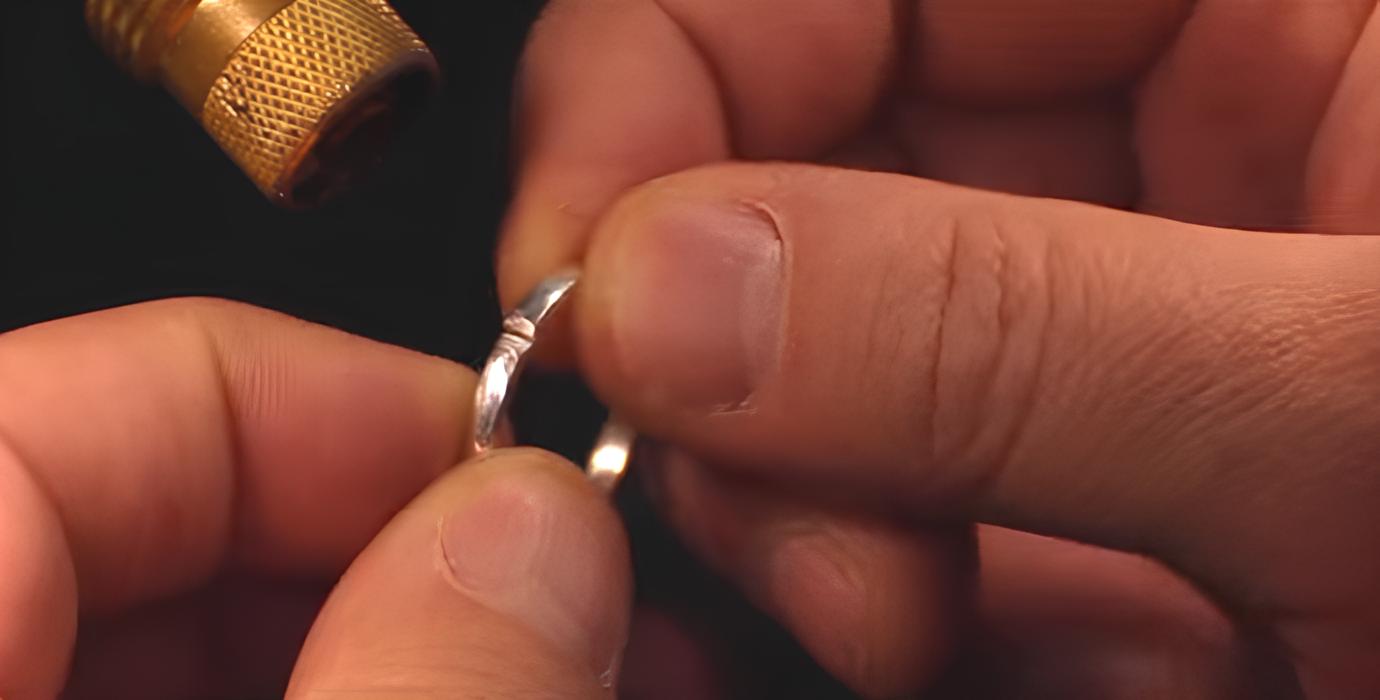
I often wonder how jewelry gets those perfect, tiny welds without damaging the valuable metal. From my experience, it’s more than just steady hands. You need to use the jewelry laser welder correctly. This covers everything from starting it up to shutting it down. I believe learning these steps makes tough jobs look easier. It also helps keep your equipment in good working order. But I’ve noticed beginners often overlook one important habit. In my opinion, this habit makes a huge difference…
Jewelry Laser Welder Operation Guide
Here are the steps I follow to operate a jewelry laser welder well and without issues:
Preparation and Setup
First, I make sure all components are properly installed and securely connected, including the microscope, water pipes, laser thermal switch, and power cables. I then fill the chiller with water to provide sufficient cooling during the laser welding process. In my experience, this step is essential for preventing the machine from overheating and ensuring long-term reliability.
It’s worth noting that machines like the MaxWave jewelry laser welder come with a built-in air-cooling system, which eliminates the need for an external water chiller. This makes setup much more convenient and is especially ideal for daily jewelry work or use in small workshops.
Setting Welding Parameters
Next, I adjust the voltage, pulse duration, frequency, and energy on the jewelry laser welder to match the metal’s type and thickness. For example, I use different settings for a 3mm platinum ring shank and an 18k yellow gold earring post. From experience, I’ve learned that higher voltage gives deeper penetration, but if it’s too high, it can cause holes. So, I always test settings first and save the best ones for each metal type.
Workpiece Positioning and Alignment
I start by securing the jewelry piece firmly on the platform or fixture to keep it steady. Then, I use the laser’s aiming system to precisely align the beam with the weld spot or joint. Making sure the piece doesn’t move is essential—it helps prevent misaligned welds and ensures clean, accurate results.
Initiate Welding
I start the laser using either the start button or foot switch, depending on the setup. The laser then quickly heats and melts the metal, fusing the parts together precisely at the spot I aimed.
Real-Time Monitoring
I watch the welding process through the microscope or viewing system. Watching helps me apply the weld exactly where needed. It also lets me spot any welding problems right away.
Cooling, Inspection, and Post-Processing
I let the welded area cool naturally, avoiding any contact while the metal is still hot. Once it’s safe, I inspect the weld carefully to ensure it’s strong, smooth, and free of defects. If needed, I’ll do some light grinding, polishing, or cleaning to enhance the jewelry’s final appearance.
Shutdown and Maintenance
I make sure to shut down the jewelry laser welder correctly after I finish using it. If I won’t use the machine for a long time, or if it’s in a cold place, I drain the water from the cooling system. This step prevents damage.
From my perspective, following these steps helps even beginners get good, exact, and high-quality laser welds when making jewelry.
Post-Weld Maintenance and Shutdown
I believe good maintenance and a clear shutdown routine are very important after you use a jewelry laser welder. Following these steps helps keep everyone safe. It also makes your machine last longer and work its best for future jobs.
Essential Maintenance Steps
- Check the Machine and Work Area: Look over the laser welding machine to make sure it’s clean. I suggest you remove any dust, oil, or dirt from the outside and the work area. This stops unwanted material getting into your welds.
- Cooling System Check: If the machine you are using is a water-cooled system, make sure the water level in the cooling system is normal. In my experience, it is best to use only clean coolant. This can prevent the system from overheating or being damaged.
- Argon Gas System: Check the argon gas supply level. Make sure all connections are tight. When you finish working, I recommend you close the gas valves tightly to stop leaks.
- Software Shutdown: Exit or shut down any running software programs on the machine’s screen. Doing this helps prevent losing data or having errors next time you use it.
- Power-Off Sequence: First, turn off the laser generator. Then, turn off the dust collector, water chiller, and other connected equipment in that order.
- Argon Cylinder Valve: Close the main argon gas cylinder valve. Make sure it’s closed tight to stop gas flow and prevent leaks.
- Main Power Supply: Switch off the main power after you have turned off all other equipment. This step completely powers down the entire laser welding machine system.
- Workspace Cleaning: Clean the workspace and any machine tools well. I suggest removing all leftover metal bits. This avoids messing up future welds.
Safety & Protection Features
- Laser Head Safety: The laser head has built-in safety features. If the machine detects an error or data loss, it stops sending out the laser beam right away. This keeps things safe.
- Welding Gun Circuits: The welding gun and trigger use several separate safety circuits. Letting go of the trigger cuts off all laser connections at once. This stops the machine if there’s a problem or danger.
In my opinion, skipping these shutdown steps after welding can shorten your machine’s life. It might also cause sudden failures or safety risks. Following a good maintenance routine and a clear shutdown plan helps make sure your machine lasts. It also ensures safe and effective jewelry laser welding each time you use it.
Jewelry Laser Welder Tips for Beginners
If you’re new to permanent jewelry welders, I have some tips for you. These suggestions can help you improve your welds, take care of your machine, and keep your workspace safe. Here are some key tips I recommend:
Essential Maintenance and Upkeep
It’s important to keep your jewelry laser welder clean for optimal performance. I recommend regularly cleaning the protective lens inside the laser chamber to maintain beam quality. Also, check the cross-hair alignment frequently to ensure precise targeting during welding. Don’t forget to monitor and maintain the cooling system—this helps prevent overheating and ensures consistent, high-quality results every time.
Mastering Welding Settings
I find it helpful to think of laser settings like controlling a water hose. Voltage is like the water flow—it controls how much energy you put in. Beam diameter is like adjusting the nozzle—it sets the size of the laser spot. And pulse duration is how long the energy is applied—something you should adjust based on the metal type and thickness. Fine-tuning these settings for each piece of jewelry helps ensure you get the best weld quality every time.
Handling Silver and Other Metals
- Prepare silver jewelry before welding: Do not polish before welding. I recommend roughening the area with fine-grit sandpaper, an emery board, or sandblasting instead. You can mark the weld area with a Sharpie or even a fingerprint. Based on my experience, this reduces shine and helps the metal absorb the laser.
- From my experience, silver needs more power and time than gold or platinum: Make sure your welding machine can deliver at least 6 kilowatts of peak pulse power when welding silver. I recommend setting the frequency to 1.5 to 2 Hz to maintain steady heat, which helps the metal flow more evenly. Avoid starting and stopping too frequently, as keeping the heat consistent allows for better penetration and a stronger weld.
Selecting and Using Welding Wire
For choosing the right welding wire, I suggest using sterling silver wire with about 5% platinum for silver. I find that 30-gauge wire works well for most fill work. When using a jewelry laser welder, you can ball up the end of the wire with a laser pulse before applying it for larger welds. To keep your workspace organized, I recommend storing fill wire on floss bobbins, which helps improve efficiency.
Tips to Improve Your Welding Technique
- Pulse at different angles. In my experience, you don’t always need to hit the weld straight on. Changing angles gives you different results and coverage. Sometimes hitting only part of the area with the beam gives the effect I want.
- Clean all jewelry surfaces well before welding. Remove any dirt, grease, or dust. This helps ensure better weld quality.
- Keep the jewelry steady on your welding table. This helps you make precise and consistent welds.
Safety Tips for Laser Welding
Always wear safety goggles and gloves to protect your eyes and skin from the laser. Ensure you’re working in an area with good airflow to avoid inhaling fumes from the welding process.
If you follow these tips for beginners, I believe you can get better results. You can also help your machine last longer and make your jewelry welding workspace safer and more efficient.
Summary
I’m learning more about jewelry laser welder every day. I feel my skills are getting better. I really enjoy how this craft mixes careful technical work with art. That mix makes it very satisfying for me. I focus on using the correct methods and keeping safety first. I’ve learned this makes even difficult welds feel possible to handle. Patience and lots of practice are super important. From my perspective, every weld teaches me something new. These lessons help me build my skills. My goal is to make jewelry that looks great and is strong enough to last a long time. For more details about jewelry laser welder or to get a quote, contact us today!


