
Focus lens contamination is one of the top causes of beam quality loss in fiber laser welders. Many operators rely on quick, convenient cleaning methods — but most of these do more harm than good. Below is a comparison of common cleaning approaches, followed by five practical habits that actually protect your optics and extend lens life.
Method Comparison: Why Regular Cleaning Is Not Enough
|
Cleaning Method |
Time |
Risk of Lens Damage |
Removes Sintered Spatter? |
Applicable Scenario |
|---|---|---|---|---|
|
Blowing with mouth |
5 seconds |
High (saliva/oil residue) |
No |
Not recommended for any scenario |
|
Regular tissue wiping |
30 seconds |
Extremely high (scratches coating) |
No |
Prohibited |
|
Industrial rag + alcohol |
1 minute |
Medium-high (fiber residue) |
No |
Emergency temporary use only |
|
Lint-free swab + analytical grade ethanol (correct method) |
3-5 minutes |
Very low |
No |
Daily cleaning |
|
Compressed air blow + optical swab one-way wipe (recommended) |
5 minutes |
None |
No (requires replacement) |
Before and after each use |
Three Common Cleaning Misconceptions
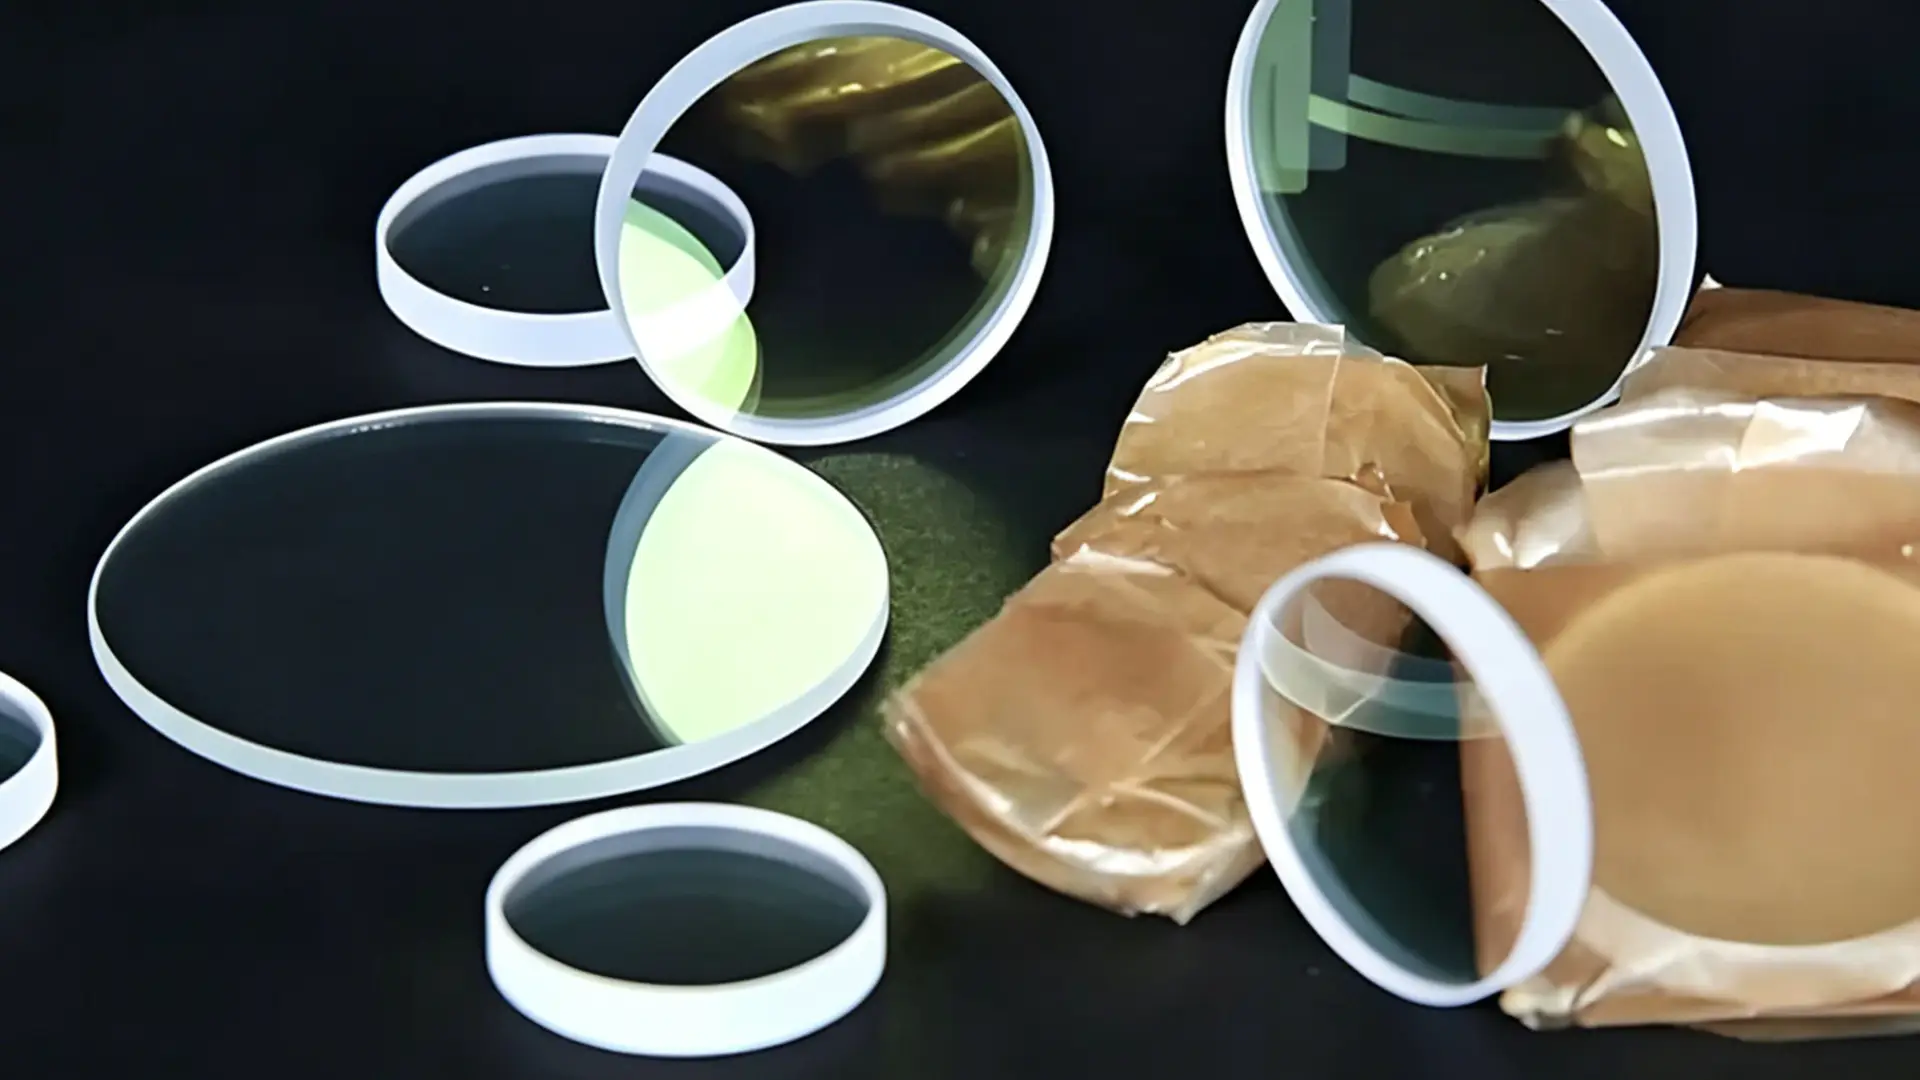
Many operators use whatever tool is within reach to clean the lens. Wiping with a tissue, using a shirt corner, or simply blowing on the lens surface. These methods seem time-saving, but the cost is high.
Tissues and industrial rags contain wood fibers and hard particles that leave microscopic scratches on the lens coating. Blowing with your mouth deposits saliva moisture and oils directly onto the optical surface, which then bake into permanent stains under laser heat. Impurities in industrial alcohol leave a hazy residue on the lens, gradually reducing transmission.
The common problem with all these methods is that they only remove loose dust. They do nothing to remove spatter or sintered fume deposits generated during welding, and improper handling actually accelerates lens failure.
Correct Cleaning Habits for Laser Welder Focus Lenses
Focus lens contamination is one of the top causes of beam quality loss in fiber laser welders. The five practical habits below take less than five minutes to complete, effectively extend lens life, and maintain stable welding quality.
Habit 1: Perform a Standardized Inspection at the Start of Every Shift
Inspect the lens before powering on the welder. One full inspection per shift. In high-spatter environments, add an extra check every four hours.
Stop and inspect immediately if you see any of these signals: three to five consecutive welds with visible defects, weld width deviation exceeding ±0.5 mm, laser power reading drifting more than ±2–3% from setpoint, or a noticeable rise in spatter volume.
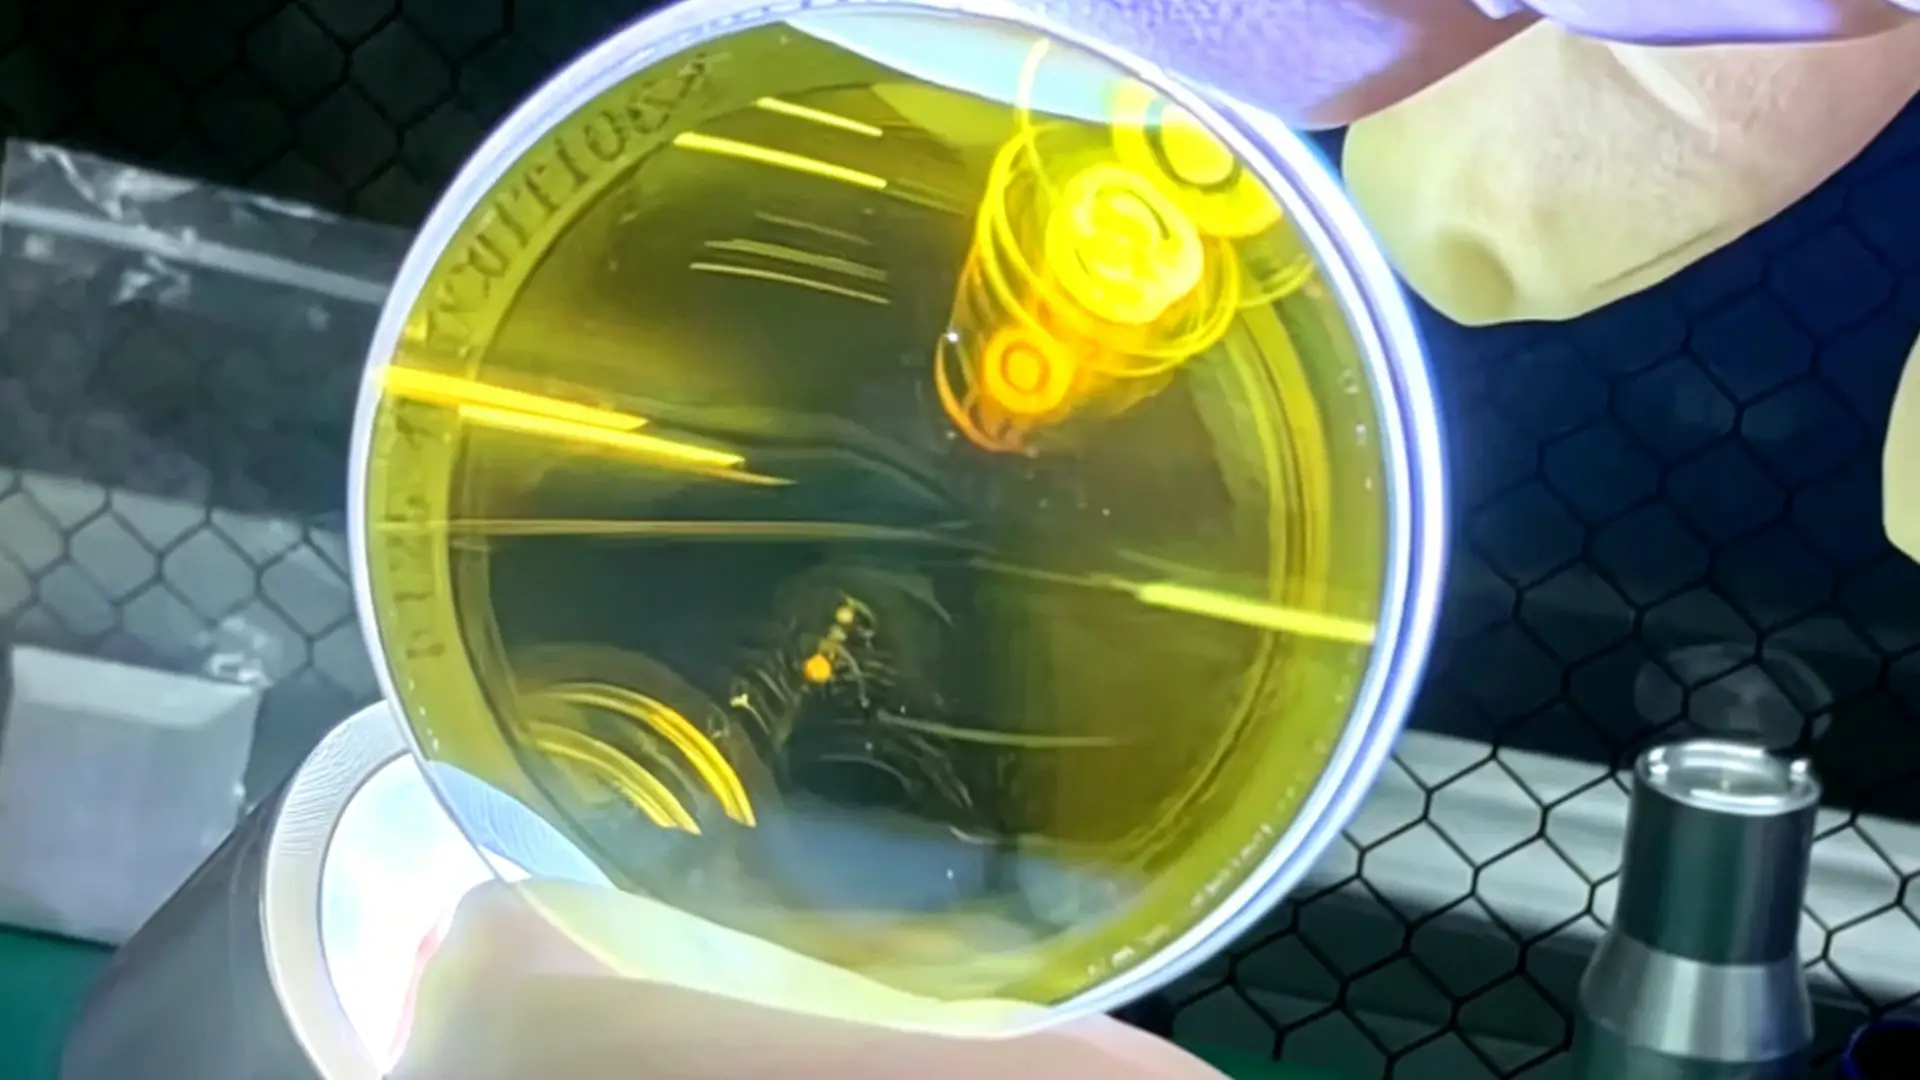
Inspection method: Use at least 500 lux of white light. Hold the lens 20–30 cm away. Slowly rotate it 360 degrees. Then follow up with a 5–10× magnifier focused on the beam spot zone. Any burn spot larger than 0.1 mm diameter inside the beam path, or any visible crack longer than 0.5 mm, means immediate replacement.
Habit 2: Follow a Standardized Cleaning Workflow
Lock out before touching: Cut main power, lock the switch with a lockout device, attach a tag, and press the start button to confirm the machine will not energize.
Wear gloves: Use powder-free, silicone-free ISO Class 5 cleanroom nitrile gloves. Regular exam gloves leave residue.
Blow dust off first — always: Use filtered, oil-free compressed air at 0.2–0.4 MPa, pushed through a 0.01 μm terminal filter. Hold the nozzle 5–10 cm from the surface at a 30–45° angle. Sweep in one direction. No compressed air? Use a dedicated rubber bulb blower. Never blow with your mouth.
Wipe with single-direction strokes: Load a 3 mm swab with 1–2 drops of anhydrous ethanol (≥99.5% purity). Move from the center of the lens in a straight line toward the edge. Lift. Rotate to a clean section of the swab or grab a new one. For a 25 mm protective window, 4–6 single-direction passes cover the full surface. Apply light pressure — just enough that the swab glides without bending.
Verify before reassembly: Hold a high-CRI white LED flashlight at a 15–30° angle to the lens surface. Look for streaks, fingerprints, haze, or remaining spots. If two full cleaning cycles do not clear a fixed spot, it is coating damage — replace the lens.
Habit 3: Handle Focus Lenses With Optics-Grade Precision
Bare skin never touches an optical surface. Wear cleanroom gloves and touch only the lens edge, chamfer, or mounting seat. Never press on the clear aperture zone.
When setting the lens down temporarily, use a dedicated lens tray, V-groove soft pad, or clean optical tissue. Check the surface for metal chips or spatter before placing the lens. Stacking multiple lenses? Use separator films between each one.
Habit 4: Use Protective Airflow, Gas Quality, and Sacrificial Windows as Your First Line of Defense
The focus lens should never be your first line of defense. Set up three protection layers: protective airflow, clean supply gas, and a sacrificial window.
Airflow pressure: Position the gas curtain nozzle 1–3 mm below the protective window, angled 5–15 degrees to the beam. For thin sheet welding under 3 mm, 0.3–0.8 bar is sufficient. Medium thickness (4–10 mm) needs 0.5–1.2 bar. High-fume processes require 0.8–1.8 bar.
Gas purity: N₂ requires ≥99.999% purity. O₂ requires ≥99.99% for mild-steel cutting. Pressure dew point must be ≤−40°C. Run a white paper test each month — hold clean paper 2–5 cm from the gas outlet at operating pressure for 30–60 seconds. A yellow or oily ring means oil mist. Wet spots mean water carryover.
Sacrificial window: Inspect it every shift. Replace once you spot pitting, spatter marks, burn marks, or haze that won’t come off after two careful cleaning passes. For two-shift production under moderate conditions, plan on 4–12 windows per head per year.
Habit 5: Control Your Workshop Environment to Slow Contamination at the Source
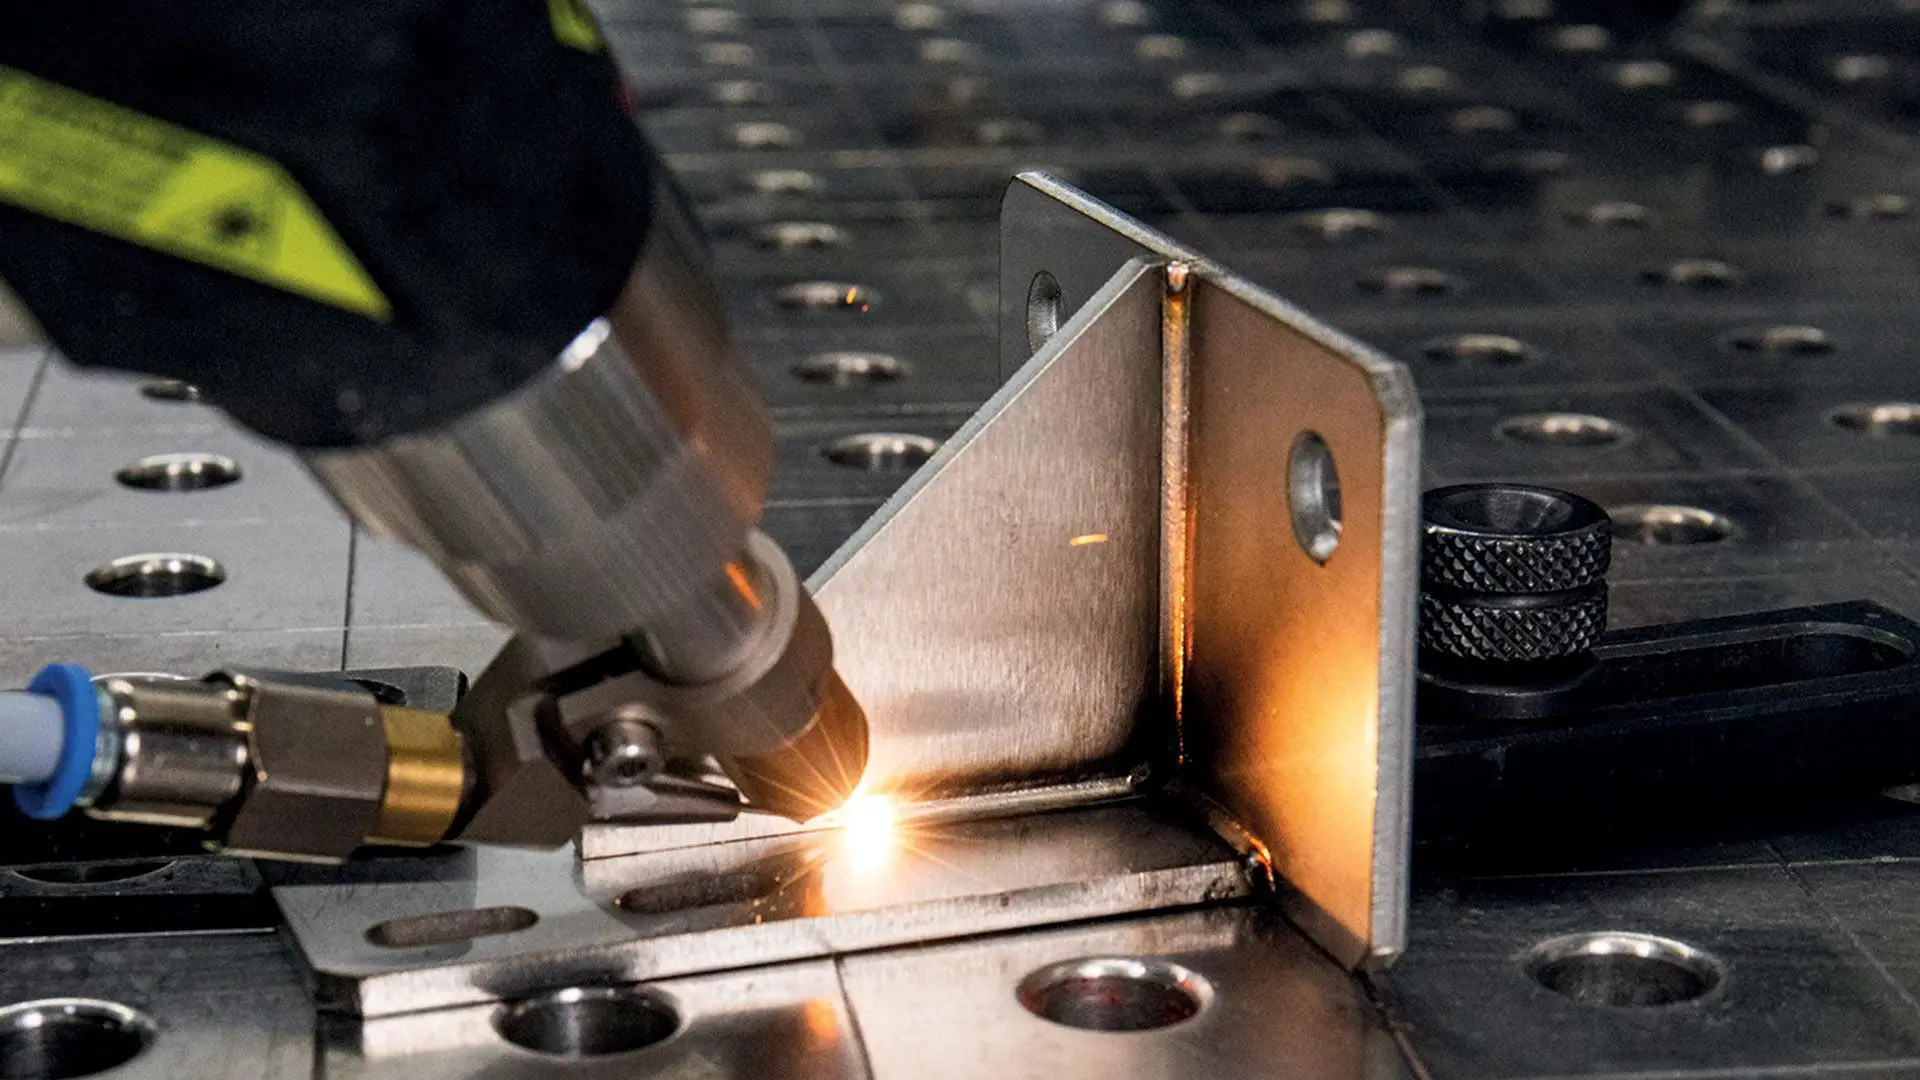
Keep your laser welder at least 10–15 meters from heavy-duty grinding or sandblasting operations. Oil mist and spray zones need 15–20 meters minimum. Use independent exhaust systems — recirculated air carries fumes right back.
Target 15–20 air changes per hour inside the welding area. Push that to 20–25 ACH during continuous welding shifts. Data shows that in a space running below 10 ACH, lens surface deposition rates jump 1.5 to 2 times higher than in a well-ventilated room.
After every shift, use an industrial vacuum with HEPA filtration to clear metal particles from tooling, fixtures, and the floor. Skip dry brooms — they scatter dust. For high-volume stations running more than eight hours a day, run a quick vacuum pass every four hours.
Clean chiller and laser source cooling vents every two weeks in dusty conditions — at minimum, once a month. A clogged filter raises internal temperatures by 5–10°C and accelerates every other failure mode.
Conclusion
Your focus lens does not fail overnight. It fails shift by shift, through small oversights that build into expensive problems.
These five habits form a complete protection system: pre-shift inspection catches problems early, correct cleaning procedures remove contamination safely, proper handling prevents secondary damage, protective airflow and sacrificial windows block most threats, and environmental control reduces contamination at the source.
Turn this into a written standard operating procedure. Pair it with a 30–60 minute hands-on training session for every operator. Post a quick-reference checklist at the machine. Run through seven steps every time: power off, gloves on, remove window, blow dust, wipe if needed, inspect, reassemble and test. Less than five minutes total.
Operators with the longest lens life are not using better equipment. They are just more deliberate about the basics.