
Your laser welder was running fine — then nothing. No beam, no output, no clear reason why. Most failures of laser welder no laser output don’t require on-site maintenance. Around 60%-70% of such issues stem from incorrect parameter settings or faulty safety interlocks instead of defective laser hardware. Follow the troubleshooting sequence of power supply, safety interlock, chiller, grounding, control signal, optical lens, and laser source to quickly restore laser emission. The detailed practical troubleshooting steps are listed below.
1. Inspection of the Complete Power Supply Circuit
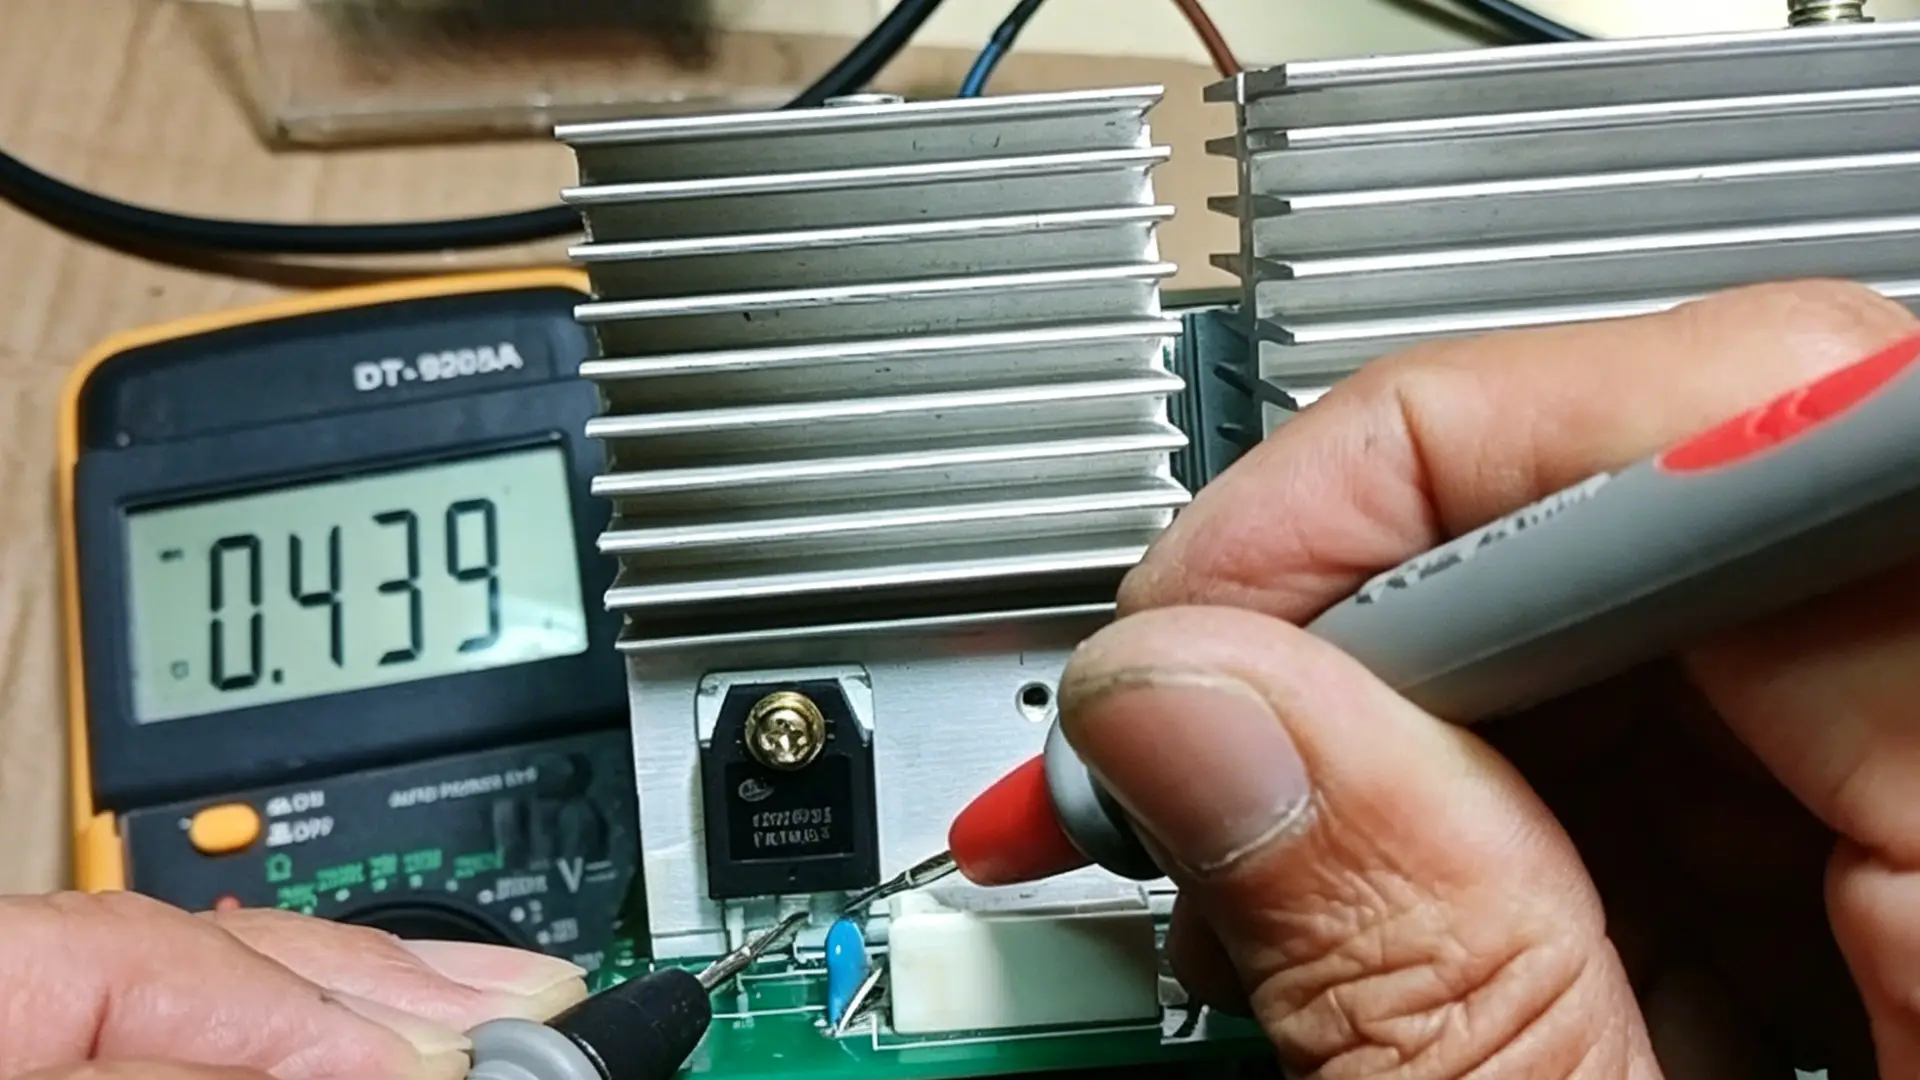
Checking power supply first resolves roughly 20% of no-output failures. Test the whole power circuit with a multimeter: input voltage for single-phase machines should stay within ±10% of rated value, while voltage difference between three phases of 3-phase welders shall not exceed 5%. Swap the equipment on the same socket for testing; no power at the socket means problems exist in the front-end wiring. Visually check power cords for crack, overheating or oxidized plugs. If indicator lights flicker when bending cable ends, internal wire breakage occurs; replace cables directly when measured conduction resistance exceeds 1Ω.
Examine circuit breakers on workshop distribution cabinet and miniature breakers inside the machine. A breaker stuck in the middle position indicates tripping; reset it by shifting to OFF position before switching on. Never repeatedly close the breaker if it trips immediately after startup, which signals internal short circuit. Cut off power and wait 60 seconds for capacitor discharge before checking built-in fuses. Replace blown fuses with parts matching original rated current and fusing characteristics; never use oversized substitutes. Power off the machine for 60 to 90 seconds for full discharge and reboot to clear error codes on the controller. Statistically, standard power-cycle fixes 15% of control-related no-laser-output faults.
2. Reset Emergency Stop & Full-Machine Interlock
Most no-output issues are triggered by unclosed safety interlocks. Rotate all E-stop buttons (on machine panel, welding torch and external console) clockwise by 30° for unlock; unsprung E-stop will directly cut off laser output. Fully close all access panels and protective covers with latches securely fastened, then verify all interlock signals display closed status on the controller diagnostic page. Hit the safety reset button after all interlocks are released; manual startup command is still required to activate laser. Replace faulty E-stop switches if interlock alarm persists after reset due to damaged internal contacts.
3. Troubleshooting for Chiller System Failures
Chiller protection activation is a common cause of zero laser output for handheld fiber laser welders, featuring normal pilot red light and running fans but no welding laser beam. First check fault codes on chiller display and resolve alarms accordingly. Recommended cooling temperature ranges from 18℃ to 25℃; high-temperature protection locks laser above 30℃ and low-temperature shutdown occurs below 15℃.
Match cooling water flow rate against machine power: 1~2kW welders need minimum 4~6L/min flow and get alarm below 3L/min; 3~6kW models require 8~12L/min with protection threshold at 5~6L/min. Refill cooling tank when liquid level drops below 30%, using deionized water mixed with 10%-20% ethylene glycol as coolant. Straighten twisted water pipes, replace pipeline filters every six months and bleed air bubbles from water circuit. Reset chiller after eliminating alarms and standardizing parameters, then test laser emission again.
4. Grounding Circuit Inspection for Handheld Laser Welders
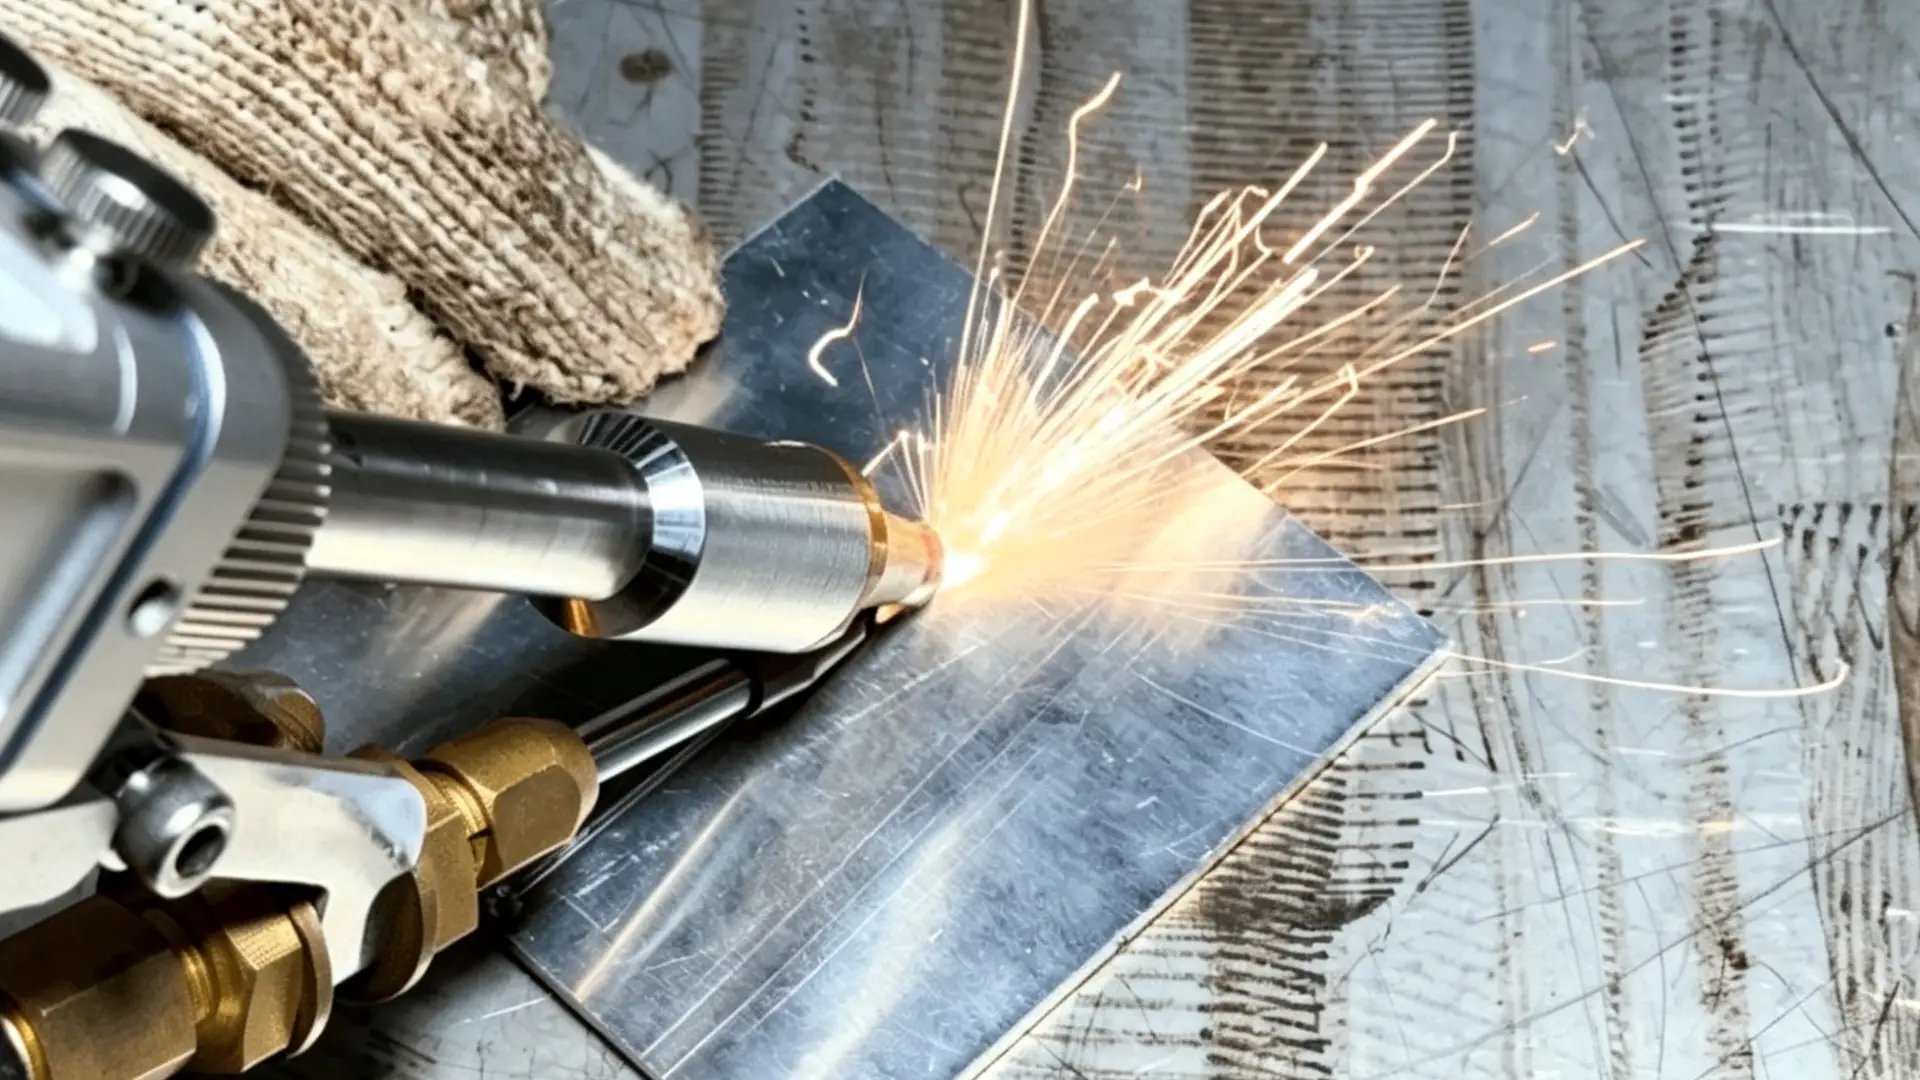
Poor grounding causes intermittent beam cut-off or complete output failure without system alarms. Check the full grounding cable from machine terminal to ground clamp: replace cables with cracked insulation or exposed copper wires. Polish rusted terminals with 80~120 grit sandpaper, apply conductive grease and fasten M6 bolts with torque of 6~10N·m.
For grounding cables within 5 meters long, measured resistance must be under 0.02Ω; values over 0.05Ω imply broken inner copper strands. Grind paint, rust and oxide off workpiece clamping points to expose bare metal, and fix ground clamp within 300mm of welding spot. Test in operation: fluctuating laser beam while moving ground clamp confirms bad grounding which needs re-clamping after surface polishing. Pre-shift 30-second grounding inspection effectively avoids grounding-caused downtime.
5. Verification of Laser Parameters and Trigger Signals
If chiller and indicators work normally but no laser comes out, double-check both physical and software laser enable switches: turn on Laser Enable option on control system and shift machine key switch to ON position; disabled either side blocks laser output directly. Confirm working mode is set to Welding instead of Cleaning or Cutting mode. Ensure laser power is higher than 5%, pulse frequency and duty cycle are above zero; overly low parameters disable laser excitation, and record original settings before parameter modification.
Swap spare welding torch, foot pedal and trigger cables for fault location; replace defective parts once laser works after swapping. Fix bent or corroded plug pins, and perform continuity test by shorting 5V of TTL control wire. Move on to laser source inspection if laser still fails to emit after above operations.
6. Fault Code Reading and Laser Source Malfunction Confirmation
If previous checks turn out fine with zero laser output, retrieve fault codes from controller. Common error codes for mainstream fiber lasers include E01 overheat, E03 abnormal flow and E07 open interlock, corresponding to chiller and safety circuit issues respectively. For Laser On Key Alarm on startup: cut off full power → confirm release of start button and closed optical shutter → wait 60s for full initialization after power on → enable laser and shutter in correct order; wrong startup sequence leads to repeated alarms.
Connect to original diagnostic software via RS232 or Ethernet to check Laser Ready status, real-time module temperature and historical fault logs. Clear temporary alarms caused by momentary low voltage, transient overheat or incorrect startup sequence. Contact professional service if alarms recur constantly after reset, accompanied by back-reflection error, overheated QBH connector or module communication failure; never disassemble laser module without authorization.
7. Optical Inspection of Protective Lens and Welding Nozzle
Contaminated lens or clogged nozzle accounts for frequent low-cost breakdowns. Power off and cool down the machine, wear nitrile gloves to detach protective lenses (common thread specs M25×1/M26×1). Replace lenses with burnt coating, cracks or surface spatter over 0.1mm; wipe mild stains one-way with lens tissue soaked in 99.5% anhydrous ethanol or IPA and discard used tissues directly after single use.
Clean blocked copper nozzles (common bore size 0.8~2.0mm) with brass wire brush once spatter buildup blocks over 10% of inner bore; replace deformed or eccentric nozzles completely. Remove nozzle and trigger laser temporarily; recovered beam indicates nozzle failure. Inspect lenses per shift for heavy-duty production and check nozzles daily for regular manufacturing to prevent optical blockage.
8. Advanced Electrical Faults & Guidelines for After-sales Service
Do not open high-voltage chamber without professional electrician qualification. Send machines to authorized service when encountering following problems: repeated breaker tripping on switch-on with burnt odor, persistent Laser Ready failure after full troubleshooting, over 60℃ overheating on QBH fiber or torch handle, and zero output despite passing all self-tests. Before applying for repair, prepare machine model, serial number, fault occurrence description, alarm screenshots and finished troubleshooting list to shorten engineer’s maintenance cycle.
Conclusion
Form standardized maintenance checklist: daily inspection on E-stop switches, grounding wires and lens appearance; weekly check on chiller liquid level, coolant conductivity and interlock function; monthly coolant replacement, terminal fastening and rated power testing to reduce no-output malfunctions fundamentally.
When encountering various tricky laser welder no output power issues, turn to professional technical support from MaxWave. Equipped with mature manufacturing techniques and complete after-sales system, all MaxWave fiber laser welders including handheld and tabletop models undergo full aging testing before delivery for low failure rates. The brand’s technical team provides remote troubleshooting guidance, plus on-site maintenance for customized and high-power laser equipment to minimize production downtime.