
A fiber laser welder is a precision instrument. Like any high-performance tool, what happens between welds matters just as much as what happens during them.
Spatter buildup on the nozzle, a smudged protective lens, or a neglected cooling system — these don’t just degrade your weld quality. They drain your budget through premature part failures, unplanned downtime, and expensive replacements you could have prevented.
The good news? A solid Laser Welding gun daily maintenance routine takes less time than a coffee break. It’s the single highest-ROI habit any operator or shop manager can build.
Troubleshooting inconsistent seams? Building a standardized SOP for your production floor? This is the no-fluff, hands-on guide you need.
What Happens If You Skip Daily Laser Welding Gun Maintenance?
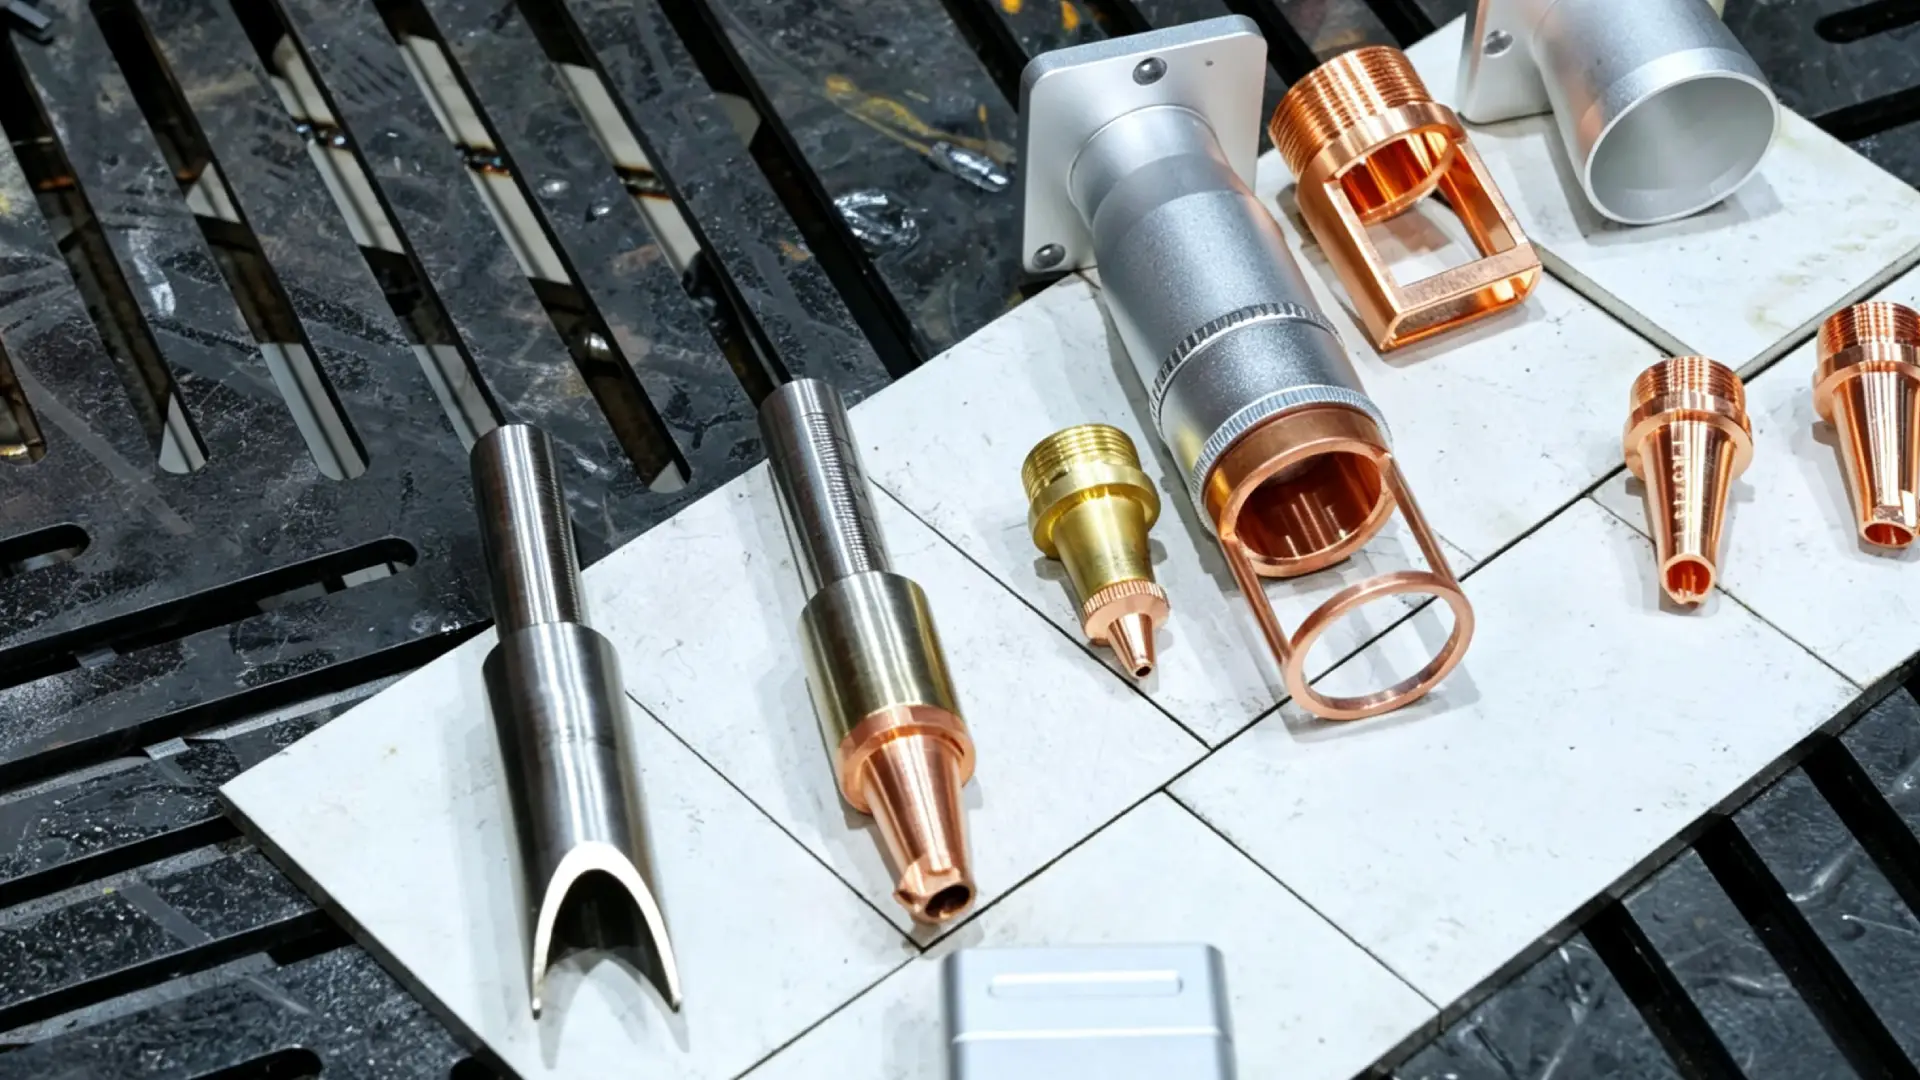
Neglect builds up in silence — then it hits your budget all at once.
A smudged protective lens gives no warning. It bleeds laser energy, drops Weld penetration, and pushes heat up toward your focus lens. By the time the weld seam looks weak or the power feels “off,” the damage is done.
Here’s what that looks like in real numbers:
The $20 lens that becomes a $500 repair:
Skip the protective lens swap ($10–30/piece) in a high-heat environment. Smoke residue and metal vapor bake onto the glass. That buildup drives heat straight into your focus lens. One focus lens replacement runs $300–800+, plus 2–8 hours of downtime to re-align the optical path.
The downtime math nobody runs until it’s too late:
One lens-burn incident pulls 4 hours offline. For a mid-size shop running $100–200/hour, that’s $400–800 in lost output — gone. On a two-shift line where the welder is the bottleneck, that wipes out 20–40% of a full day’s production.
The power-loss spiral: Operators see reduced penetration. The reflex is to crank up power. That puts more thermal load on optics that are already under stress. Component life drops faster. Spatter goes up. Each part now needs 30–120 seconds of extra post-weld grinding. At 500 parts/day, that adds up to 4–17 extra labor hours per day — before anyone files a service ticket.
The catastrophic edge case: A clogged, slag-coated nozzle can kick the beam back into the gun body. Nozzle replacement: $10–50. A burned fiber head or gun assembly? $1,000–3,000+, plus engineer dispatch time. That’s the price of skipping a 2-minute wipe-down — multiplied by every shift it got skipped.
The numbers are clear: preventive maintenance costs 1–5% of what reactive repair costs. The routine in this guide takes under 10 minutes per day. Skipping it costs far more — and the bill always comes at the worst time.
Daily Pre-Use Inspection Checklist: 8 Things to Check Before You Start Welding
Eight checks. Two minutes. That’s all it takes to keep your Laser welding gun out of the repair queue.
Run through this list before the first arc fires — every shift, every operator, no exceptions. Each item has a clear pass/fail threshold. No guesswork needed.
① Gun Body & Handle Look for cracks, burn marks, or soft spots on the housing. Press the trigger at least 5 times. It should cycle clean, with trigger response under 0.5 seconds both ways. Any sticking, dead travel, or visible metal exposure = stop and report before Welding.
② Fiber cable & Connectors Walk the full cable length. Look for sharp bends (minimum bend radius: 15–20× cable diameter), cuts, or swollen sheathing. Wiggle each connector. Rotates more than 5° by hand? Shifts more than 2mm? Pull it from service now. Don’t wait.
③ Nozzle Remove it. Check the bore: it should be round, centered, and free of slag. Has the opening widened more than +0.3mm from the standard size? Does internal buildup block more than 30% of the opening? Replace it. Scraping it clean and continuing is not an option.
④ Protective Lens This is the most critical item on the list. Remove the cover and inspect under good light. Wipe in one direction only — use optical-grade solution on a lint-free cloth.
Pass: clear view, no rainbow interference, no chips at the edge, O-ring intact.
Fail: any crack, burn pit, brown/yellow scorching, or residue that won’t wipe off.
A damaged protective lens will destroy your focus lens. That’s a $300–800+ replacement bill versus a $10–30 swap today. The math is easy.
⑤ Coolant Level & Temperature Check the tank. The level should sit at or above the midpoint between MIN and MAX marks. laser return water temperature should read 20–30°C. Above 35°C? Alarm keeps going off? Do not Weld. Also check for airlock bubbles in the lines and any wet spots around pump fittings.
⑥ Gas Pressure & Line Integrity Confirm you have the right shielding gas for the job — Ar, N₂, or compressed air. Match your WPS. Nozzle-side pressure should fall in the 0.1–0.3 MPa range for Laser Welding. Brush soapy water over all fittings and regulators. Continuous bubbles = a leak. Fix it before touching the gun.
⑦ Power Cable & Ground Turn the Machine off first. Then scan the full power cable for crush damage, cuts, or char marks. Check the plug: the ground pin must be present and longer than the phase pins. A plug that feels too hot to touch — above 60°C — or smells burnt signals a contact or overload problem. That is not a “run it and see” situation. Stop and report.
⑧ Work Area Safety
Clear a 1-meter radius around the welder. Remove cardboard, solvents, rags, or anything flammable. Make sure at least one extinguisher sits within 10 meters and shows a green-zone pressure reading. No standing water, no oil on the floor, no cables blocking the exit path. Your site requires a posted notice? Put up the “Hot Work in Progress” sign before the first arc fires.
How to Clean a Laser Welding Gun Nozzle: Step-by-Step
The nozzle takes the most punishment of any part on your welding gun. Spatter hits it first. Heat builds up there fast. A clogged or deformed nozzle sends your shielding gas chaotic — and your weld seam follows.
Here’s the full cleaning sequence, from shutdown to reinstall.
Step 1: Power Down and Let It Cool
Kill the laser, hit the e-stop, and wait. The nozzle needs to drop below 40°C before you touch it — about 5–10 minutes, depending on how hard you were running it. Do a quick hand-back test: if it stings, wait longer.
Close the shielding gas supply and bleed the line. You don’t want a burst of nitrogen or argon kicking dust into your optical path the moment you crack the fitting.
Blow down the work area with dry, oil-free compressed air. Clean start, clean finish.
Step 2: Gear Up — This Is Precision Work
Lint-free gloves. Eye protection. A dust mask. Skin oils contaminate the nozzle seat — and anything near the protective lens even more so. Lay the gun head on a clean, soft surface. Not the welding table. Not anywhere with spatter on it.
Step 3: Remove the Nozzle
Threaded nozzle (most common): Support the gun head with one hand. Rotate the nozzle counterclockwise — 1–3 full turns on an M8–M10 fine thread is standard. The moment it’s off, seal the gun body opening with a dust plug or clean lint-free cloth. You’re protecting the protective lens seat from particles above 5 µm. Don’t skip this.
Snap-fit nozzle: Depress the retaining clip and pull straight back. Check the clip spring tension — if it’s weak or bent, flag it now.
Quick-release rotary nozzle: Loosen the locking ring 30–45°. Wait for the click, then pull the module. Store it in a dedicated nozzle case, not loose in a drawer.
Step 4: Light Contamination — Dust and Thin Spatter
For minor buildup: dry compressed air first, then a soft brass brush, then a clean pass.
- Blow from outer surface → inner bore → thread, holding the nozzle at least 100mm from the nozzle tip. Keep pressure at ≤0.2 MPa — too much and you drive particles into the surface rather than clearing them.
- Use a soft brass brush (0.1–0.15mm wire) in a circular motion on the outer face and bore entrance. Light touch — you’re clearing residue, not resurfacing metal.
- For light internal slag, use a flat-tipped wooden or plastic rod to scrape with care. No steel picks. No metal tools. Scratching the bore changes its diameter and roundness. That changes your gas flow.
Step 5: Moderate Contamination — Visible Spatter and Oxidation
Yellow or black oxidation visible to the naked eye? Step up to solvent cleaning.
What to use: 99.5%+ isopropyl alcohol or anhydrous ethanol. For stubborn oxide, apply a small amount of 6% distilled white vinegar for no more than 30 seconds. It softens the layer before the alcohol wipe.
How to do it:
1. Put 2–3 drops of IPA on a lint-free swab. Wipe the nozzle face and inner bore entrance in one direction only — no back-and-forth. Dragging particles cuts scratches into the surface.
2. For oxidized areas, dab white vinegar with a fresh swab. Use small circular pressure, 30 seconds max.
3. Follow with an IPA or acetone wipe right away. Remove every trace of acid and metal salts. The final pass should evaporate fast with zero streaks.
4. Finish with a light blow of clean dry air.
Step 6: Heavy Contamination — Clean vs. Replace
Bore closed in? Edge mushroomed outward? Opening gone elliptical? Replace the nozzle. Don’t try to grind or file it back to round. Changing the nozzle face angle — which sits between 15–30° — throws off your gas coverage geometry entirely.
No replacement on hand? As a one-time emergency only: work a soft brass brush with approved metal cleaner along the nozzle’s axis. Still, put a replacement on order before the next shift starts.
Replacement triggers at a glance:
| Condition | Action |
|---|---|
| Bore diameter expanded >0.2mm | Replace |
| Bore elliptical or flared | Replace |
| Gas pressure fluctuating >±10% | Inspect, replace if needed |
| Weld discoloration band widened >50% | Inspect nozzle and gas path |
| Standard copper nozzle, 1–4 weeks of use | Schedule replacement |
High-spatter applications or continuous multi-shift production push copper nozzles harder. You may need a fresh one every few days — not weeks.
Step 7: Before You Reinstall
Two checks before the nozzle goes back on:
The nozzle: The inner bore should be smooth — no grit, no burrs. Thread or snap-fit surfaces must be clean, with no metal chips packed into the grooves.
The gun head: Keep the dust plug in place. Look at the protective lens seat. See any spatter or residue on the lens? Deal with it now — blow first, then do a single-direction wipe with optical-grade IPA on lens tissue. Burn pitting, scorching, or residue that won’t clear off the lens? Swap the protective lens before you weld. A dirty nozzle hurts gas coverage. A damaged protective lens sends heat straight into your focus optics. That’s a different problem — and a much higher cost.
Step 8: Reinstall and Align
Thread the nozzle back on clockwise by hand until it seats, then snug it — no tools needed for most handheld gun designs. Torque-spec models are different: follow the manufacturer value without going over. Overtightening distorts the thread and makes the next removal harder.
After reinstall, run a 3-second gas-only purge before firing. Watch for abnormal flow noise or pressure shifts. Sound or pressure changed from your baseline? The nozzle seat may not be fully down, or the bore may still have a blockage.
Clean nozzle, clean gas flow, clean weld. That’s the whole sequence — and on a routine day with light contamination, it takes under three minutes.
How to Clean the Laser Welding Protective Lens
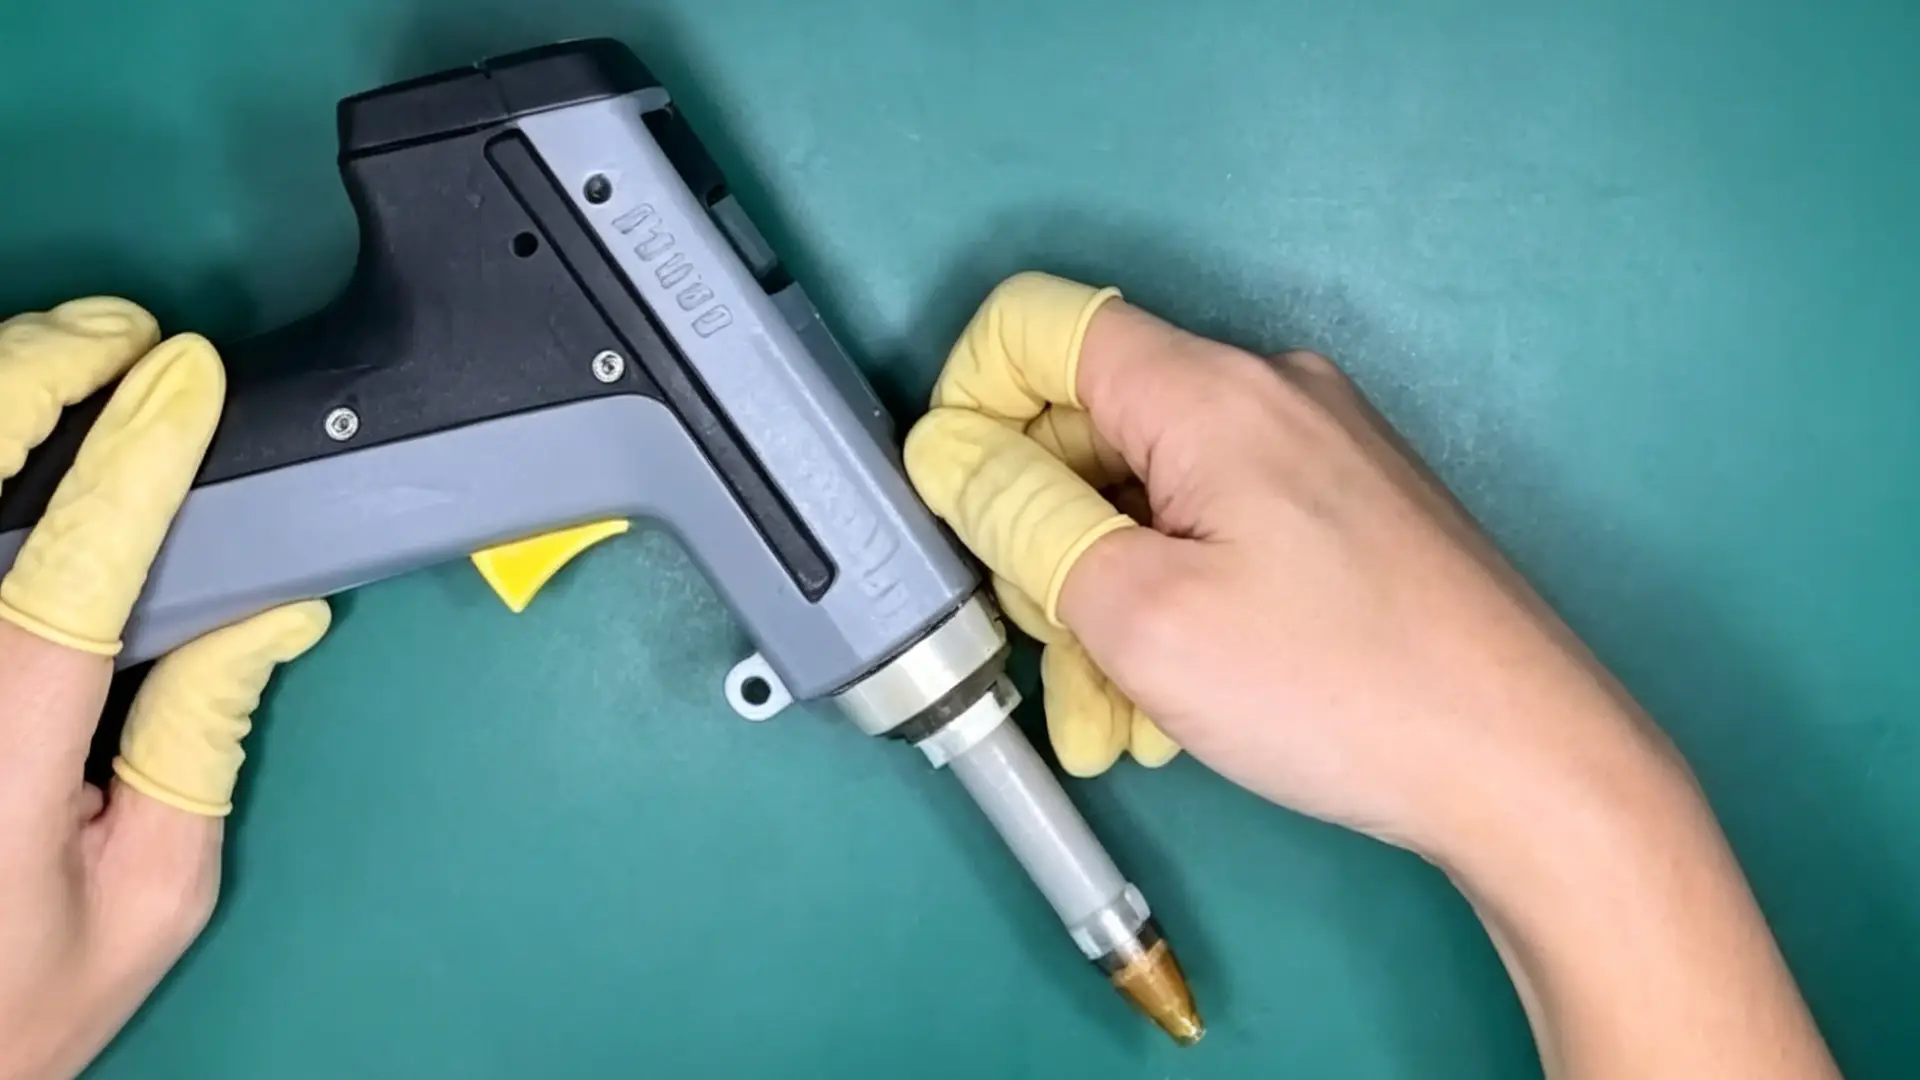
The protective lens costs $10–30. It sits between your laser and a $300–800 focus lens. That price gap should tell you everything about how to handle it.
Most optics damage doesn’t come from welding — it comes from cleaning wrong. The wrong cloth ruins the coating. One bare-handed touch does too. Even blowing on the glass with your mouth can etch the coating for good. No second attempt fixes that. Get the process right once, and it stays right.
What You’ll Need Before You Touch Anything
Don’t improvise here. Each item on this list exists because a cheaper substitute causes real damage:
- Optical-grade lens tissue or lint-free wipes — no paper towels, no cotton rags, no shop cloths. Wood-pulp fibers scratch the coating on every pass.
- Lint-free optical swabs (2–5mm tip, polyester or microfiber) — standard cotton swabs shed fibers. They also leave water marks behind.
- ≥99.5% anhydrous IPA or optical-grade acetone/ethanol — medical-grade alcohol holds 25–30% water. That water leaves mineral rings. Under laser load, those rings burn into the coating. Don’t use it.
- Oil-free compressed air or a rubber air bulb — unfiltered shop air carries oil mist, rust particles, and moisture. All three damage the lens rather than clean it.
- Powder-free nitrile or latex gloves — skin oils carbonize under 500–2000W laser output. One fingerprint = one burn pit.
The Cleaning Sequence
Step 1 — Power down. Laser off, not just idle. No exceptions. Then remove the protective lens drawer or mount. Point the gun head opening downward, or tape it closed while you work.
Step 2 — Gloves on, then grip the lens edge only. Never touch the optical surface — not even gloved fingers on the face.
Step 3 — Dry air pass first. Use low-pressure oil-free air (0.2–0.4 MPa) or an air bulb. Sweep across the surface from 5–10cm away. This lifts loose particles before any contact wipe. Skip this step and you drag grit straight across the coating.
Step 4 — Add solvent, don’t soak. Place the lens flat, face up. Add 2–3 drops of IPA to the surface — just enough to cover the wipe path. Keep solvent away from the O-ring groove.
Step 5 — One direction, one pass, new tissue every time. Drag a folded lens tissue across the surface in a single straight pull — center to edge, or left to right. No back-and-forth. Use a fresh piece for every pass. For stubborn spots, add 1–2 drops more solvent and use a swab with light arcing pressure. Still no scrubbing.
Step 6 — Let it dry, then blow once more. IPA evaporates in under 60 seconds. Follow with a final light air pass to clear any remaining fibers or micro-droplets.
Step 7 — Inspect under good light. Use a white background and check from multiple angles. Look for fingerprint haze, rainbow interference, water rings, or dark burn pits. Still contaminated after 2–3 cleaning cycles? That’s coating damage, not dirt. Replace the lens.
Step 8 — Reinstall with an O-ring check. Make sure the coated face points toward the laser entry side — check your manual if unsure. Inspect the O-ring next. Cracked, flattened, or fouled with metal chips? Replace it now. Tighten the retaining ring evenly. Too much torque stresses the glass.
Five Things You Must Never Do
| Prohibited Action | Why It Destroys the Lens |
|---|---|
| Blowing on the lens with your mouth | Saliva, moisture, and CO₂ etch the coating for good |
| Touching the optical face bare-handed | Skin oils carbonize and burn under laser load |
| Using water, glass cleaner, or abrasive solutions | Leaves ionic residue and strips coating layers |
| Wiping with paper towels, cloth rags, or unknown lens cloths | Coarse fibers drag micro-scratches across the surface |
| Cleaning while the laser is powered or in standby | The laser must be fully off before any contact |
Keeping Your Chiller in Check
Your chiller is quiet when it’s working. That’s the problem — it fails quietly too.
A cooling issue rarely announces itself. By the time you see a weld defect or an overtemp alarm, damage is already done. Run a 90-second check every shift. That’s your protection.
Check the coolant level first. Look at the sight glass or level marks on the tank. Below the minimum line? Top it up. Use distilled or deionized water only. Not tap water. Tap water carries minerals. Those minerals build up inside your cooling circuit, raise conductivity, and wear down precision parts over time. Check your manufacturer specs for the correct coolant mix ratio. Follow that formula as written.
Log the temperature. Target: 22 ± 1°C (21–23°C). Check the temperature and coolant clarity together. Cloudy or discolored fluid means contamination. Topping off won’t fix that — you need a full flush.
Overtemp alarm goes off? Act in this order:
- Stop welding — don’t push through it
- Check that the chiller unit is running (fan, compressor, error codes)
- Inspect hoses and the water filter for kinks or blockages
- Temperature still outside 22 ± 1°C? Shut the system down and call service
Walk the hoses and fittings. Look for three things:
– Wet spots or white mineral residue near joints — that’s a leak
– Hoses pressed against sheet metal edges — that’s a kink
– Fittings with white oxidation or green corrosion — fitting failure in progress
Any of those = fix it before the next shift starts.
No flowmeter? You can still catch a flow drop. Watch for these signs:
– Temperature climbs faster than normal under the same load
– The pump sounds louder than usual
– The gap between inlet and outlet temperature is wider than your normal baseline
All three point to a clogged filter or a restricted line. Don’t ignore them.
Replace the water filter on schedule. Full coolant replacement runs every 3 months for most systems. Adjust that interval based on how hard you’re running the machine and what your environment is like. Don’t wait for a failure to prompt the change.
| Daily Check | Pass Condition |
|---|---|
| Coolant level | At or above MIN line |
| Coolant temperature | 22 ± 1°C |
| Coolant appearance | Clear, no discoloration |
| Hoses | No kinks, cracks, or pinching |
| Fittings & joints | Dry, no corrosion, no white residue |
| Filter flow | Normal baseline, no pressure drop signs |
How to Handle Your Laser Welding Gun Without Damaging It
The fiber cable is not a handle. Treat it like one, and you’ll learn this the expensive way.
A handheld laser welding gun weighs 0.8–1.5 kg and runs on 5–10 meters of fiber cable. Drag the gun by that cable and you’re pushing tens of newtons of pull force straight into the connector junction. That’s enough to fracture the internal fiber or loosen the coupling. Always grip the gun handle. The cable follows. It never leads.
Fiber Cable: The Rules That Protect Your Most Fragile Component
Minimum bend radius is non-negotiable. Static bends: keep it at ≥150mm. Dynamic movement: ≥200–300mm. A 90° kink or a radius under 100mm isn’t just bad practice — it’s a broken fiber waiting to be found mid-shift. Route cables in wide arcs (≥400–600mm diameter) around corners. Never press a cable against a table edge to redirect it.
Check for these warning signs on your walk-through each day:
– Flat spots or whitening along the cable length — internal fiber compression
– Burn marks or spatter slag fused to the sheathing — pull it for replacement now
– Cables holding a curled shape when laid flat — chronic small-radius storage is stressing the fiber
Keep cables off the floor. Forklift traffic, foot traffic, rolling equipment — any of these can crush a cable in one pass. Use hanging brackets or support rings to keep cables 0.5–1.5m off the ground.
To secure cables to structures, use plastic zip ties or hook-and-loop straps spaced at least every 0.5–1m. The loop diameter needs to be at least 10× the cable’s outer diameter. Never tape a cable tight against a steel structure — that kills the bend radius and traps heat.
Gun Body: What to Check, What to Protect
The gun body takes a beating every day and gives you no warning until something breaks.
Before each shift, run this check:
– Press the trigger 20–30 times in a row. The two-stage trigger has an enable key and a fire key. Each stage needs a clean, distinct click — 3–5mm travel per stage, full return in under 0.5 seconds. Any sticking, dead zones, or misfires mean the trigger needs attention before you start welding.
– Grip the handle and push with light side pressure. Movement should stay under 1–2mm. A creak or rattle — loose screws, shifted optics — is a stop-work signal.
– Inspect the gun head and nozzle seat for cracks, deformation, or spatter buildup thicker than 0.5–1mm. Spatter that thick throws off gas geometry and can shift the beam path.
During welding, hold your standoff distance. Keep the protective lens surface 8–15mm from the workpiece. Jamming the nozzle into a sharp workpiece edge drives impact straight through to the optical stack. That puts both the protection lens and the focus lens at risk — from one bad move.
Cut short any high-power runs on polished copper or mirror-finish aluminum. Reflective surfaces bounce part of the beam back into the gun head. Over time, that return energy damages internal optics and breaks down the adhesive seals around the lens mount.
End-of-Shift Storage: Where You Put It Matters
At the end of a shift, let the gun head cool for 2–5 minutes before putting it away. A hot gun dropped straight into a case traps heat around the optical components and speeds up seal degradation.
Use a dedicated gun rack mounted to the worktable or welding machine. Support the handle at the balance point, gun head pointing down, clear of any hard surface. For a sealed case, line it with soft padding and drop in a desiccant packet. Keep the case interior dry and free of anything pressing against the fiber entry point or trigger guard.
Fiber cable storage: coil in a figure-8 pattern to cancel torsional stress, then bring it into a single loop with a minimum 0.6–1.0m diameter. Secure with 2–4 soft straps. Never cross-stack coiled cable — the weight flattens the lower layers. Store at least 100–150mm off the ground, away from spatter zones, heat sources, and standing moisture.
Store spare nozzles, protective lenses, and O-rings in sealed original manufacturer cases. Contaminated spares cause the same damage as contaminated installed parts — don’t leave them loose in a drawer.
End-of-Shift Cleaning Routine: What to Do After Every Welding Session
Shift over. Gun down. Not quite yet.
Those two minutes between “last weld” and “lights out” — that’s where most maintenance failures happen. Not during the shift. In the rush to leave.
Follow this sequence in order. Order matters.
① Laser off first, then power down. Kill the laser emission before anything else. Then run your machine’s shutdown sequence: exit the weld program → HMI stop → main power off. Skipping steps doesn’t save time — it damages your optics on the way out.
② Keep the chiller running. This is the step operators get wrong most often. After laser off, let the chiller run 3–10 more minutes. Residual heat in the optics and gun head has to go somewhere. Cut the coolant too soon and you get thermal shock. Let the system finish what it started.
③ Cool to touch, then clean. Gun head below 40°C? Now you clean. Not before.
- Brass wire brush on the nozzle exterior — moderate pressure, downward strokes
- Lint-free cloth with IPA on metal gun body surfaces
- Mild soap solution on plastic handle areas — no acetone, no aggressive solvents
- Damp cloth wipe on rubber strain relief; flex the cable and check for cracks while you’re there
④ Lens inspection — last, not first. Do this after the exterior is clean. Weld Quality dropped during the shift? Inspect the protective lens now. Contaminated? Clean it with the optical procedure covered earlier. Still fouled after two passes? Swap it out before the next shift starts — not during it.
⑤ Close gas, bleed the line. Turn the cylinder valve clockwise to close. Push a short gas purge to release remaining pressure. Back out the regulator screw. Check the gauge reads zero bar before you walk away.
⑥ Log it. 30 seconds of notes stops hours of guesswork next shift. Write down arc-on time, any extra cleaning you did, gas pressure remaining, and anything off — unusual noise, cooling alarms, flow changes. A simple checklist with OK/Not OK fields does the job.
That’s the full sequence: laser off → controlled shutdown → cooling → external clean → lens check → gas close → log. Run it out of order and you’re not saving time. You’re setting up a problem for tomorrow.
Common Laser Welding Gun Maintenance Mistakes That Cost You Money
Eight mistakes. Three root causes. All of them expensive.
Every failure in laser welding gun maintenance comes from the same three problems: contaminated optics, uncontrolled cooling, and mismatched parameters. The habits below are where money drains out of your operation — shift after shift, before anyone catches it.
Cleaning lenses before they’ve cooled down. Wiping a hot optical surface creates thermal stress. It also pushes contamination deeper into the coating. The result: degraded beam quality, focus errors, and a shorter lens lifespan. Rule of thumb — cool first, clean second.
Using paper towels or rough cloths on lenses. Wood-pulp fibers leave micro-scratches. Those scratches turn into scattering points. Scattering points turn into heat absorption zones. A $20 lens becomes a burn pit. Lens tissue only — no exceptions.
Blowing on the lens with your mouth. Moisture, saliva, and CO₂ from your breath attack the optical coating on contact. Use dry, oil-free compressed air instead. Your mouth is not a cleaning tool.
Continuing to weld with a lens that already has burn pits. A burn pit is a local heat trap. It grows with every pass — the beam weakens, the weld seam blackens, and you end up with an unplanned shutdown. Burn pit spotted? Stop. Swap. Move on.
Ignoring coolant level and water quality. Dirty coolant degrades laser output. Coolant temperature above the rated limit triggers automatic shutdowns. Check level, temperature, and clarity every shift. Cloudy water needs a full flush — not a top-off.
Leaving spatter around the nozzle and protective lens. Spatter moves. In vertical-down welding positions, it falls straight into the gun head and lands on optical surfaces. A dirty nozzle hurts gas coverage — and it kicks off the lens contamination cycle.
Skipping beam alignment and focal position checks. A misaligned optical path causes poor penetration, uneven seams, and excess spatter. Operators usually “fix” this by raising power. Raising power on a misaligned system speeds up component damage. Align first, then weld.
Running the same parameters regardless of material or thickness. Power, speed, and focal position that work on 2mm Stainless steel will crater 1mm aluminum. Weld defects from parameter mismatch look just like optics failures — and they’ll send you chasing the wrong problem. Adjust parameters each time the job changes.
Post these on your workstation wall:
– Cool before you clean. Lint-free before you touch.
– No mouth-blowing. No paper towels. Burn pits get replaced, not ignored.
– Check level, flow, and temperature every shift. Cloudy water — flush it.
– Align the beam. Then set parameters. Then weld.
Laser Welding Gun Wear Parts: Clean It or Replace It?
Not every dirty part needs replacing. Not every worn part can be saved. Your maintenance budget lives or dies on knowing the difference.
Here’s the practical breakdown for the four wear parts that matter most.
Protective Lens
Lifespan: 7–15 days under normal production. High-spatter materials like carbon steel or galvanized sheet can cut that down to 1–3 days. Bad cleaning technique kills lenses fast — wrong solvent, rough cloth, one careless wipe, and you’ve destroyed it in a single pass.
Clean it if: Contamination is light dust or smoke film. No scratches or pits are visible. Two to three drops of IPA on lens tissue removes it. weld quality should improve right after cleaning.
Replace it when:
– Any burn ring, yellow-brown discoloration, or pit is visible
– Spots stay after cleaning
– Penetration has dropped ≥20–30% at the same power setting
– You’ve cleaned it multiple times and performance keeps getting worse
A lens past its limit doesn’t die quietly. It pushes heat straight into your focus optics — and that’s a much bigger problem.
Welding Nozzle
Lifespan: ~1 month at moderate intensity. High-power runs (>1.5–2 kW focal density) or contact-drag operation can cut that in half — sometimes down to 1–2 weeks. Mechanical wear alone can add another 30–50% reduction on top of that.
Clean it if: Spatter is visible but the bore stays round and centered. Gas flow returns to normal after brushing. Weld oxidation clears up.
Replace it when:
– Bore diameter has expanded ≥10–20% beyond spec (e.g., a φ1.5mm nozzle worn to ≥1.8mm)
– The outlet edge has melted or deformed
– Gas stream is off-axis and cleaning doesn’t fix it
– You’ve hit the 1-month mark with multiple cleanings already logged
Sealing O-Rings
Lifespan: 6–12 months with clean coolant held at 22±1°C. Scale or corrosion cuts that to 3–6 months.
Clean it if: The surface has minor scale or residue. The rubber springs back on its own. No leaks show up during inspection.
Replace it right away when:
– Any water or gas leak appears
– The cross-section has flattened and won’t recover to ≥80% of original height
– The ring got stretched or nicked during removal — standard industry practice says replace on doubt, never reinstall
Cooling Hoses & Fittings
Clean every 3–6 months as internal sediment builds up. Do this only if the hose body is intact, fittings lock solid, and no swelling is visible.
Replace when:
– Any seeping, micro-crack, or bulge appears
– Fittings are cracked or threads are stripped
– White kink marks along the hose show permanent flow restriction
At-a-Glance Replacement Schedule
| Part | Typical Lifespan | Replace Trigger |
|---|---|---|
| Protective lens | 7–15 days | Burn pits, unremovable spots, penetration drop ≥20% |
| Nozzle | ~1 month | Bore expanded ≥10–20%, deformed outlet, off-axis gas |
| O-ring | 6–12 months | Any leak, hardening, or permanent compression |
| Hoses & fittings | 1–2 years | Leaks, kinks, cracked threads |
Keep a simple replacement log: part type, install date, removal date, cleaning cycles, failure reason. Three fields in a spreadsheet is enough. That data shows you where your environment or process is burning through parts faster than expected — before it shows up as scrap or downtime.
Daily Laser Welding Gun Maintenance Checklist
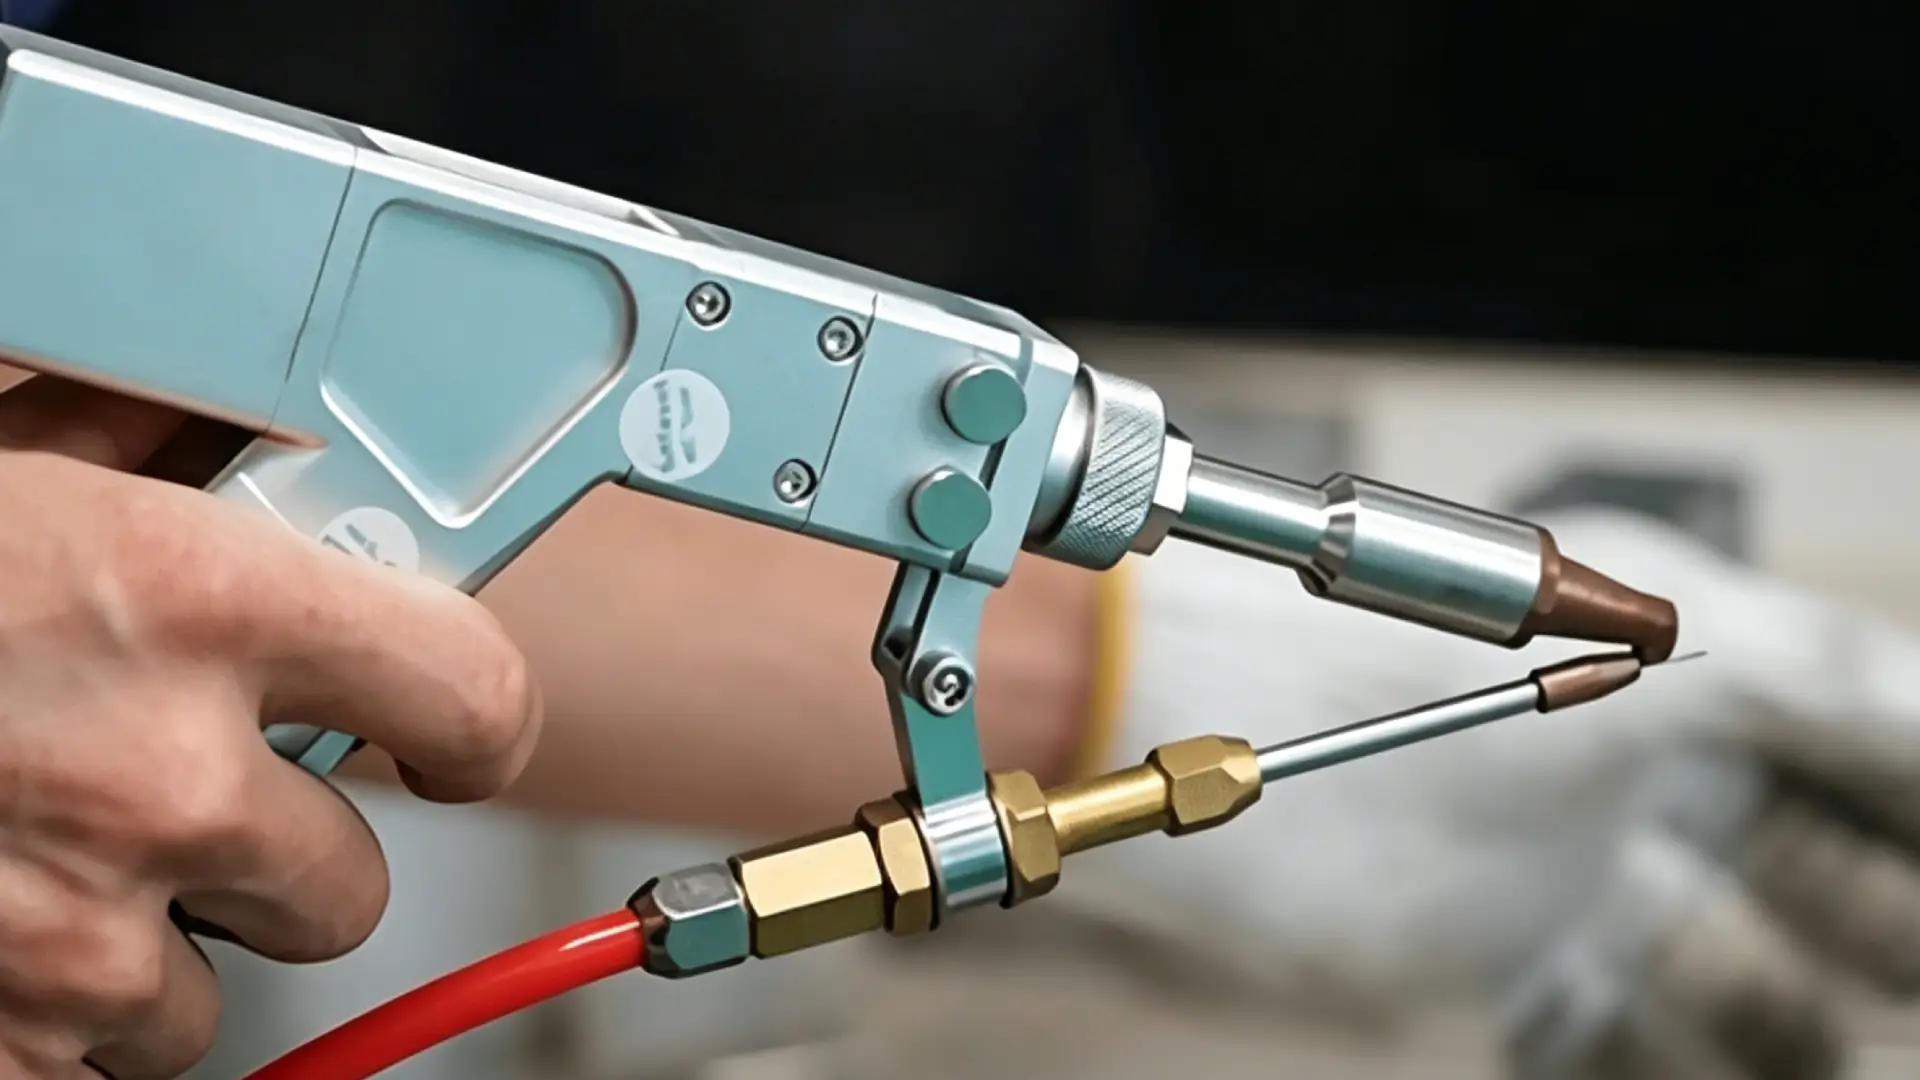
Print this. Post it at the workstation. Check the boxes.
Skipping checkboxes across three shifts costs more than a single expensive repair. This checklist covers everything — pre-shift, mid-shift, and end-of-shift. Any operator can follow it with no guesswork.
Total time: 10–15 minutes per shift.
Pre-Shift (5–7 min)
☐ E-stop and power switch intact; indicator lights normal
☐ Trigger cycles without sticking or dead travel
☐ Gun housing: no cracks, burns, or loose screws
☐ Fiber cable: no kinks, cuts, or swelling; bend diameter ≥600mm
☐ Protective lens: no spatter, yellowing, or burn pits — replace if >5% surface affected
☐ Nozzle bore: round, centered, clear of slag
☐ Shielding gas pressure set per WPS; fittings bubble-free
☐ Coolant level at MIN or above; temperature 22°C ± 1°C
Mid-Shift (2–3 min total)
☐ Weld seam quality spot-check every 30–60 min
☐ Gun head temperature comfortable to back-of-hand test
☐ Coolant temperature holding within ±1°C of setpoint
☐ No active alarms — stop welding at once if any trigger
End-of-Shift (5–7 min)
☐ Laser off → main power → gas valve → chiller (in that order)
☐ Nozzle brushed clean with brass brush; no burrs at outlet
☐ Protective lens cleaned or replaced per optical procedure
☐ Work area cleared of spatter, debris, and flammables
☐ Cable coiled in wide loops at ≥600mm diameter; gun stored in dedicated rack with nozzle cap on
☐ Maintenance log signed — unsigned = incomplete
FAQ: Laser Welding Gun Daily Maintenance Questions Answered
Operators ask the same questions. Here are the straight answers.
How long does daily maintenance take?
Less than you think. A practiced operator runs through the full routine in 5–10 minutes per shift. Heavy production lines — multi-shift, high-spatter materials — bump that to 10–15 minutes. Here’s the breakdown:
- Nozzle and gun body wipe-down: 1–2 min
- Protective lens inspection and cleaning: 2–3 min
- Coolant level, temperature, clarity check: 1 min
- Gas pressure and cable scan: 1–2 min
Ten minutes. That’s the whole thing.
How often does the protective lens need replacing?
The honest answer: it depends on how hard you’re running the machine.
| Usage Level | Cleaning Frequency | Replacement Interval |
|---|---|---|
| Light (< 4 hrs/day) | Every 2–3 days | 1–2 weeks |
| Moderate (4–8 hrs/day) | Daily | 3–7 days |
| Heavy (8–12 hrs/day) | Every shift | 1–3 days |
The trigger is never the calendar. Watch for these three signs instead — burn pits, spots you can’t wipe off, or a ≥20% drop in penetration at the same power setting. Any one of those? Replace the lens now. It doesn’t matter how new it is.
Can alcohol wipes substitute for optical-grade IPA and lens tissue?
No. Standard medical alcohol wipes contain fiber debris and additives. These leave residue and micro-scratches on the lens coating. Use them once in an emergency if you have no other option. Then re-clean with the right materials as soon as you can. For routine cleaning, stick to this: electronic-grade IPA + dedicated optical lens tissue, single-direction wipe, every time.
Can tap water or purified water replace coolant?
No — not for long-term use. Both tap and purified water carry dissolved minerals. Those minerals build scale inside your cooling circuit, raise conductivity, and speed up corrosion. Use distilled or deionized water only, kept at 22 ± 1°C. Swap the coolant every 3 months under normal conditions. In heavy-use or high-dust environments, change it every 1–2 months.
What are the hard numbers to track every day?
These are the metrics that matter — not estimates, not approximations:
- Coolant temperature: 22 ± 1°C
- Ambient temperature: 10–40°C
- Relative humidity: ≤ 70% (no condensation)
- Shielding gas pressure: ≤ 1 MPa, gas temp ≤ 50°C
- Electrical cables: Full inspection every 3 months — look for fraying, loose terminals, and heat discoloration
A number is off? Stop. Fix the variable first, then weld.
Conclusion
Your laser welding gun is only as reliable as the habits you build around it.
A contaminated protective lens. Ignored spatter buildup. A skipped coolant check. These don’t just hurt your weld quality. Each one drains your budget — one unplanned repair at a time.
Running MaxWave equipment? Reach out to our support team to confirm you’re using the right cleaning tools and genuine replacement optics. We’d rather help you maintain it right than watch you replace it too soon.