
That warped sheet on your workbench isn’t scrap—not yet. Distortion after welding thin stainless steel is one of metal fabrication’s most frustrating issues, but it is also highly fixable. The real loss rarely comes from the warp itself; it comes from choosing the wrong correction method and turning a salvageable part into a total write-off.
This guide dives deep into four proven post-weld rectification schemes—from mechanical straightening to combined thermal-mechanical correction—to get your parts back into tolerance, fast.
Correction Methods Quick Reference Table
|
Deformation Feature |
Severity |
Best Solution |
Core Logic |
Est. Time |
|---|---|---|---|---|
|
Longitudinal Bowing (Banana shape) |
< 2mm deflection |
Mechanical Straightening |
Counteract springback with over-pressure |
1-4 hours |
|
Angular Distortion (V-shape lift) |
2-5mm deviation |
Flame Straightening |
Utilize thermal contraction to pull flat |
4-8 hours |
|
General Buckling (Surface waves) |
< 1.5mm gauge |
Heat + Mechanical |
Reduce yield strength + forced shaping |
4-12 hours |
|
Multi-Axis Twisting (Severe warp) |
> 5% geom. loss |
Sectioning & Re-welding |
Strategic abandonment and restart |
Case-dependent |
Method 1: Mechanical Straightening
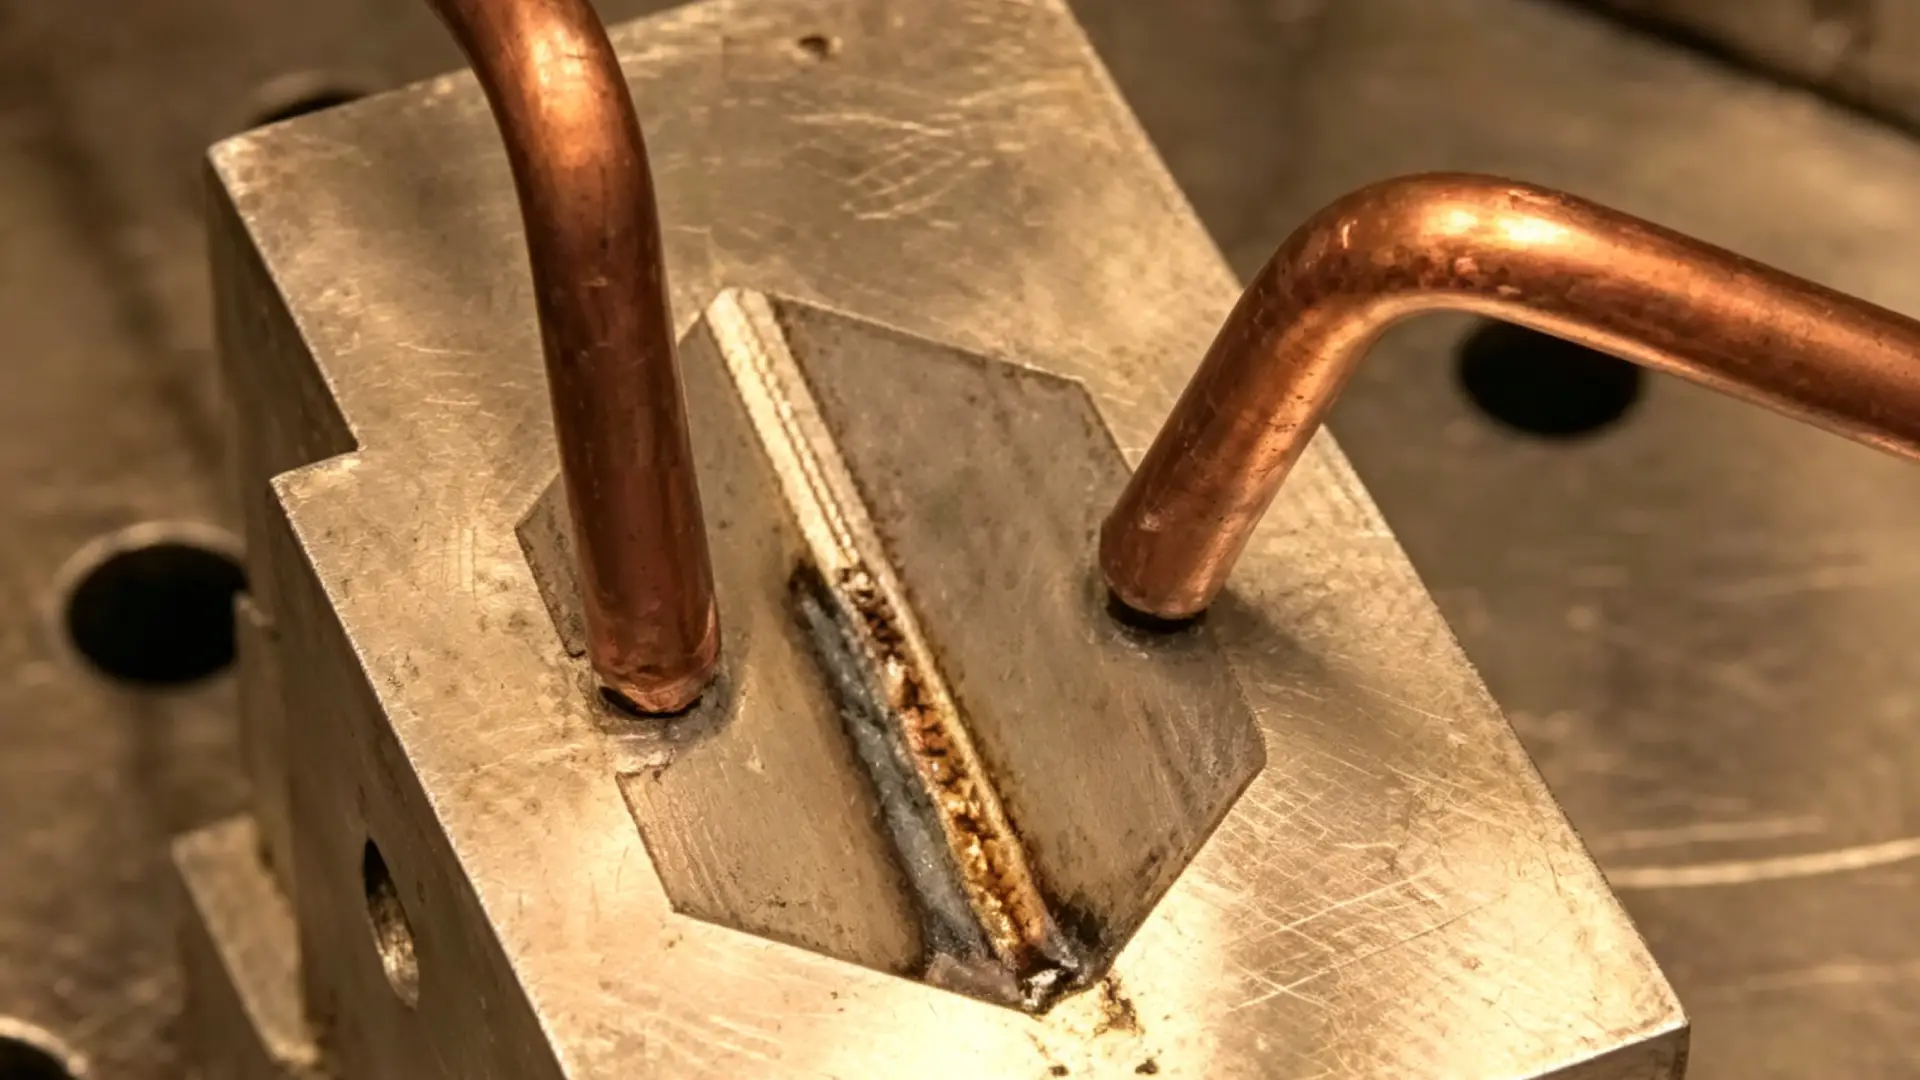
For deflections under 5mm across a 300mm span, mechanical straightening is your first choice. It requires no heat source, introduces no new metallurgical changes, and relies on static hydraulic pressure to reset the metal’s modulus.
In-Depth Execution Guide
-
Reverse Pre-Bending & Clamping:
Place the warped panel on a steel surface plate. The key is reverse-deformation clamping: apply initial tension to the oppositeside of the warp, not the high point. Use 4–6 C-clamps with 1–2mm neoprene shims to prevent indentation.
-
Setting the Over-Pressure (Critical Technique):
Thin stainless steel exhibits 20–35% springback. You must “overdo it.” If the measured warp is 5mm, set the ram travel to 5.5mm (110%). For ultra-thin gauges (<1.5mm), you may need 120–130% over-pressurization.
-
Incremental Loading:
Never bottom out the press in one pass. Direct full pressure risks micro-cracking. Use the 25% increment method: 50 psi (hold 5 min) → 100 psi (hold 5 min) → 150 psi (hold 5 min). Run 3–5 cycles.
Limitations & Risks
Mechanical straightening only works for linear deformation. Attempting to flatten “oil-canning” (buckling) via brute force will cause the sheet to pop out in adjacent areas or even tear the weld. Additionally, on hardened stainless (like 17-4 PH), mechanical force can cause brittle fracture.
Method 2: Flame Straightening
Flame straightening utilizes compressive plastic deformation that occurs when metal expands against a constraint, creating a shrinking force upon cooling. It is the most effective method for angular distortion and bowing, but demands extreme temperature discipline.
In-Depth Execution Guide
-
Avoiding the Sensitization Range (The Red Line):
Thin stainless (304/316) suffers carbide precipitation between 450–850°C, leading to intergranular corrosion. Operations must stay below 450°C or quickly pass through and remain above 850°C. For thin sheets, maintaining a 600–650°C range (dark red) is safest.
-
Heating Pattern Selection:
-
V-Heating: For flange edge bowing. Use a 20° apex angle for thin gauges. Start at the apex and move outward in a serpentine motion. Upon cooling, the V-zone contracts like a muscle, pulling the plate flat.
-
Line (Strip) Heating: For longitudinal bending. Apply parallel heat strips. Remember: more passes, less heat per pass. This is crucial to prevent burn-through.
-
-
No Quenching:
Natural air cooling is mandatory. Water quenching creates massive thermal shock, inducing surface cracks or killing corrosion resistance.
Limitations & Risks
The biggest enemy is overheating. Exceeding 1050°C causes grain coarsening, embrittling the material. Always perform Penetrant Testing (PT) after flame straightening; the thermal cycle can expose pre-existing micro-defects in the weld toe.
Method 3: Combined Heat + Mechanical Straightening
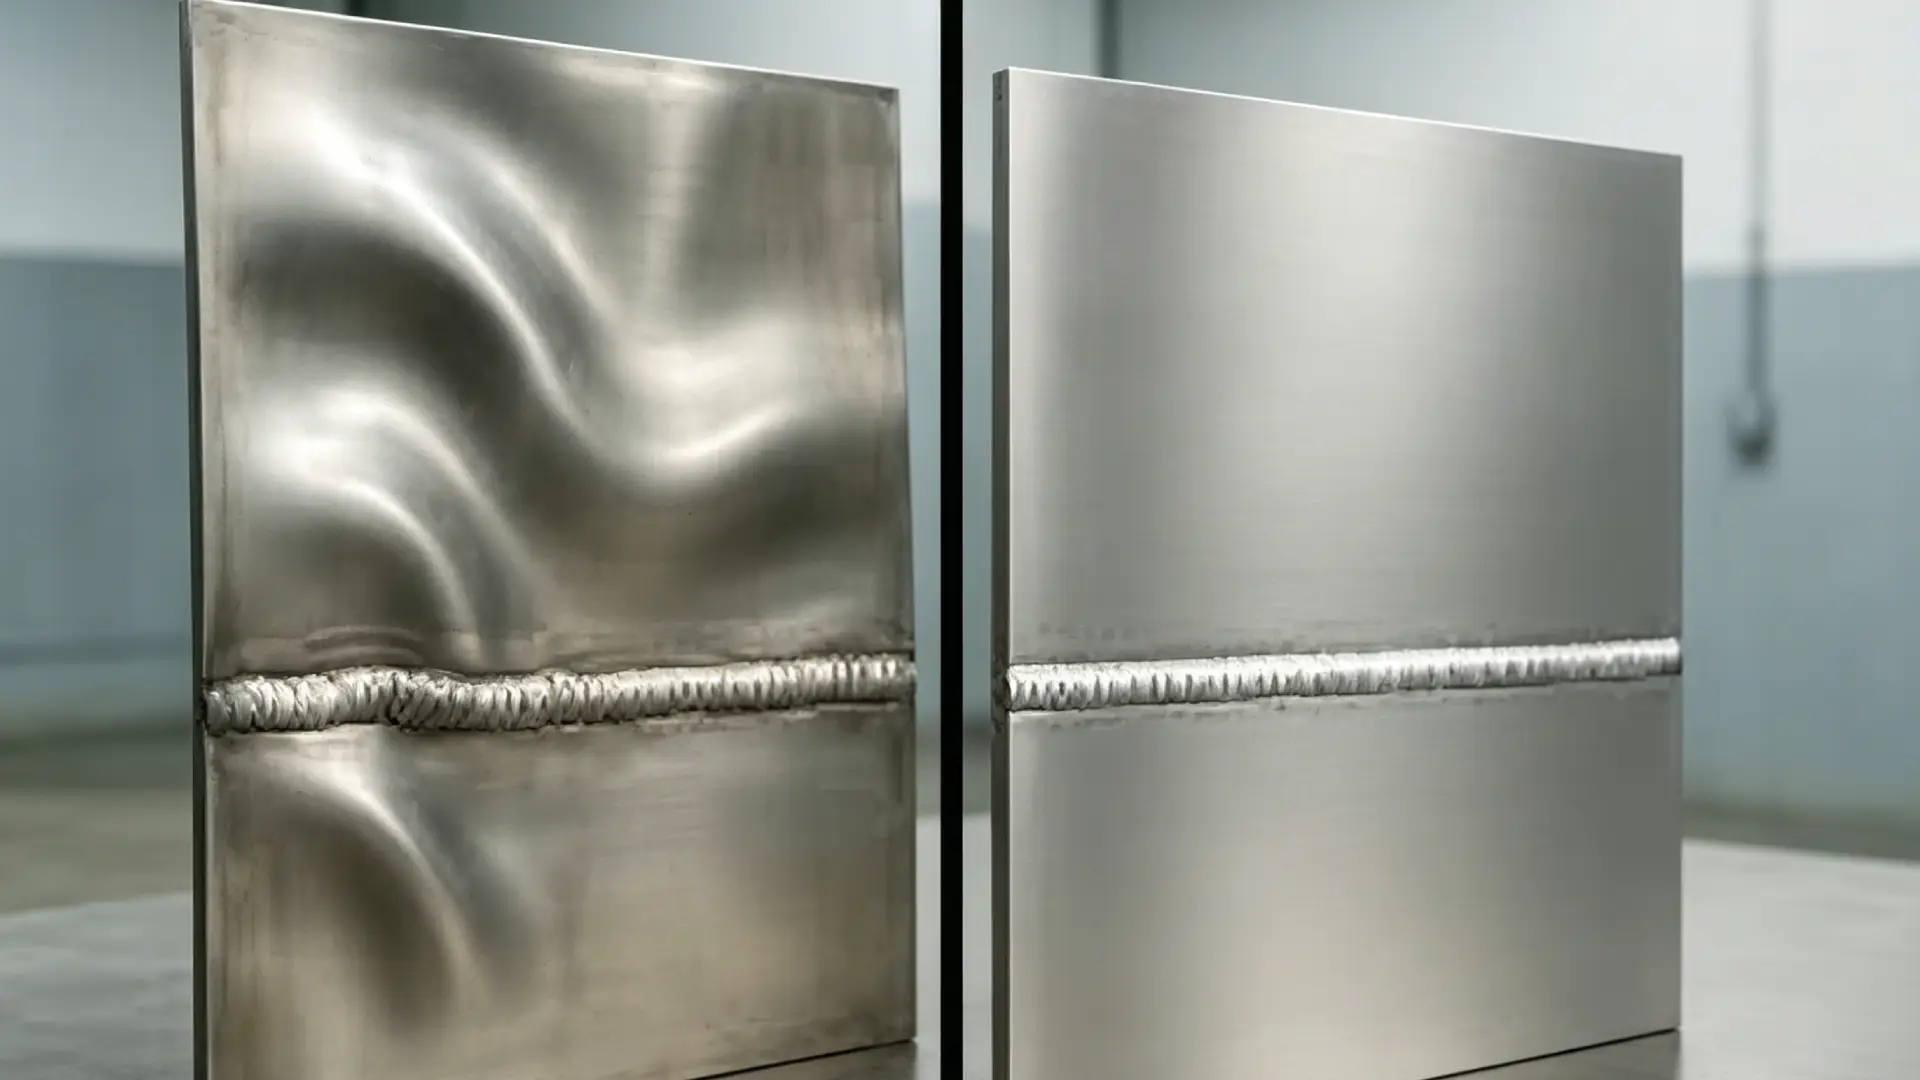
When thickness drops below 3mm and distortion is complex, single methods fail. The combined approach is the current industry standard for high-end thin-walled structures (train carriages, elevator cabs).
In-Depth Execution Guide
-
Hitting the Window:
Heat the deformation zone to 600–650°C. At this point, yield strength drops significantly, making the metal pliable without entering the sensitization zone.
-
Synchronized Restraint (The Key):
Apply mechanical restraint (during heating, e.g., weights or strong clamps). If you wait until after cooling, the metal has already completed its free contraction, rendering the restraint useless.
-
Full Pressure Cooling:
Maintain pressure until the sheet returns to room temperature. Releasing early causes springback and defeats the purpose.
Data Support
This method boasts a Heat-Affected Zone (HAZ) 60% narrower than TIG welding and achieves tolerances of ≤ 0.1 mm/m on 3mm plates. It is currently the only industrial-grade solution capable of resolving thin-sheet buckling without destroying material properties.
Method 4: Sectioning and Re-Welding
When distortion exceeds 5–10% of the original geometry or involves multi-axis twisting, correction is futile. The optimal engineering decision is strategic abandonment.
In-Depth Execution Guide
-
Cutting Margin:
Use a plasma cutter, leaving a 5–10mm margin beyond the visible distortion. Stress fields extend further than the eye can see.
-
Anti-Distortion Welding Sequence:
You must change tactics during re-welding, or history will repeat.
-
Back-step Welding: Beads no longer than 50–100mm, running opposite to the general direction.
-
Skip Welding: Weld a segment, skip a segment, fill gaps after cooling.
-
Interpass Cooling: Keep temperature between passes at 150–200°C to reduce shrinkage accumulation by 40–60%.
-
Risk Control
While time-consuming, success rates exceed 90%. The only caveat is blindly re-welding high-alloy, crack-sensitive steels (e.g., certain martensitic grades), which require strict pre-heating and post-heating protocols.
Prevention During Welding
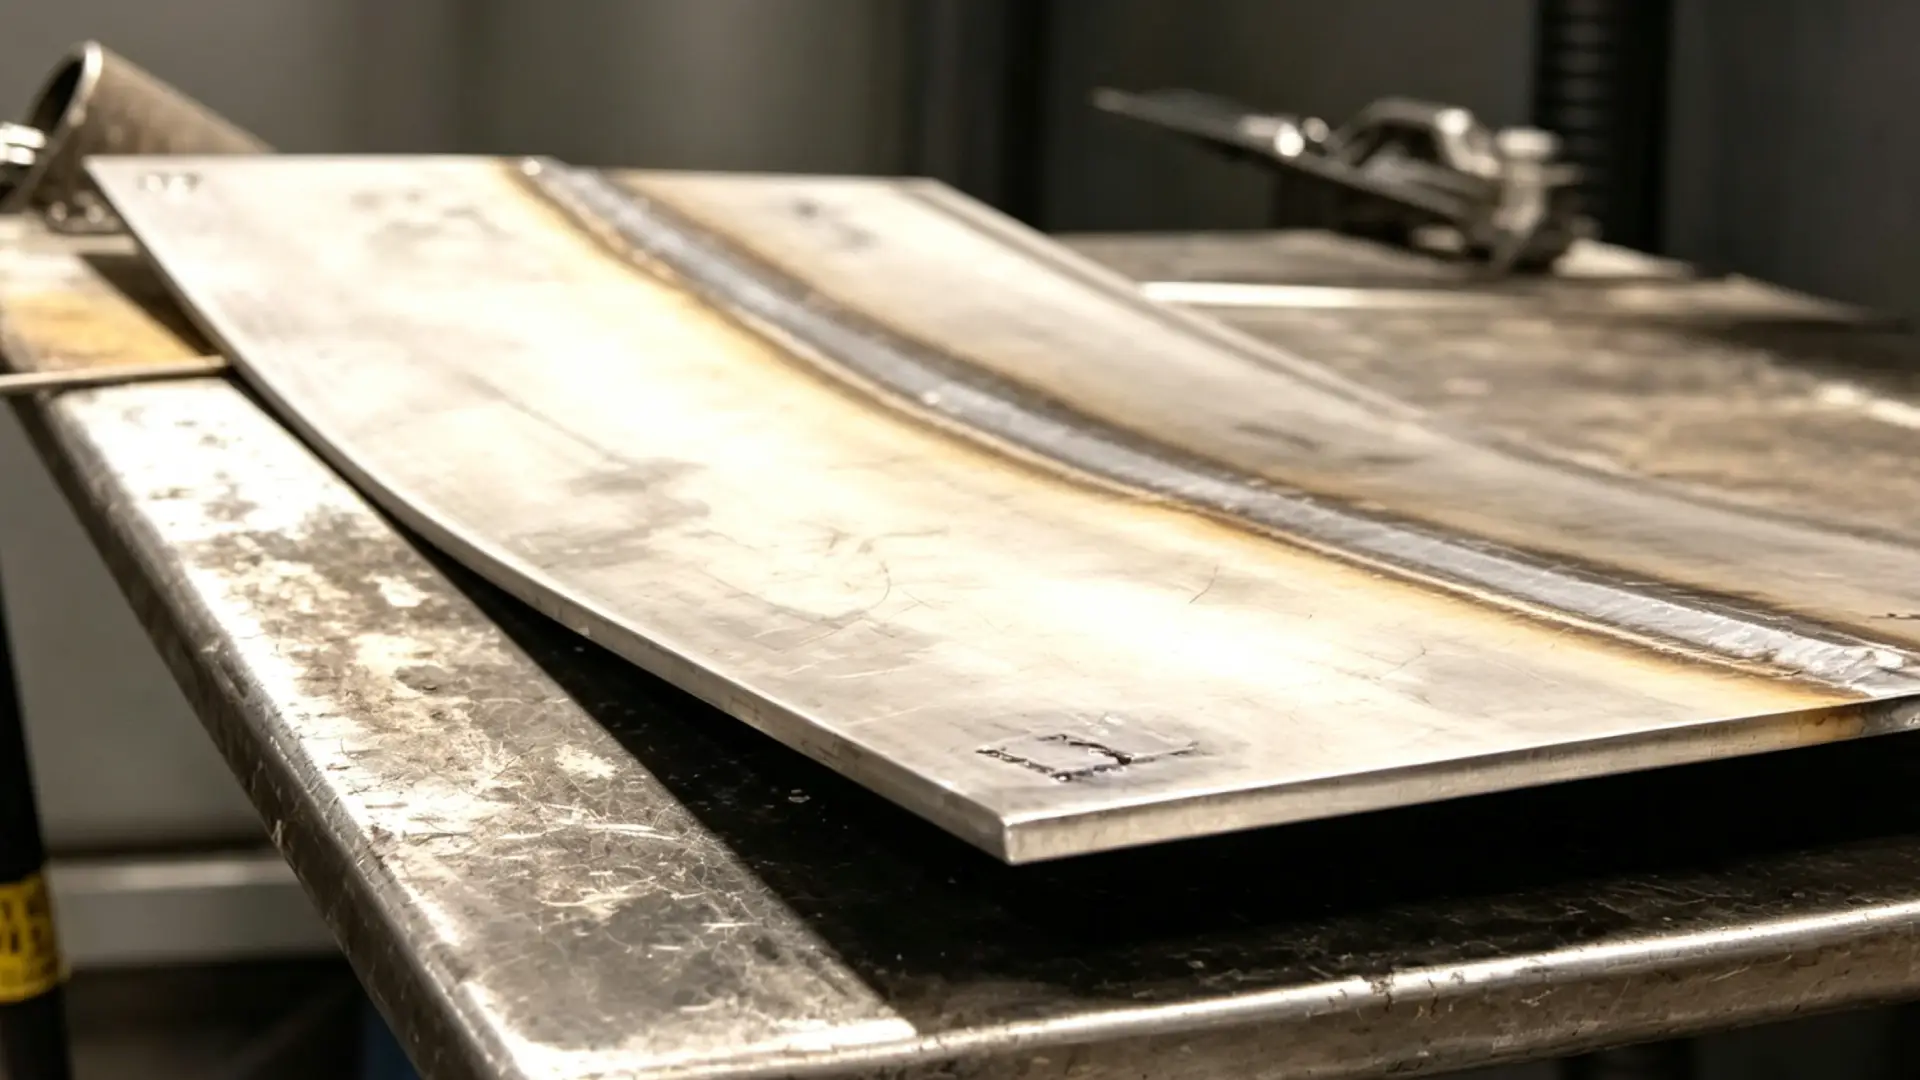
Distortion doesn’t ambush you at the end—it follows every decision you make during the weld.
The order you lay down beads determines where stress builds up. Get the sequence right, and the metal’s own contraction forces work in your favor. Get it wrong, and no amount of flame straightening gets back the time you’ve lost.
Four Sequencing Strategies That Work
1. Back-Step Welding
You progress left-to-right overall, but each bead runs right-to-left in 25mm segments. Prior beads act as restraints. Each new bead expands into already-cooled metal, not open air. The result: 30-50% less angular distortion on linear joints compared to continuous passes.
2. Skip Welding
Weld 50mm, skip 25mm, fill the gaps after cooling. This cuts heat input by up to 75% and pulls transverse shrinkage way down. On stainless below 1.5mm, burn-through is the real threat. Skip welding is often the safer place to start.
3. Balanced Sequencing
Alternate sides of the joint. Never finish one face before you start the other. This spreads thermal stress evenly across both sides and cuts bowing by 40-60% in structural assemblies.
4. Outer-to-Inner Priority
Save the high-stress corner welds for last. Tack the outer edges first, work inward in alternating steps, then finish the corners. Tackle the low-restraint zones first. This stops premature warping from locking stress in before you’re done.
Best combination: For best results on thin stainless, combine backstep within a skip pattern—short backward segments, intermittent spacing, alternating sides all the way through.
Conclusion
By combining correct correction techniques with reasonable welding procedures, clamping, and temperature control, you can greatly improve yield, reduce scrap, and increase production efficiency.
For even better results in thin stainless steel welding, choose equipment with low heat input, high precision, and stable performance.
MAXWAVE specializes in the R&D and manufacturing of laser welding systems, providing stable, efficient, low-distortion welding solutions for metal fabricators worldwide. Our machines help you improve quality, reduce loss, and boost profitability in real production scenarios.
If you are looking for a way to eradicate thin stainless steel distortion at the source, or wish to minimize post-weld correction hours, MAXWAVE is your ideal solution. Our handheld and automated laser welding systems are engineered for precision thin-sheet processing, delivering near-zero distortion and perfect welds with minimal thermal impact.