
That stainless steel surface looked flawless when it left the factory. Now it’s dulled, scratched, or carrying the brownish ghost of a weld bead — and you need it back. The question isn’t just whether to fix it. It’s figuring out exactly how to polish stainless steel for your specific application, and at what true cost.
Mechanical buffing, chemical pickling, and electropolishing all have decades of proven results. But each one carries hidden trade-offs — in time, labor, chemistry, and precision. These costs add up fast, and they’re easy to overlook until the job is already underway.
Laser surface cleaning technology is shifting that equation. For industrial operations where surface quality isn’t negotiable, it’s becoming a serious contender — faster setup, tighter control, and no chemical disposal headaches.
This guide breaks down every method with straight talk:
- What works
- What costs more than it should
- Which solution fits your specific situation
No fluff. Just a clear look at your options so you can make the right call.
Why Stainless Steel Needs Polishing
Stainless steel lies. It promises permanence, then delivers oxidation, heat tint, and micro-scratches that bacteria love.
That’s not a design flaw — it’s physics. Mill finishes like 2B and No. 1 leave the surface functional but rough, uneven, and visually dull. They work fine for structural applications. Put them anywhere surface quality falls under regulatory scrutiny, and they become a liability.
Here’s what’s at stake:
- Corrosion resistance drops when grinding marks, weld contamination, or surface crevices break up the passive chromium-oxide layer. Once that layer is disrupted, rust takes hold fast.
- Hygienic compliance — 3-A Sanitary Standards and ASME BPE both require surface roughness below specific Ra thresholds. Go above those limits, and you’re creating spots where bacteria can hide and multiply.
- Appearance standards range from brushed No. 4 finishes (Ra ≤ 0.5 μm) to mirror-bright No. 7–8 finishes (Ra < 0.1 μm). That gap is measurable, not a matter of opinion.
Polishing isn’t cosmetic maintenance. It’s what makes stainless steel deliver the performance its alloy chemistry is built to provide.
Traditional Method #1: Mechanical Polishing
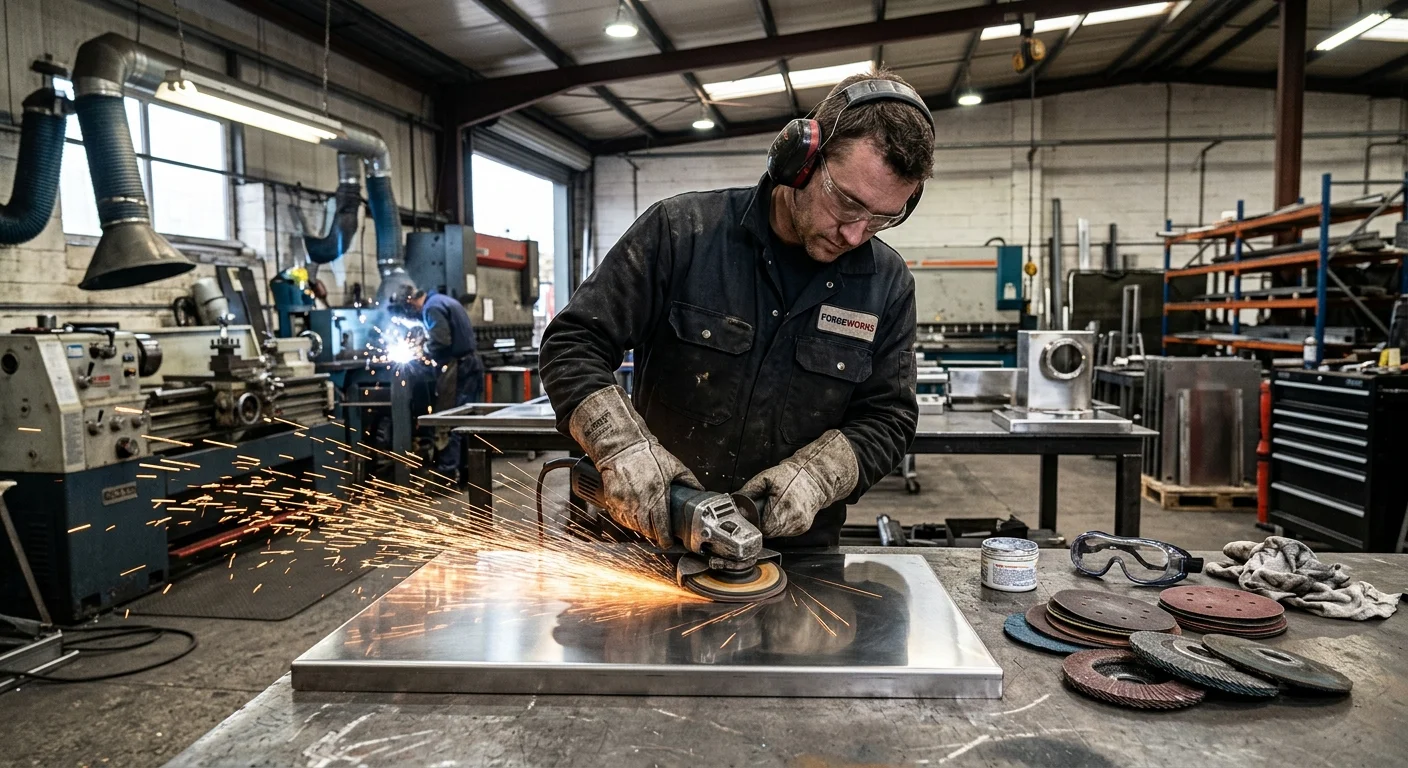
Mechanical polishing is the oldest trick in the metalworker’s book — and for good reason. It works, it’s controllable, and most fabrication shops already have the equipment on hand.
The core principle is simple: abrasive particles remove surface material through friction and pressure. What separates a clean result from a ruined part is how well you move through the grit sequence — step by step, no shortcuts.
The Grit Progression
This is where most DIY attempts go wrong. Skipping grits doesn’t save time. It just buries the problem deeper.
Here’s a standard grit progression for stainless steel scratch removal and surface restoration:
- 80–120 grit — Aggressive cut for deep scratches, weld spatter, and mill scale removal
- 180–220 grit — Intermediate step; removes the scratch pattern left by coarse abrasives
- 320–400 grit — Refining stage; the surface starts developing directionality and consistency
- 600–800 grit — Pre-polish prep; Ra values begin approaching No. 4 finish range (≤ 0.5 μm)
- 1200+ grit / buffing compound — Final stage for mirror finish stainless steel or Ra < 0.1 μm targets
Each stage must erase the scratches from the previous one before you move forward. Rush it, and the surface looks polished from a distance — but fails under profilometer measurement.
What Mechanical Polishing Controls
Three variables drive the outcome:
- Pressure — Too much generates heat, distorts the passive layer, and creates new surface defects
- Tool speed — Higher RPM cuts faster but risks burning thin-gauge material
- Abrasive condition — A worn disc or pad doesn’t just cut slower; it cuts unevenly, leaving behind marks that are hard to trace
Where It Fits — and Where It Doesn’t
Mechanical polishing works best on flat panels, straight tube runs, and high-volume sheet fabrication. It’s the go-to method for stainless steel buffing in metal fabrication shops around the world.
The limitations are real, though. Complex geometries — tight radii, internal welds, intricate channel work — make consistent abrasive contact difficult. Surface finish uniformity gets hard to guarantee across an entire part. Also, in industries where Ra tolerances are regulatory requirements rather than cosmetic targets, manual mechanical polishing brings in human variability. That variability is hard to document and even harder to defend.
Traditional Method #2: Chemical Pickling and Passivation
Chemistry does what abrasives can’t. Grinding leaves directional scratch patterns and tool marks on the surface. Chemical pickling works differently — it dissolves surface contamination at the molecular level. It pulls weld oxides, free iron, and heat tint out of the steel without disturbing the geometry underneath.
Two solutions handle the work. First, the pickle: a nitric acid and hydrofluoric acid mixture that strips oxides, scale, and weld burns from the surface. Second, the passivation bath: nitric acid alone. It acts as an oxidizing agent to rebuild the chromium oxide layer — that invisible, self-repairing film a few nanometers thick that gives stainless steel its corrosion resistance.
The Procedure, Step by Step
Start with a clean surface. No chlorides, no sulfur. Use a synthetic detergent and a stainless steel wire brush, then rinse with water carrying less than 50 mg/L of chloride. Any contamination left at this stage will compromise every step that follows.
Then work through the sequence:
- Pickle — Immerse or swab with HNO₃ + HF solution. Metallic content in the bath must stay below 150 g/L. Go past that threshold and the solution gets discarded.
- Rinse — High-pressure water, deionized if possible. Acid residues on the surface will damage passivation.
- Passivate — Immerse or spray in a nitric acid bath at 10–45°C for 20–30 minutes. AMS 2700 and ASTM A967 govern the specifics.
- Final rinse and dry — Deionized water. No residues, none at all.
What the Verification Tests Catch
You don’t assume treatment is complete — you test it. Four standard checks confirm the surface has been fully restored:
| Test | Standard | Pass Criteria |
| Water break free | Visual | No streaking |
| Salt spray | VASTM B117, ≥2 hours | No corrosion |
| Copper sulfate | AMS-STD-753 Method 102 | No reaction |
| Potassium ferricyanide-nitric | AMS-STD-753 Method 103 | No iron detected |
One hard rule: per NASA PRC-5002, never pickle or descale before passivation without explicit drawing approval. Also, passivation on nitrided or carbonitrided surfaces is banned outright — the corrosion risk is severe.
Chemical pickling and passivation delivers uniform results across complex geometries and internal weld zones. Mechanical polishing can’t reach those areas with the same reliability. The trade-off is real, though — chemical handling, disposal compliance, and process controls all require strict discipline to maintain.
Traditional Method #3: Electrochemical Polishing
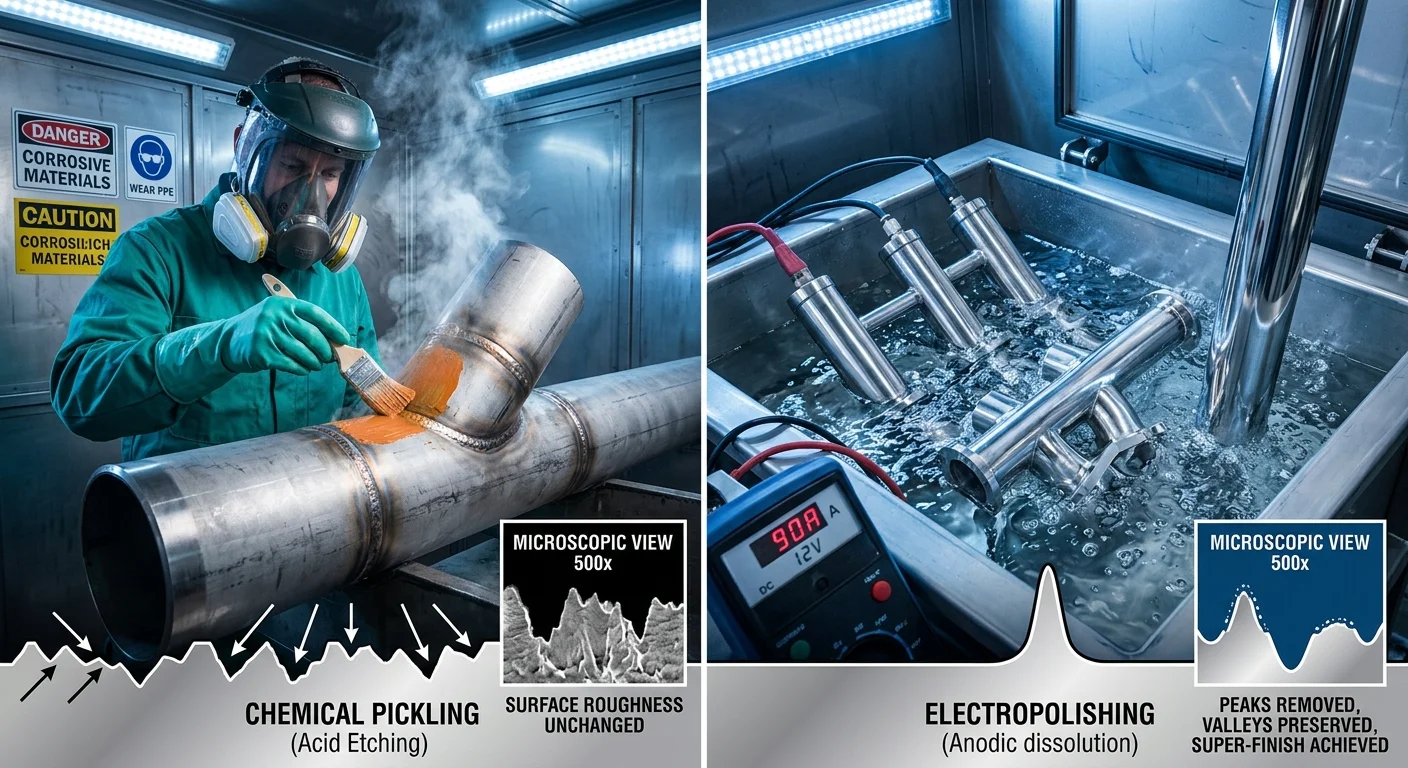
Electricity does what acids and abrasives cannot — it selects. It targets the tiny peaks on a rough surface and dissolves them first. The valleys stay untouched. The surface levels itself from the inside out.
That’s electropolishing. The part becomes the anode. You submerge it in an electrolyte bath — for 316 stainless, that means 50% v/v glycerine, 35% v/v phosphoric acid, and 15% water. DC current flows. The thick electrolyte layer slows ion movement at the surface valleys and speeds up dissolution at the peaks. Physics handles the rest.
The Process Sequence
Every electropolishing run follows three phases:
- Preparation — Degrease, double-rinse, and descale if needed. Any surface contamination that reaches the electrolyte will cause problems later. Clean completely before you start.
- Electropolish — Submerge the part as the anode. Position cathodes 2–6 inches opposite. For 316 SS, run at 0.75 A/cm², 90°C, for 3 minutes. Keep charge density at or below 75 mAh/cm². Voltage runs between 6 and 18V.
- Post-treatment — Do a drag-out rinse first. Follow with an optional citric or nitric acid ultrasonic rinse. Then do a double or triple hot-water rinse. Dry completely at the end.
ASTM B912 covers the full sequence. This isn’t optional guidance — it’s the compliance baseline.
What the Numbers Reveal
AFM measurements on 316 SS show a clear picture:
| Surface Condition | Ra (nm) |
| As-finished (mill) | 2.2 ± 0.15 |
| Mechanically polished | 0.04 ± 0.01 |
| After electropolishing (90°C, 3 min) | 0.07 ± 0.02 |
Mechanical polishing wins on raw Ra figures. But electropolishing gives you something mechanical methods cannot — a real improvement in surface chemistry. Surface chromium content on 316 SS rises from 5.7 at.% to over 11.5 at.% at processing temperatures above 20°C. That enriched chromium layer forms a stronger, more uniform passive film. One surface looks corrosion-resistant. The other one holds up under long-term exposure. That’s the gap electropolishing closes.
For pharmaceutical, food processing, and medical device applications, that gap isn’t a technical detail. It’s a regulatory requirement.
The Hidden Costs of Traditional Polishing in Manufacturing
The invoice looks manageable. Then the real numbers start coming in.
Traditional polishing has a sticker price — equipment, abrasives, labor. But that’s not the full picture. Hidden underneath are overhead costs that build up without warning, downtime nobody plans for, and rework cycles that push your cost-per-part higher until the margin is gone.
The capital commitment alone is steep. A two-machine advanced polishing setup runs around $400,000. Facility build-out — proper HVAC, dust containment, cleanroom-grade environmental controls — adds another $800,000. Add 20–30% more for specialized infrastructure, and you’re deep into seven figures before a single part rolls off the line.
That’s the visible spend. Here’s what hides in the overhead.
Where the Money Goes
Indirect materials never show up on your production line in any clear way. Lubricants, cleaning compounds, replacement tooling — none of these link back to individual units. They pile up in the overhead column and drive up your machine-hour rate. At $100,000 in overhead per month spread across 2,500 machine hours, you’re adding $40 to every machine hour before the operator even touches a part.
Quality failures make the damage worse. In precision manufacturing, defective parts that need rework or scrapping can push material and labor costs 20–30% above plan. Returns and field failures then add reputational risk on top of the direct financial hit.
Unplanned downtime hits hardest. One food processing firm took $3 million in losses — repair bills plus missed contracts — from a single equipment failure. That number never shows up in any pre-production cost model.
Labor inefficiencies are easy to miss day-to-day. Manual polishing creates idle time, uneven workloads, and supervisor overhead. None of it ties to a specific unit. But it all shows up in annual audits, and the totals are hard to ignore.
The traditional polishing budget isn’t just a line item. It’s a system — and most of that system stays hidden until something breaks.
The Modern Solution: Laser Cleaning for Stainless Steel
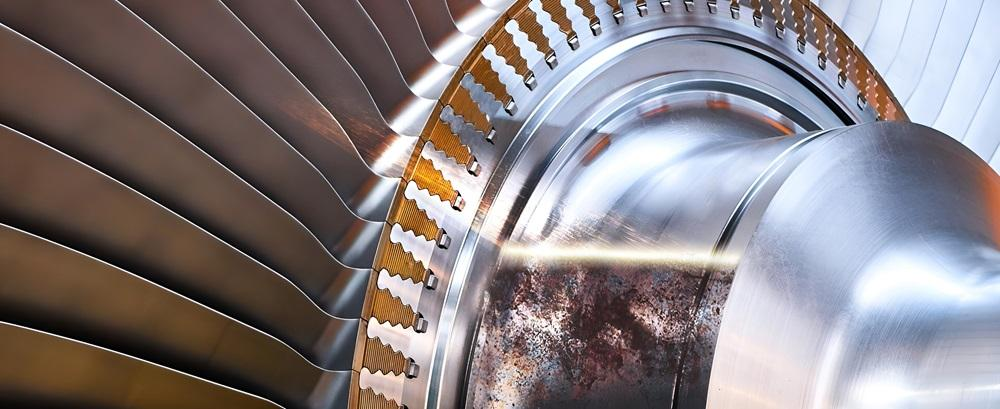
Light does the work now. A focused pulse of infrared energy — 1,064 nm, timed to the nanosecond — hits a contaminated stainless surface. It vaporizes rust, grease, and oxide scale without touching the metal underneath. No abrasives. No acid baths. No disposal headaches.
The physics explains why this works. Stainless steel absorbs laser energy at a much lower rate than surface contaminants do. So the rust, oil, and carbonaceous film hit vaporization point first. The base metal stays cold, intact, and ready to rebuild its passive layer.
Power, Precision, and What the Numbers Say
Three power tiers cover most industrial applications:
| Power | Application | Surface Impact |
| 100W | Delicate precision cleaning | No damage, minimal heat |
| 200W | Rust, grease, paint removal | No damage, surface intact |
| 500W | Heavy industrial contaminants | No damage, integrity preserved |
A 200W pulsed laser removes rust, grease, and paint from stainless at 4–6 m²/hour. Push to 1kW and throughput reaches 10–15 m²/hour — provided you dial in the right scan speed and spot-size calibration.
Pulse parameters matter as much as raw power. For austenitic stainless steel, run pulse frequency in the kHz range for bulk cleaning. Drop to ≤100 Hz with 10–100 ns pulses where heat sensitivity is a concern. Energy density needs to stay within the steel’s absorption window — around 10⁹–10¹⁰ W/cm² at 1,064 nm. That range vaporizes contamination without cracking the grain structure beneath.
One Risk Worth Taking Seriously
Continuous-wave lasers in the 1,500–3,000W range can overheat austenitic grades. The chromium oxide layer breaks down — the same passive film that electropolishing works hard to build. From there, you get surface oxidation, roughness change, and reduced fatigue life.
Pulsed laser systems sidestep this entirely. They deliver energy in controlled bursts, not sustained heat. That difference is what makes laser surface cleaning viable for food processing, pharmaceutical, and aerospace applications. In those industries, surface chemistry isn’t decorative — it’s a regulatory requirement.
Side-by-Side Comparison: Traditional vs. Laser Cleaning
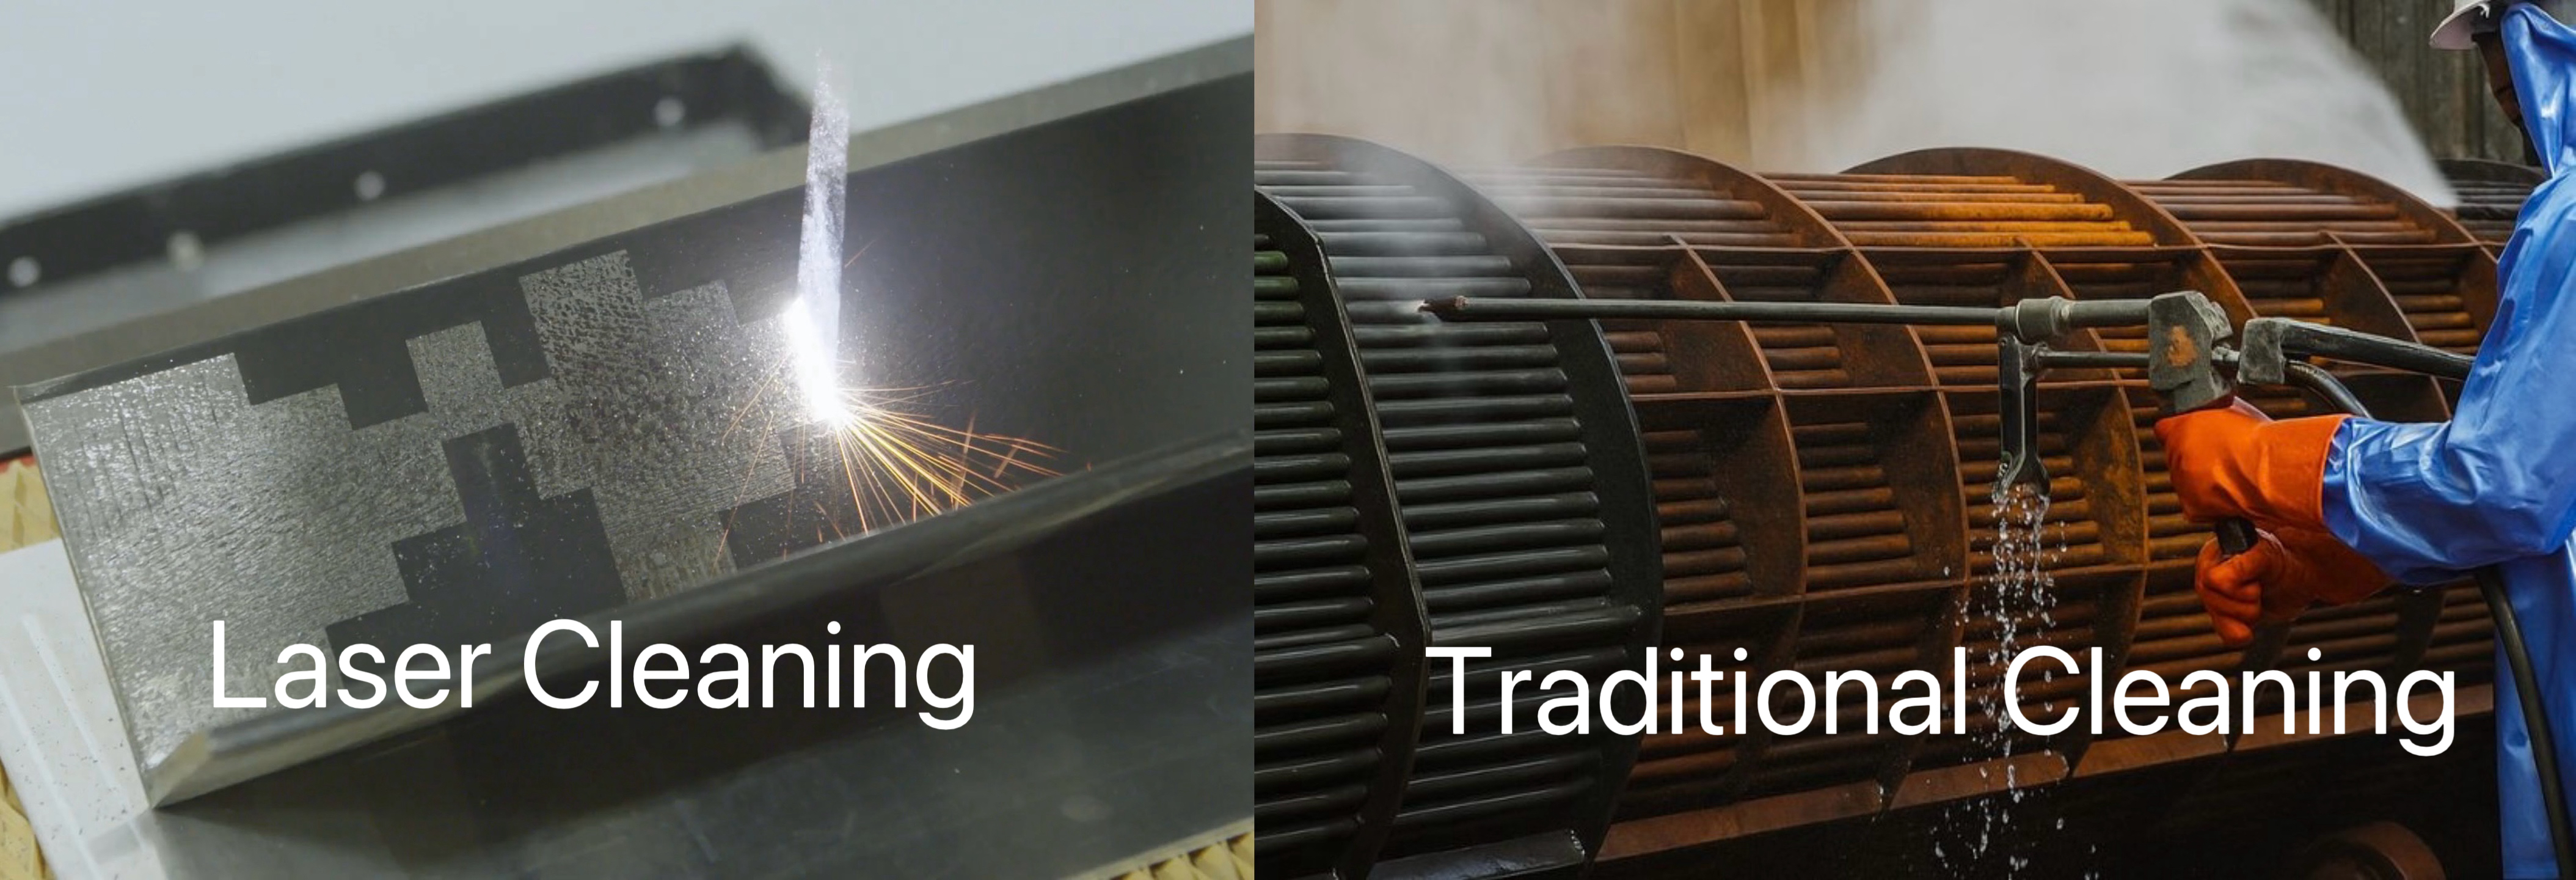
Numbers don’t lie, but they do hide. Here’s what the full picture looks like when you put both methods side by side.
Cost: Sticker Price vs. Total Ownership
Laser systems carry a higher upfront cost — $10,000 to $100,000+ depending on the setup. Traditional mechanical and chemical systems can start as low as $1,000. Industrial-grade units can still reach $500,000.
That gap closes fast. Here’s what each method keeps costing you after purchase:
| Cost Driver | Laser Cleaning | Traditional Methods |
|---|---|---|
| Consumables | None | High — abrasives, chemicals, media |
| Maintenance | Low — minimal wear parts | High — nozzles, filters, replacement parts |
| Waste Disposal | Near zero | High — hazardous material handling |
| Ongoing Operational Cost | Electricity only | Continuous and compounding |
Most laser systems pay for themselves in months, not years. Cutting out consumables alone drives that return.
Speed, Precision, and Surface Quality
Laser cleaning runs 15% faster than chemical methods on comparable surfaces. Large-area coverage hits 10–15 m²/hour at 1kW. No drying time. No cleanup cycle. One technician handles the full process from start to finish.
Traditional methods are a different story. You need multiple workers, long setup times, and post-process drying or rinsing. All of that cuts into your output before the real work even begins.
On precision, the gap is even bigger:
| Metric | Laser | Traditional |
|---|---|---|
| Depth control | Precise, tunable | Indiscriminate |
| Substrate risk | Non-contact, no damage | Surface-dependent risk |
| Result consistency | Residue-free, repeatable | Variable across operators |
Environmental Footprint
No acids. No solvents. No hazardous waste. Laser cleaning produces almost no airborne particles and zero chemical discharge. That’s a real advantage in industries where environmental compliance comes with serious financial consequences.
Traditional chemical methods generate acid waste. You need documented disposal procedures and ongoing regulatory oversight to manage it — costs that add up fast.
Best Applications for Laser Cleaning
Laser cleaning is well past the proof-of-concept stage. The market backs that up — valued at $753.9 million in 2025, projected to reach $1.46 billion by 2033. Industries aren’t experimenting. They’re committing.
Here’s where that commitment shows up.
Aerospace and aviation teams use laser systems to strip coatings, corrosion, and surface contaminants from high-value components. No dimensional risk. North America leads adoption, pushed by manufacturing density and regulatory pressure.
Automotive lines run laser cleaning on tire molds, brake components, and weld prep surfaces. Precision counts here. A contaminated weld surface is a failure point waiting to happen.
Oil, gas, and energy operations — refineries, nuclear facilities, power generation — work in OSHA-regulated environments. Chemical alternatives bring serious liability. Laser cleaning cuts that risk out.
Food processing and medical manufacturing are the fastest-growing segments right now. Hygiene compliance isn’t optional. Laser cleaning leaves zero chemical residue behind — nothing to track, nothing to manage.
Conclusion
Stainless steel doesn’t lie, and neither does production data. While abrasives and chemicals have their historical place, modern stainless steel processing demands zero chemical footprints and absolute precision.
If you are ready to upgrade your surface treatment strategy, laser technology is the smartest choice on the floor right now.
Don’t guess your way into your next equipment decision. Talk to our specialists, request a live capability demo, and see firsthand how laser cleaning transforms your specific materials.