
Welding complex shapes like stainless steel tubes, tight inside corners, curved surfaces and multi-angle joints has long been a pain point for fabricators. Even experienced TIG welders often struggle with deformation, inconsistent seams and poor penetration on irregular geometries. A fiber handheld laser welder solves these issues efficiently—you just need the right parameters, gun control and wobble function to get perfect results every time.
Why Handheld Laser Welders Work for Complex Shapes
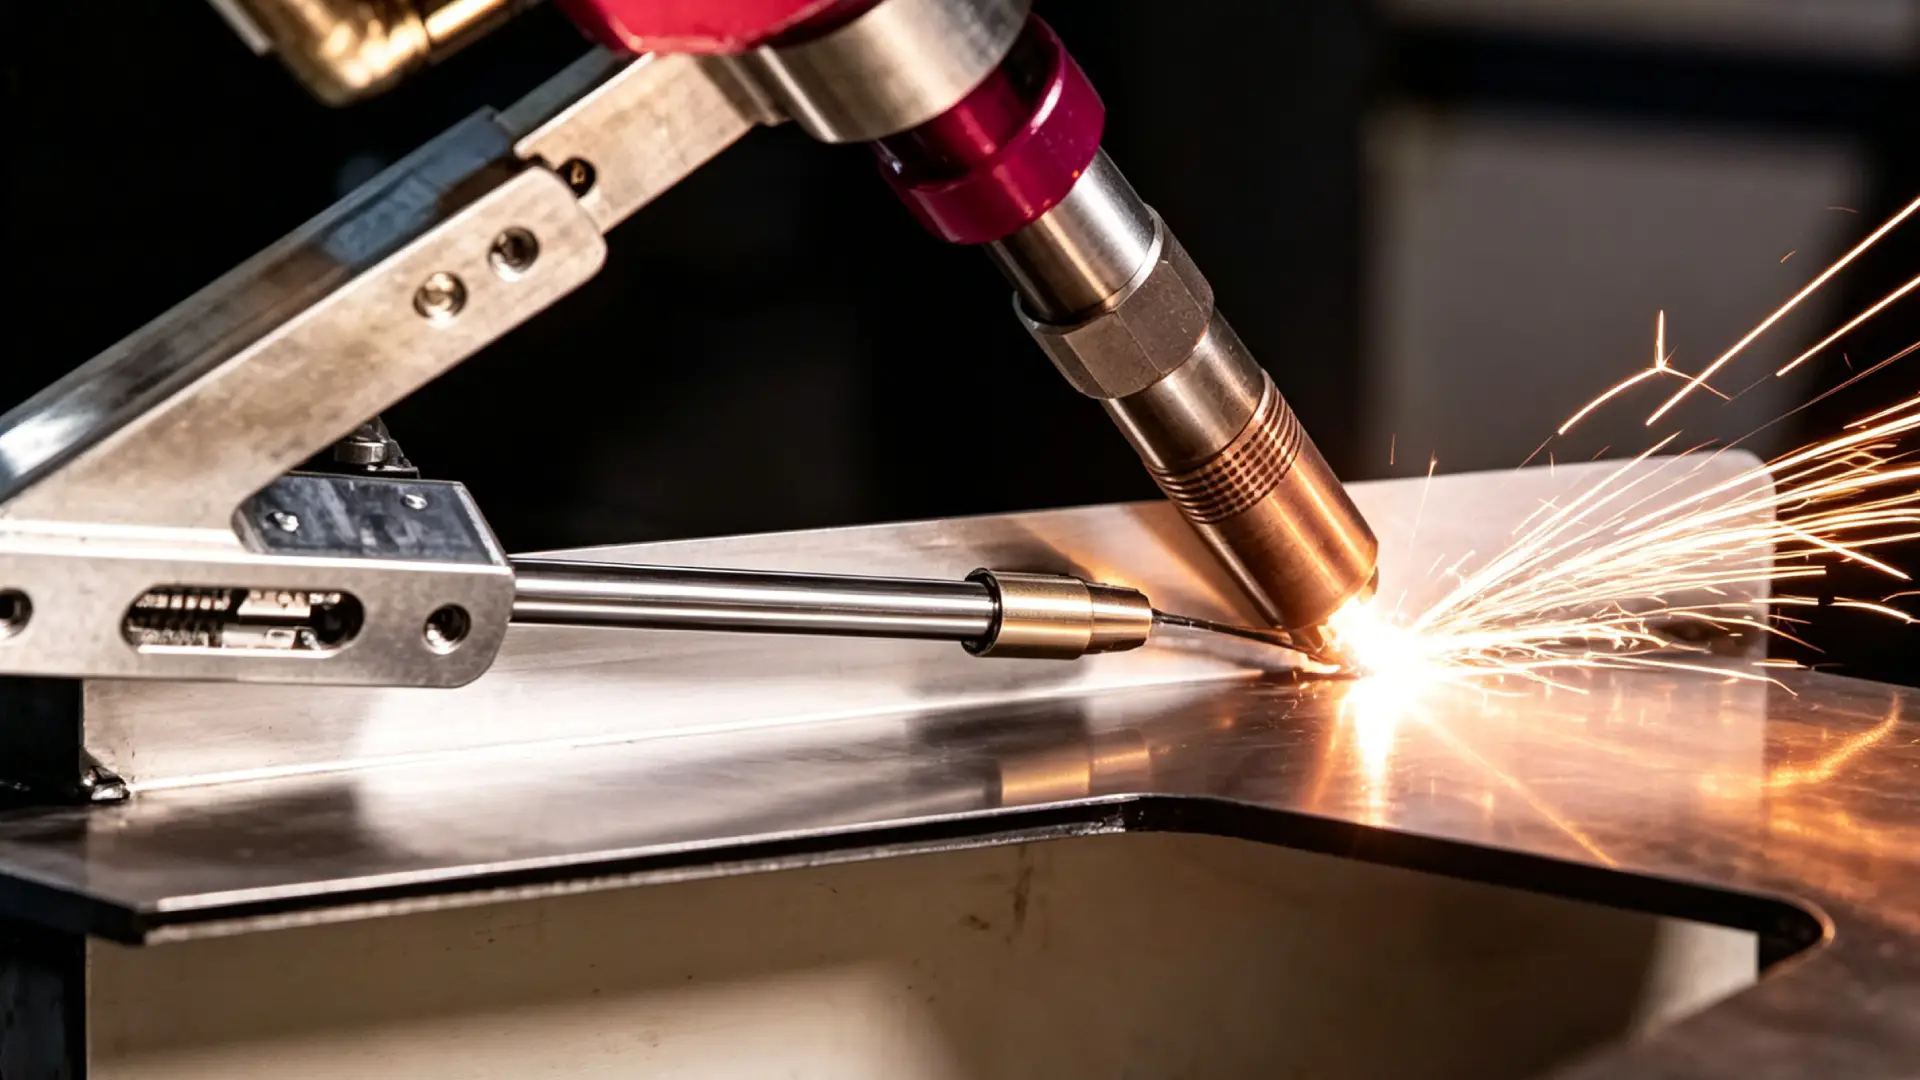
The beam never touches the workpiece. That cuts deformation risk by 50–70% compared to conventional methods. The focused 1070 nm beam keeps the heat-affected zone tight and narrow. Less heat spread means less distortion on thin-walled curves or irregular edges.
Mode flexibility matters too: spot mode locks in tight corners, pulse mode controls heat on thin sections under 1mm, and repair mode reaches bent tubes and concave defects that a MIG torch cannot access.
The handheld design lets you chase a curved seam across a multi-face joint without stopping to reposition the workpiece at every pass. Result: laser beam welding precision at speeds up to 4x faster than TIG.
Pre-Weld Preparation for Complex Workpieces
Good preparation is the foundation of stable complex-shape laser welding. Poor fit-up, clamping or cleaning leads to porosity, seam drift and rework.
Fit-Up & Clamping
-
Keep joint gaps within 0.5–1.0mm without filler wire; gaps over 1.0mm drastically increase porosity.
-
Use tack welding every 50–100mm (minimum 3–5 tacks per joint) to lock geometry and prevent thermal shifting.
-
For high-load curved/angled joints, chamfer edges at 30–45° to improve laser penetration.
-
Clamp within 1 inch of the joint; clean contoured surfaces with twisted wire brushes before clamping to avoid contamination.
Surface Cleaning
Clean 1 inch on both sides of the joint to remove rust, oil, oxide layers and mill scale:
-
Carbon steel: Coarse grinding + wire brush
-
Stainless steel: Acetone wipe + fine sanding
-
Aluminum: Alkaline chemical etch + brushing to break up oxide layers that block beam absorption
Follow the sequence: Cut/bevel → Fit-up/tack → Clean → Clamp → Weld. This cuts rework by nearly 40% for complex shapes.
Core Laser Welding Parameters for Complex Shapes
Parameters directly determine weld quality on tubes, curves, inner corners and thick-thin transitions. Below are proven baselines for 1–2kW fiber handheld laser welders.
Spot Size & Focus
-
Curved/bent tubes: Use a smaller spot; defocus −0.5 to −1mm for deep keyhole penetration.
-
Thin sheets (1–1.5mm): Positive defocus or on-focus to spread heat and prevent burn-through.
-
Thick-thin joints: Offset the beam 20–50% toward the thick side for balanced fusion.
Parameter Settings by Shape
|
Shape |
Power (W) |
Speed (mm/s) |
Focus |
Key Tips |
|---|---|---|---|---|
|
Round/bent tubes |
1200–1800 |
15–30 |
−0.5~−1mm |
Wobble 1.5–2.5mm, Argon 15–20 L/min |
|
Thin curved sheet |
900–1500 |
25–40 |
On-focus/+0.5mm |
Triangular wobble to avoid burn-through |
|
Inner corner/fillet |
1400–2000 |
20–35 |
−1~0mm |
Gap ≤10–20% of thinner material |
|
Thick-thin mixed |
1500–2200 |
15–25 |
Variable bias |
Beam offset toward thick plate |
Spot Mode vs Continuous Wave
-
Use spot mode for tacking and positioning bent tubes, inside corners and misaligned joints (pulse 5–20ms, frequency 10–50Hz).
-
Switch to continuous wave for long seams after tacking; it boosts efficiency 2–3x on curved paths.
Wobble Function: The Key to Irregular Joints
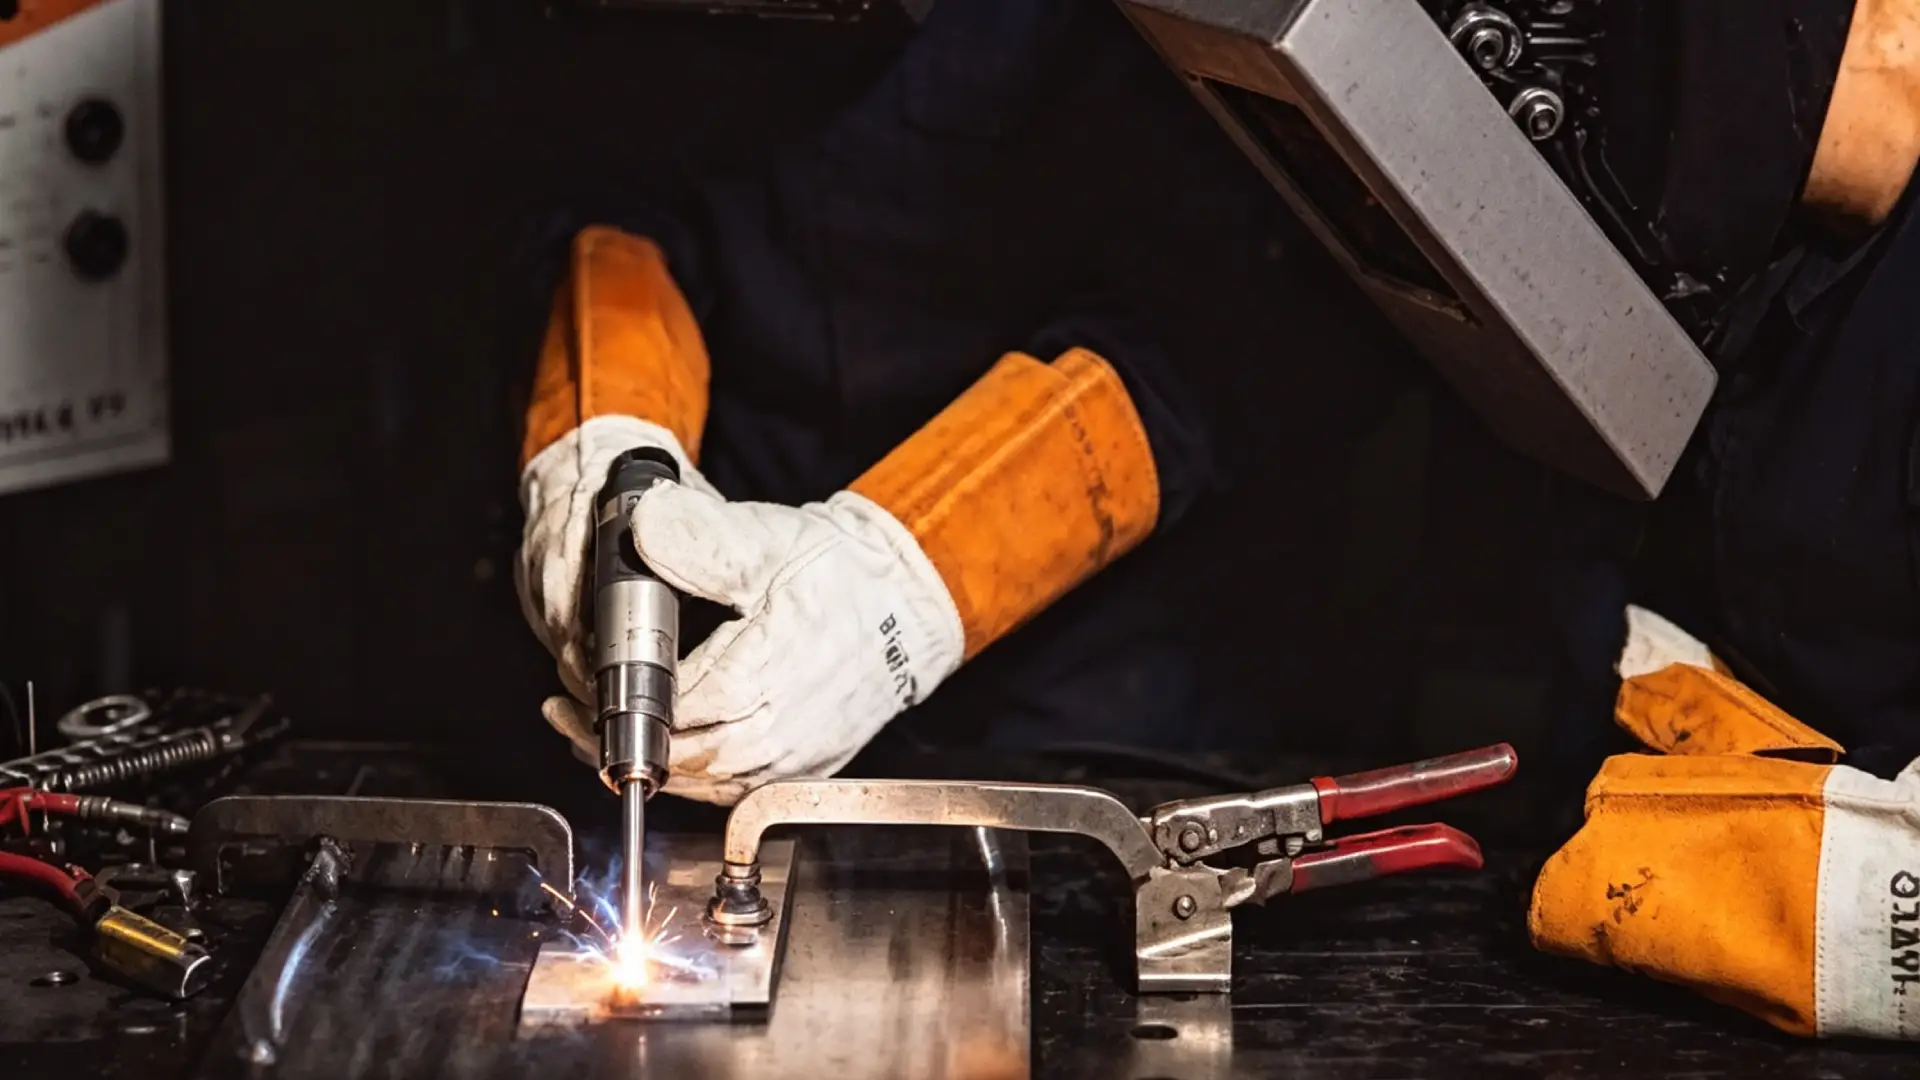
The wobble/oscillation function is critical for complex-shape handheld laser welding. It oscillates the laser beam at 10–500Hz, expanding the spot into a 2–5mm working width to bridge gaps up to 3mm and reduce defects by 20–30%.
Wobble Setup Guide
-
Thin sheets (<1mm): 2mm width, 50–100Hz; HAZ stays <0.5mm
-
Thick plates/gapped joints: 3–5mm width, 100–300Hz; penetration improves 20–30%
-
Curved paths: 150–200Hz offers optimal uniformity; 200Hz reduces defects by 25% vs 50Hz
On tight bends (radius <50mm), auto‑scale amplitude 10–20% and ramp power 5–10% to maintain full coverage and avoid underfill.
Gun Angle & Travel for Hard-to-Reach Areas
Confined spaces, recessed joints and tube intersections require strict gun control to ensure penetration and shielding gas coverage.
-
Inside corners/recessed zones: Use a 5–15° drag angle to aim at the joint root and protect the melt pool.
-
Convex curves: 10–15° lead angle, travel away from the peak.
-
Concave corners: Keep angle ≤5° to avoid blowing shielding gas off the joint.
-
Stabilize travel: Brace the nozzle lightly against the workpiece; split long curves into 50–80mm segments to avoid wrist drift.
-
Maintain consistent standoff distance; a 2mm change greatly affects spot size and penetration.
Shielding Gas Management for Porosity-Free Welds
Complex geometries easily break shielding gas coverage, causing porosity and oxidation.
Flow rate: Argon 15–20 L/min for most complex shapes; too low causes oxidation, too high creates turbulence.
Gas selection:
-
Carbon steel: Argon + 18–20% CO₂
-
Stainless steel: Pure argon or argon‑helium
-
Aluminum: Argon‑helium blend for better fusion
Hold nozzle distance at 10–15mm; check coverage on scrap before production runs.
Welding Solutions for Typical Complex Shapes
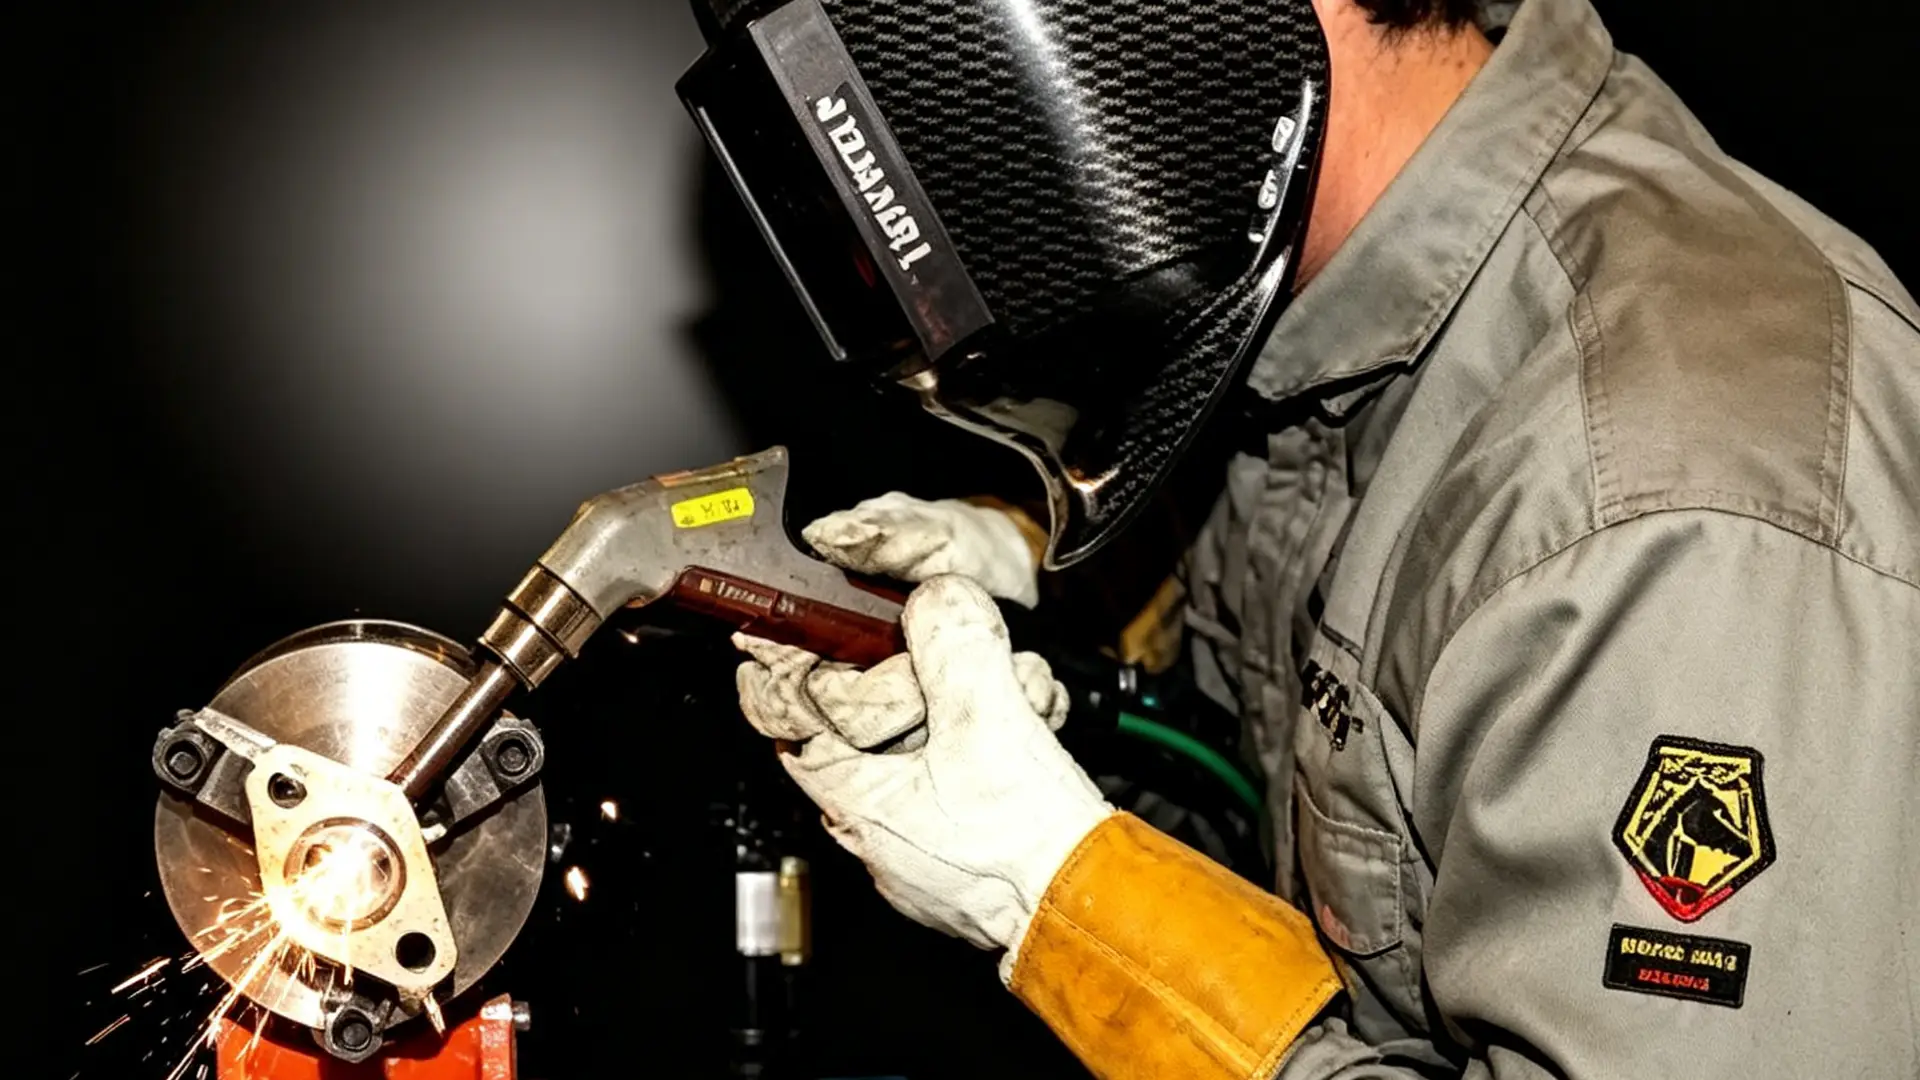
Tube Fish-Mouth & Ring Seams
-
Make clean saddle cuts for 90° tube connections to achieve near‑zero gaps.
-
Split ring seams into 4–8 alternating arcs to control heat buildup; this cuts distortion by 30–50%.
Multi-Angle 3D Joints
-
Weld root passes on long spans first to lock geometry.
-
Use symmetric skip‑fill sequences and keep heat input stable to avoid flexing and misalignment.
Curved Surfaces
-
Adjust focus in real time to maintain consistent spot size and penetration across radii.
Troubleshooting Common Defects
-
Uneven bead width: Fix travel speed and gun angle; reduce wire feed speed on irregular surfaces.
-
Burn-through/distortion: Lower power 10–15%, increase travel speed, use short passes with cooling intervals.
-
Poor fusion in tight areas: Correct gun angle to 0–15°, use jigs if needed, slightly increase voltage.
Why Handheld Laser Welding Outperforms TIG for Complex Shapes
|
Factor |
Handheld Laser Welding |
TIG |
|---|---|---|
|
HAZ |
≤0.5mm |
3–5mm |
|
Deformation |
<0.3mm |
>1mm |
|
Speed |
1.5–5 m/min |
Much slower |
|
Best for |
≤6mm stainless, curves, 3D joints |
≥16mm plate, large gaps |
-
Heat-affected zone: Laser ≤0.5mm vs TIG 3–5mm (60–90% narrower)
-
Deformation: Laser <0.3mm vs TIG >1mm
-
Speed: Laser 1.5–5m/min, up to 4x faster than TIG
-
Rework: Significantly less on thin-wall curves and multi-angle joints
Handheld laser welding is the optimal choice for complex shapes under 6mm, delivering precision, speed and consistency that traditional processes can’t match.
Conclusion
Ready to put these techniques to work? Your handheld laser welder can handle the joints that used to need three repositions and endless rework. Fine-tune your parameters, trust your wobble settings, and watch those complex shapes come together clean.
Mastering complex-shape welding with a handheld laser welder relies on stable equipment, optimized parameters and proper operation. Maxwave specializes in reliable handheld laser welders designed for tubes, curves, inner corners and multi-angle complex joints, with stable wobble function, precise parameter control and consistent performance to help you achieve high-quality, low-rework welding results.