
The “Undying” Myth of Cast Iron: Why It Deserves a Second Chance. In a culture of disposable tools, cast iron remains the sole “eternal” material. Forged since the 5th century BCE with a melting point of 1200°C, this metal possesses an indestructible soul. That rusty skillet in your cabinet isn’t ruined; it is simply “dormant.”
Cast iron has no true end—only intervals of neglect. The restoration logic is pure: physically strip the oxidation → chemically rebuild the seasoning. Once restored, the pan awakens, reclaiming a natural non-stick finish that outlasts any chemical coating. It is not just a tool; it is a culinary heirloom capable of serving for centuries.
Choosing Your Path: What Kind of “Restorer” Are You?
When it comes to tackling rust, whether you’re learning how to remove rust from cast iron for the first time or refining your technique, you can go old-school with manual labor, get aggressive with power tools, or go full-on “future mode” with high-tech solutions. Here’s the breakdown:
| Your Situation | Your Method | The Pro Tip |
| Light surface rust, home kitchen | Vinegar + Salt Scrub | Cheap and accessible; perfect for minor spots if you don’t mind a workout. |
| Heavy rust, sturdy modern skillet | Mechanical Scrubbing | The heavy-duty route; fast and effective for pans that can take a beating. |
| Complex designs or “Like-New” finish | Precision “No-Scrub” Restoration | The Collector’s Secret: Uses light energy to erase rust. Zero metal loss, preserving the original character of an antique piece. |
Most home cooks will never need anything beyond that first row. But if you’re holding a piece of culinary history that deserves a flawless reset, going for a high-tech “restoration” is the way to go. Pick your lane, and let’s get to work.
Method 1: The DIY Practicalist — Vinegar, Salt, and Elbow Grease
This is the go-to for most people. If your skillet just has some light, orange surface rust from sitting damp too long, this will do the trick.
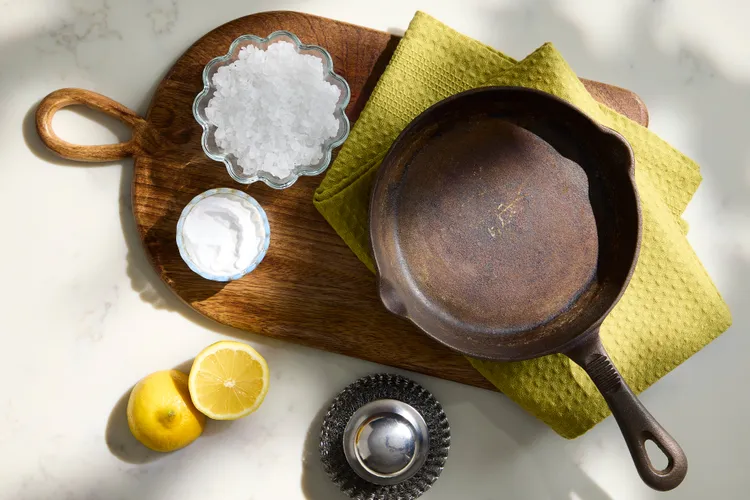
- The Routine: Raid your pantry for white vinegar and coarse salt. The vinegar “eats” the rust, the salt acts as sandpaper, and you—well, you provide the muscle with a steel wool pad.
- The Cost: Basically zero. Everything you need is under your kitchen sink.
- Best For: Light surface rust or a good afternoon workout.
- The Reality Check: It’s exhausting. If you’re dealing with a “severe case” that’s been rotting in a garage for a decade, you’ll be scrubbing until your arms fall off before you even see a hint of raw metal.
Method 2: The Hardcore Industrialist — Grinders, Sparks, and a Messy Garage
When your arms give out, it’s time to bring in the heavy hitters.
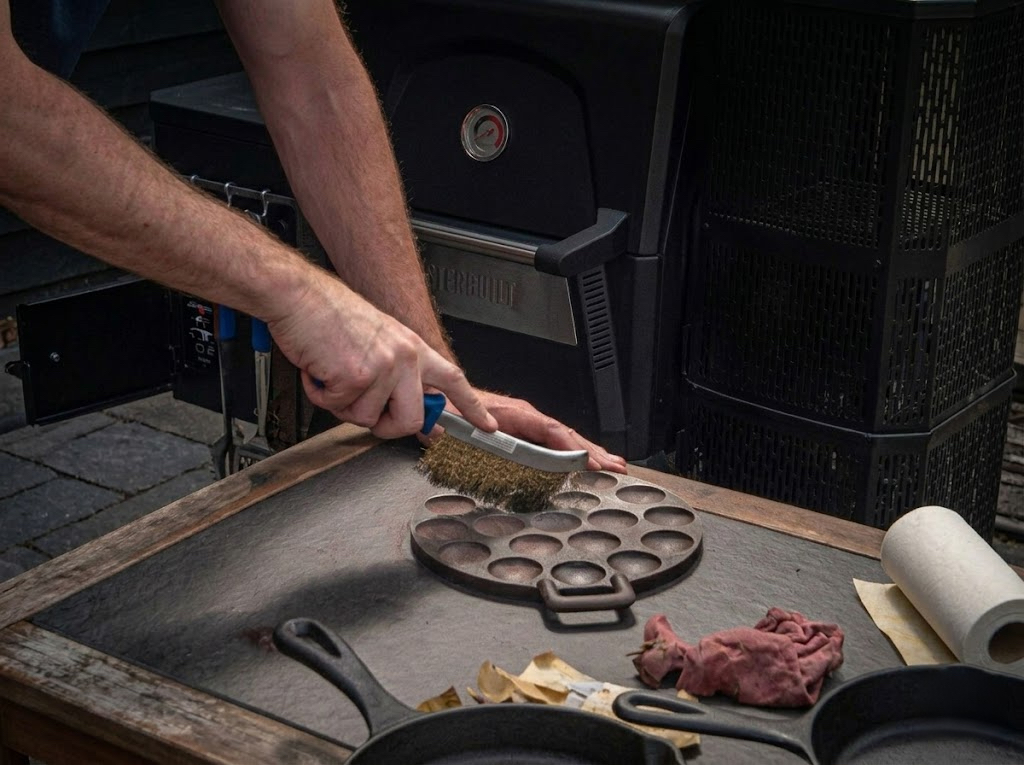
- The Routine: Grab an angle grinder with a wire wheel attachment. Flip the switch, let the sparks fly, and watch the rust vanish in a cloud of dust.
- The Cost: You’ll need to invest in some power tools.
- Best For: Deeply pitted rust, thick carbon buildup, or when you just have some pent-up aggression to burn off.
- The Reality Check: It’s fast, but it’s destructive. You’ll end up with iron dust all over your house, and one wrong move can leave deep scratches on the pan’s surface. If you’re not careful, you might “disfigure” your skillet for good.
Method 3: The Tech Enthusiast — Laser Cleaning (The “God Mode” Solution)
This is what I call “dimensional stripping.” For collectors who want to save a vintage piece without a single scratch, Laser Cleaning is the ultimate flex.
- The Routine: No vinegar, no scrubbing, no mess. A laser beam passes over the skillet like a digital eraser, vaporizing the rust instantly. In seconds, the pan is back to its original factory grey.
- The Cost: The gear is professional-grade, but the results are unmatched.
- Best For: High-value heirlooms or perfectionists who want zero damage to the underlying metal.
- The Reality Check: This is the “black tech” of the restoration world. The best part? It only eats the rust and leaves the iron untouched. It preserves the natural pores of the cast iron perfectly, creating the ultimate clean surface for your seasoning oil to bond to.
Phase 1: Deep Rust Stripping (Restoration)
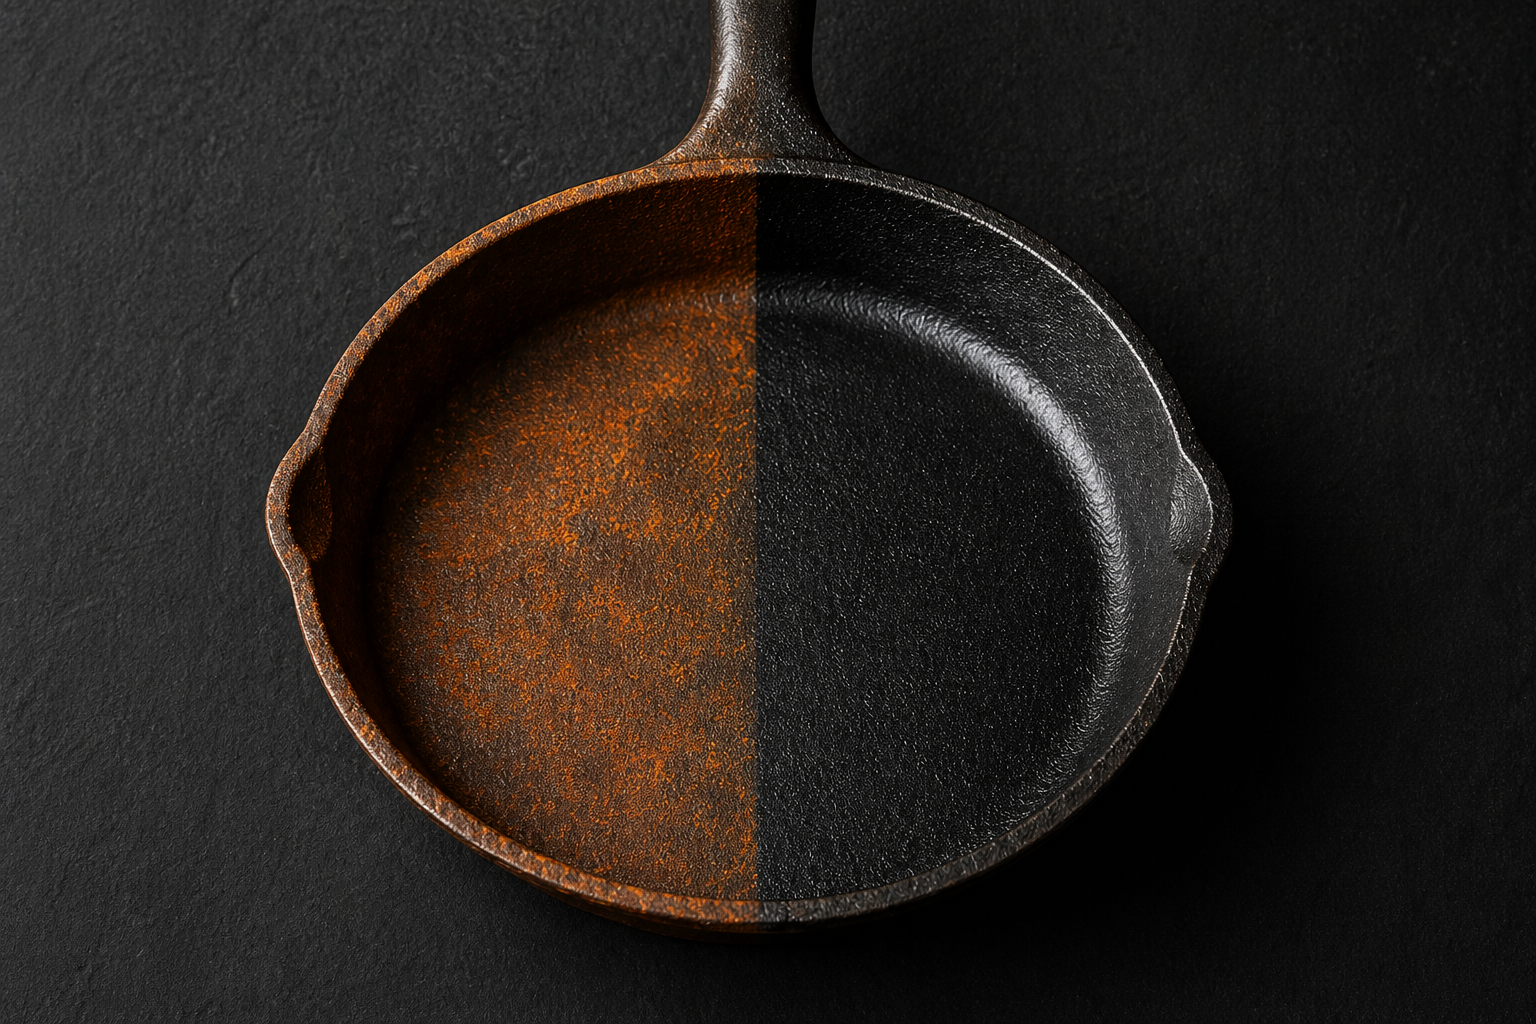
Rust is a deceiver. That reddish-brown spot might look superficial, but give it a poke. Feel that soft, crunchy give? The rot goes deeper than you think. If you see a two-inch patch of rust, chances are it has crept under the old seasoning and into the seams, covering closer to four inches. When you’re stripping rust, always treat at least twice the visible area. No exceptions.
This is where the real work happens—and honestly, it’s the most satisfying part of the entire journey. For anyone focused on effective rust remove methods, this stage is where transformation truly begins.
Safety & Stability: Pre-Game Rituals
Before you touch a single tool, gear up. Wear safety glasses, a dust mask (or a proper respirator), and gloves. If you’re going the mechanical route, grab some ear protection too. Rust dust is brutal on your lungs and eyes; no skillet—not even Grandma’s vintage Lodge—is worth an ER visit.
Lastly, secure the pan in a vise or with clamps. A sliding skillet paired with heavy abrasives is a recipe for disaster.
Choosing Your Weapon Based on the Damage
-
The Traditional Grinder: For stubborn, years-old crust, start with a 46-grit stripping drum. Work in small sections with medium, steady pressure. Don’t wrestle with it; let the abrasive do the work. Clear the debris with a stiff brush or compressed air after every pass. Keep going until you hit clean, silver metal. Follow up with 60-80 grit to smooth it out, and finish with 180-220 grit to remove any remaining swirl marks.
-
The High-Tech Alternative (Portable Laser Cleaning): If you have access to a portable laser cleaner, this phase becomes almost therapeutic. You can skip the physical grind and the cloud of dust entirely. By adjusting your parameters and sweeping the laser beam over the iron, the oxidation layer simply vaporizes (sublimates) on contact. The beauty of this method is its “zero-damage” precision—it aggressively hunts down rust while leaving the original cast iron texture completely untouched.
-
The “Nooks and Crannies” Strategy: Those stubborn spots hiding in the corners or inside the logo lettering? The old-school move is a vinegar soak followed by a wire wheel. However, if you’re using a laser, those tight crevices are cleared in microseconds by the pulsing light, with no need for harsh chemicals or brute force.
Once the bare metal is fully exposed and smooth to the touch, wipe every surface down with a degreaser or rubbing alcohol and dry it thoroughly. Your skillet is now “naked”—it looks brand new and is officially ready for its rebirth.
Phase 2: Precision Cleaning & Flash Drying
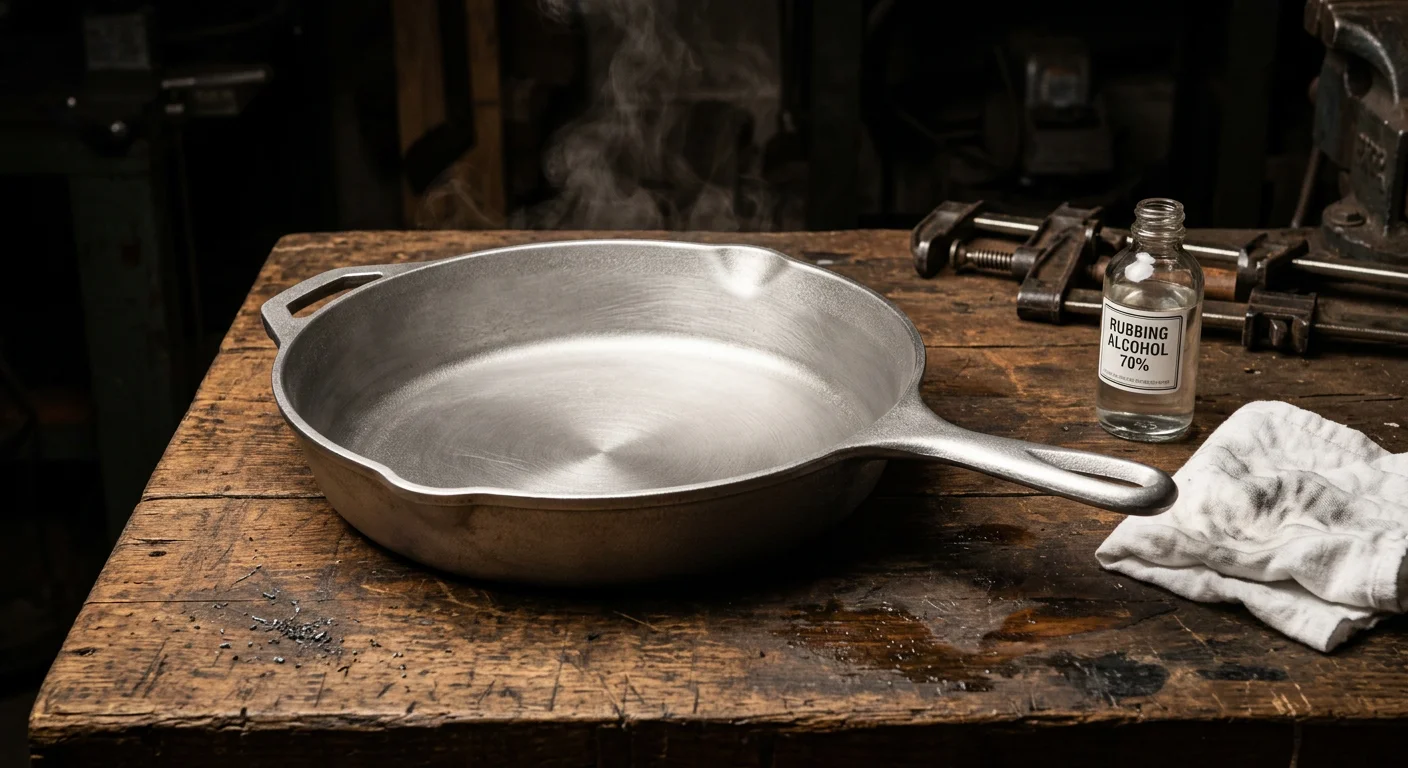
Bare metal is a beautiful thing — and also a terrifying one. Rust is gone. You’re staring at clean, silver cast iron—the exact result you’re aiming for when you remove rust from cast iron properly. The clock starts ticking the second that happens. Exposed iron flashes rust faster than you’d expect. We’re talking within the hour — sometimes sooner if your kitchen runs humid. This is not the moment to wander off and check on your sourdough starter.
Get moving. Get methodical.
The Rinse-Down
Run the skillet under warm water. Scrub away every last particle of rust dust, grit, and debris. Use a stiff-bristle brush — not steel wool at this stage. The heavy lifting is already done. What you’re after now is a truly clean surface, not just one that looks clean. Pay attention to the handle joint, the pour spouts, and the underside of the rim. Debris loves to hide in those spots.
Once it looks clean, rinse it again. Then one more time after that. That extra thoroughness protects every bit of work you just put into Phase 1.
The Flash Dry — Do Not Skip This
This is where most people lose their cast iron restoration without even noticing. They rinse the skillet, set it on the counter, and walk away. Twenty minutes later? A faint blush of orange is already creeping back across the surface. Flash rust is real, and it is fast.
The fix is simple and non-negotiable. Put that wet skillet straight onto a burner over medium heat. Let it sit for two to three minutes. Watch until every visible water droplet burns off. You’ll see the surface shift from dull and dark to a warmer, lighter tone. That color change is your confirmation the moisture is gone.
Pull the pan off the heat while it’s still warm — not screaming hot. Wipe the entire surface with a paper towel. Use just a thin pass. The towel should have barely a trace of oil on it. Cover every surface: inside, outside, handle, bottom.
Moisture gone. Metal protected. You’re ready for seasoning.
Phase 3: Rebuilding the Non-Stick Layer (Seasoning)
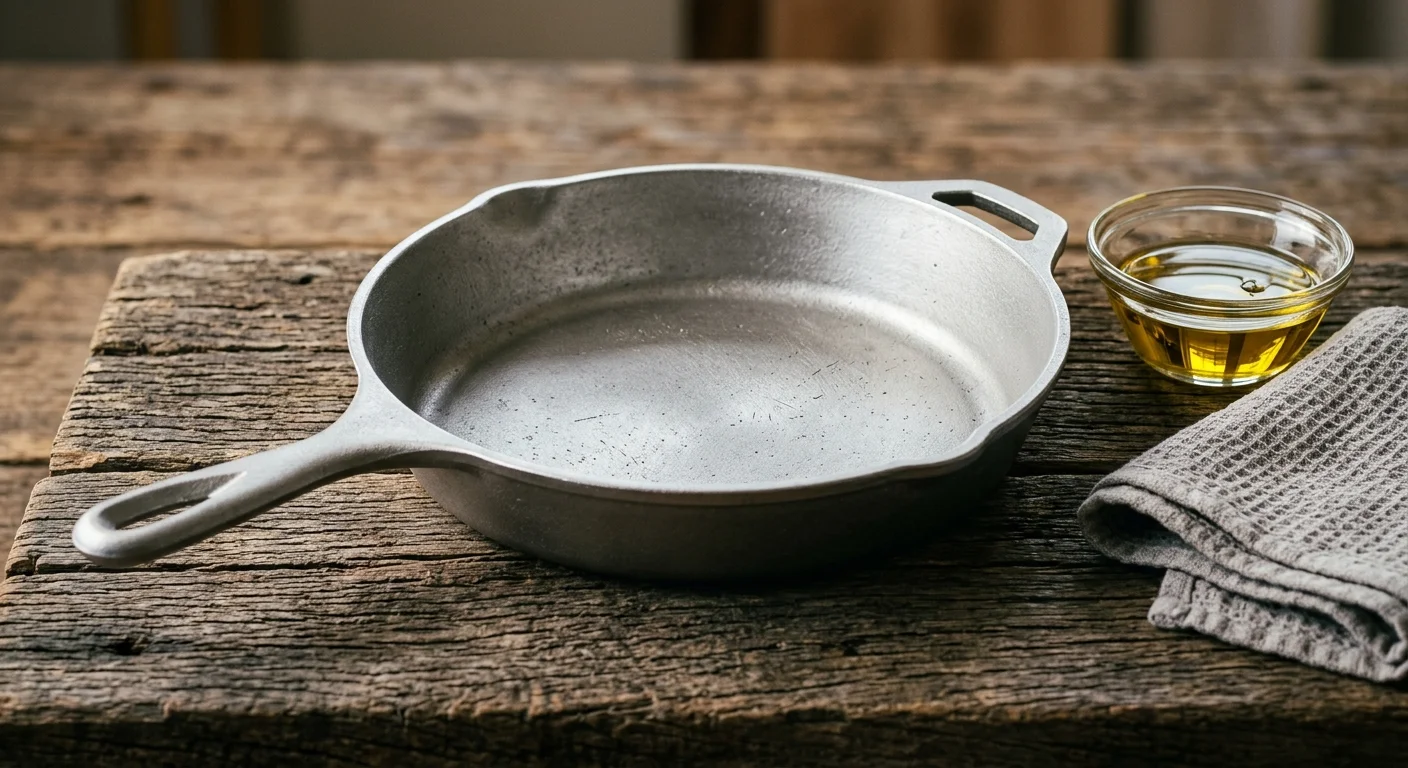
The pan is clean, dry, and ready. This is the part that turns bare metal into something truly special—and it only works this well after you understand how to remove rust from cast iron properly.
Seasoning isn’t a coating you put on once and forget. It’s a polymerized oil layer that bonds to the iron at a molecular level. Heat an oil past its smoke point, and it stops being greasy. It cures, hardens, and becomes part of the pan itself. That’s the chemistry behind every gorgeous, slick, black skillet you’ve ever admired in someone else’s kitchen. Now you’re going to build one yourself, layer by layer.
How to Know You’re Ready for This Phase
Your skillet just came through Phase 2 — bare, clean, and dry. Start seasoning the same day. Don’t set it aside and come back tomorrow. Exposed cast iron doesn’t wait. New rust can start forming before the morning’s over.
Other signs that a pan needs this phase:
– Food sticking to the surface
– A gummy or sticky feel on the cooking surface
– Black flecks showing up in your scrambled eggs
– Lighter patches where the seasoning has been stripped
– Rust spots returning after a wash
Any of those? Time for Phase 3.
The Step-by-Step Seasoning Process
Step 1: Warm the pan first. Place it in the oven at 200°F for about 20 minutes. This opens the metal’s pores and helps the oil absorb deeper. A warm pan holds oil better than a cold one.
Step 2: Rub on a very thin layer of oil. Use flaxseed oil, grapeseed oil, avocado oil, or plain Crisco — anything with a high smoke point. Cover every surface: the interior, the exterior, the handle, the bottom. Every inch.
Step 3: Wipe it back until it looks dry. This is where most people go wrong. Too much oil on the surface won’t polymerize. It pools, then bakes into a sticky, gummy mess — worse than no seasoning at all. Wipe it down until you’re almost convinced there’s nothing left.
Step 4: Bake upside-down at 400–500°F for one hour. Flipping it upside-down stops oil from pooling inside the bowl of the pan. Put a sheet of foil on the rack below to catch any drips.
Step 5: Let it cool inside the oven. Turn off the heat and walk away. Let the pan rest in there for another 30 minutes as the temperature drops. Don’t rush this part.
Step 6: Repeat. Run this whole cycle 2 to 4 times. Two rounds give you a working layer. Three rounds give you something solid. Four rounds? You’ve got a deep, glossy, near-mirror-black finish that’ll make you want to hang the thing on the wall like art.
A Few Rules Worth Burning Into Memory
-
Heat must reach at least 400°F for polymerization to happen. Below that, the oil just sits there. It won’t cure.
-
Stay under 500°F for regular cooking. Push past that too often, and you’ll start breaking down the very layers you just built.
-
Never soak your cast iron. Not in the sink. Not in a vinegar bath longer than needed. Water is the enemy of seasoning.
-
After every single wash, wipe the surface with a thin coat of oil while the pan is still warm. Heat it on the stovetop until it just starts to smoke. That one small step adds a micro-layer each time and keeps the build-up growing in the background.
What You’re Aiming For
After four rounds in the oven, the surface should look dark, even, and lightly shiny — not wet, not greasy, just smooth. Run your hand across it. You’re feeling years of future cooking already starting to take shape.
A well-seasoned cast iron skillet spreads heat like a dream. It holds temperature through swings and releases food with almost zero sticking. One re-seasoning bake every few months — same process, one round — is all it takes to keep building on the foundation you’ve created.
That’s the whole beautiful deal with cast iron cookware care: it gets better every time you use it.
Long-term Maintenance: Keeping the “Black Mirror” Finish
That deep, glassy black finish you just built? It took real work to get there—especially if you started by learning how to remove rust from cast iron the right way. Keeping it doesn’t have to be complicated. But it does have to be consistent.
Here’s the honest truth about cast iron maintenance: it rewards people who show up for it. Not in an obsessive way. Just steady, every time.
After Every Single Use
Let the skillet cool down until it’s safe to touch. Then rinse it under warm water and scrub with a stiff brush — no harsh pressure needed. Dry it right away. Set it on a warm burner for two or three minutes. While it’s still warm, rub a thin layer of oil across the cooking surface. Grapeseed oil, flaxseed oil, even a small dab of Crisco all work fine. The type doesn’t matter much. What matters is doing it every single time.
That small habit builds micro-layers of seasoning in the background. Week after week, month after month, the surface gets darker, slicker, and better looking.
The Quarterly Touch-Up
Every few months, run your skillet through one full seasoning cycle — the same 400°F oven bake from Phase 3. Just one round. It repairs thin spots, refreshes the base, and pushes that mirror finish deeper.
A few non-negotiables to protect your work:
-
Never soak it — not even overnight
-
Dry it right after every rinse — every time, no exceptions
-
Store it in a dry place — away from humid cabinets or under-sink storage
-
Hang it if you can — airflow is your friend
Do those four things without fail, and that black mirror finish will outlast every non-stick pan you’ve ever owned.
Conclusion
That rusty skillet was never truly lost; it was just waiting for someone with a little grit (and perhaps a laser beam) to bring it back to life.
Here’s the beautiful truth: when you strip away the neglect and build back those obsidian layers of seasoning, the pan stops being a piece of hardware and starts becoming a partner. It rewards your attention and forgives your lapses, provided you respect the iron.
Keep the ritual simple:
-
Rinse it quick
-
Dry it bone-dry
-
Oil it thin
Do this, and your skillet will outlast your kitchen, your house, and quite possibly, your generation. Now, step away from the screen and go sear something incredible. Your cast iron has been through enough—it’s time it enjoyed a good meal.
But if your restoration challenges go beyond the kitchen…
Obsessed with that same pristine, zero-damage finish on a much larger scale? At Maxwave Laser, we take that same passion for metal preservation into the industrial world. Our Laser Cleaning Solutions restore critical assets with surgical accuracy—vaporizing heavy oxidation and contaminants without chemicals, mess, or a single micron of metal loss.
Ready to upgrade your maintenance? Explore our Solutions or contact us to see how we’re bringing the future of professional restoration to your industry.